First worklog here, so please bear with me. Anyways, down to business. 
Edit: 12/25/2010
Recent upgrades have occurred and are worth resurrecting the thread for, including MUCH better pictures with a much better camera.
Specs
i7 920
Coolermaster v8
EVGA X58 SLI
3x2gb OCZ Gold 1600
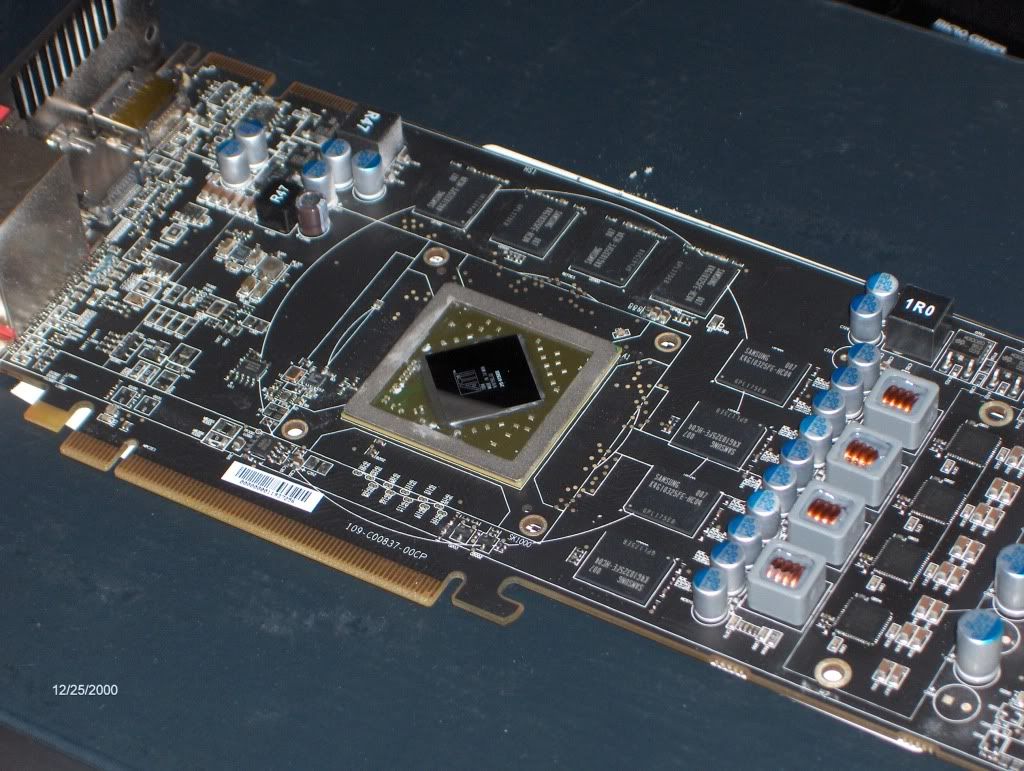
Sapphire 4870
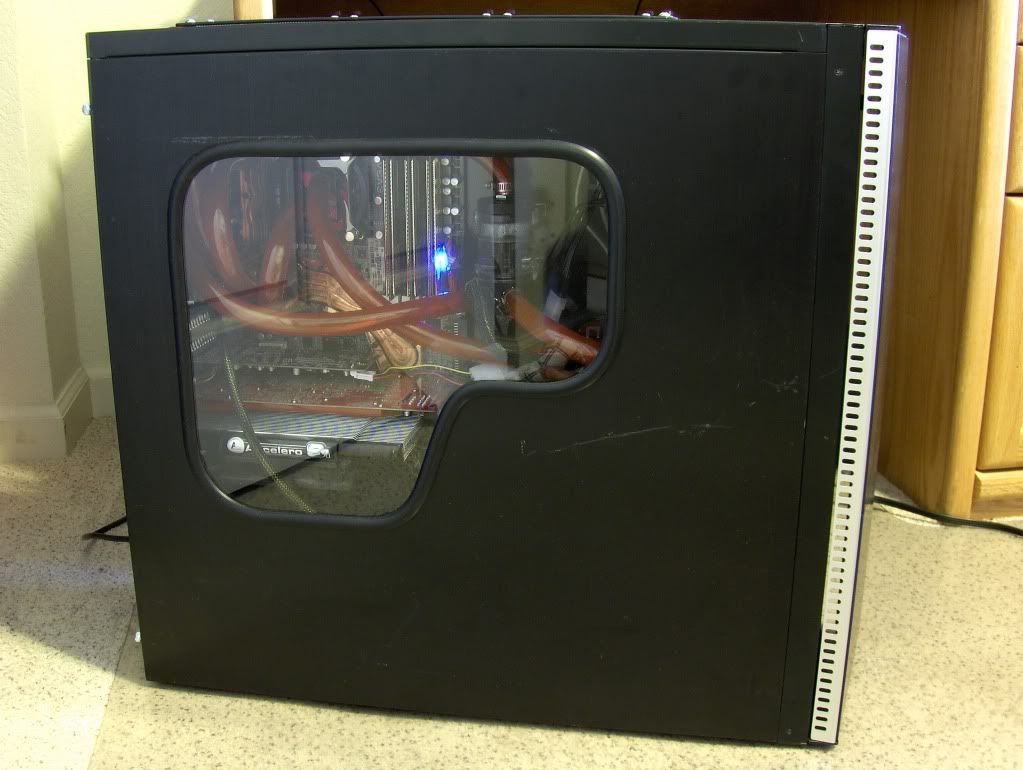
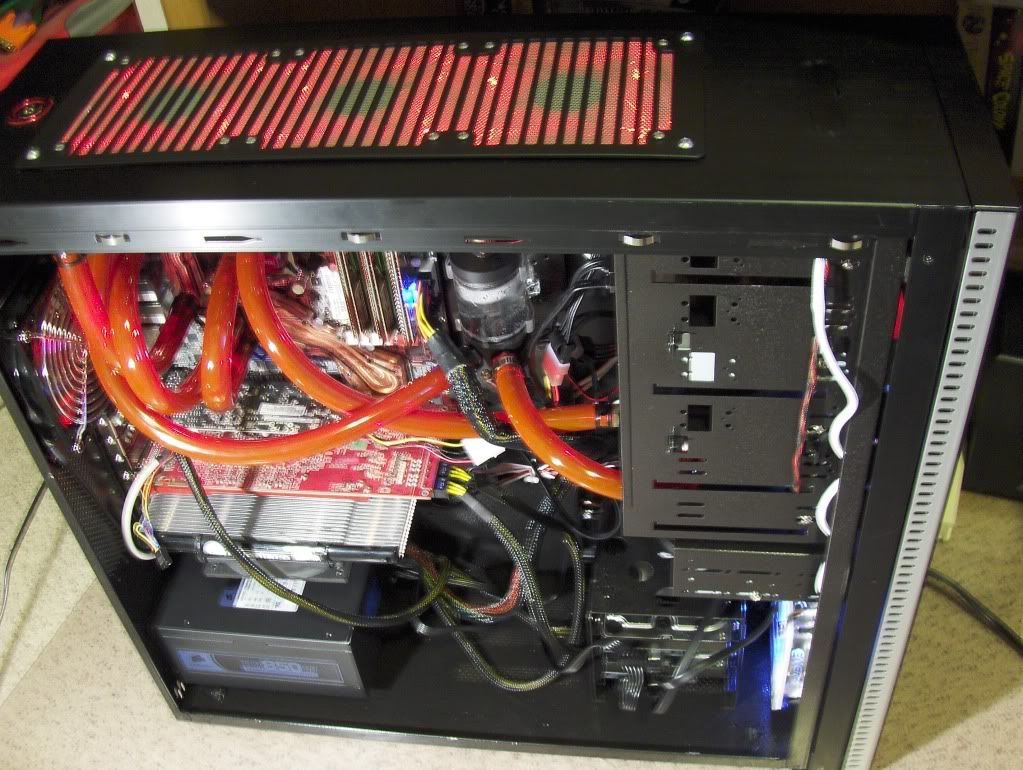
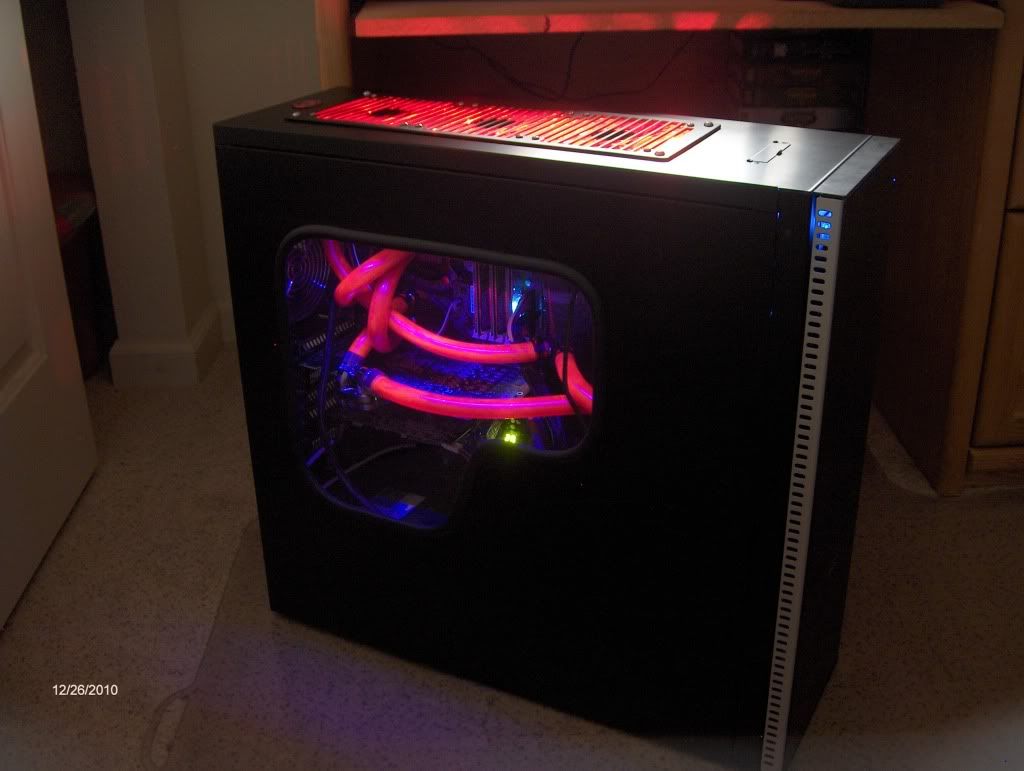
Rocketfish Full Tower (Rebranded Lian Li case for those who don't know)
Beginning with this:

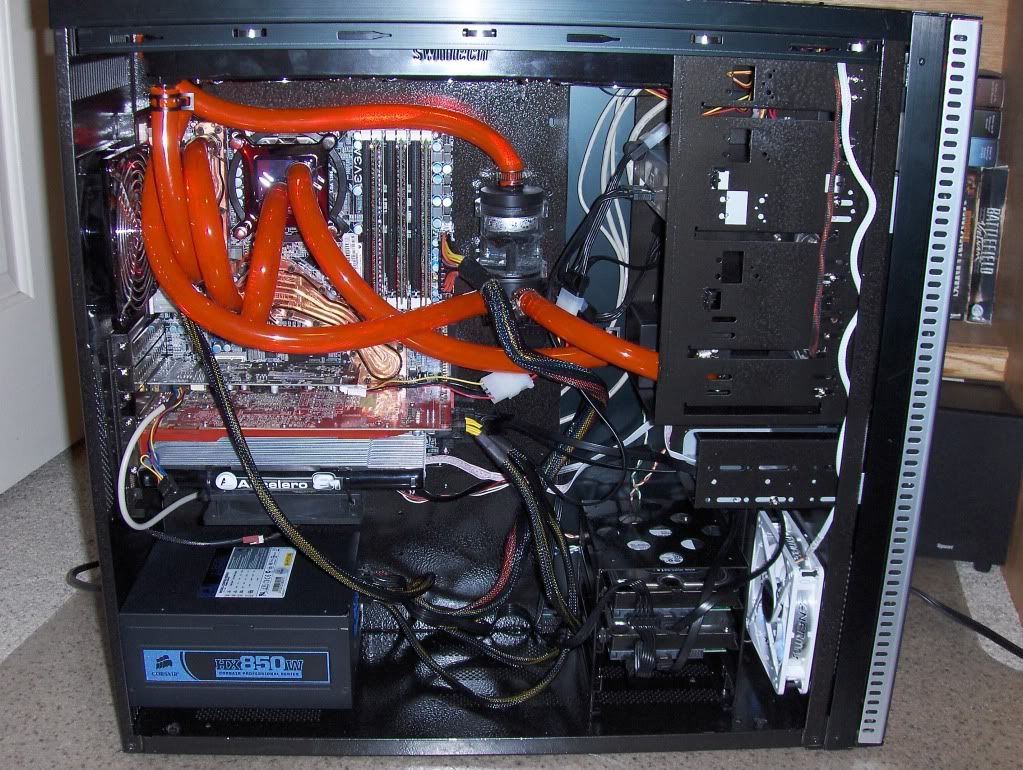
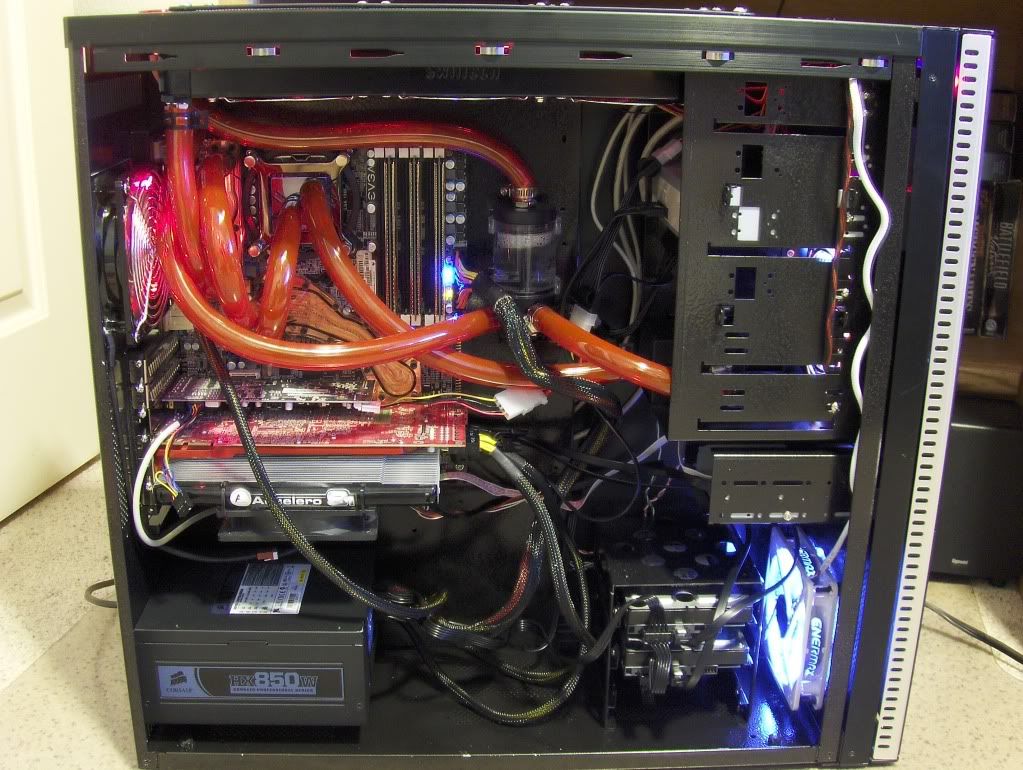
Ending with this:
Goals:
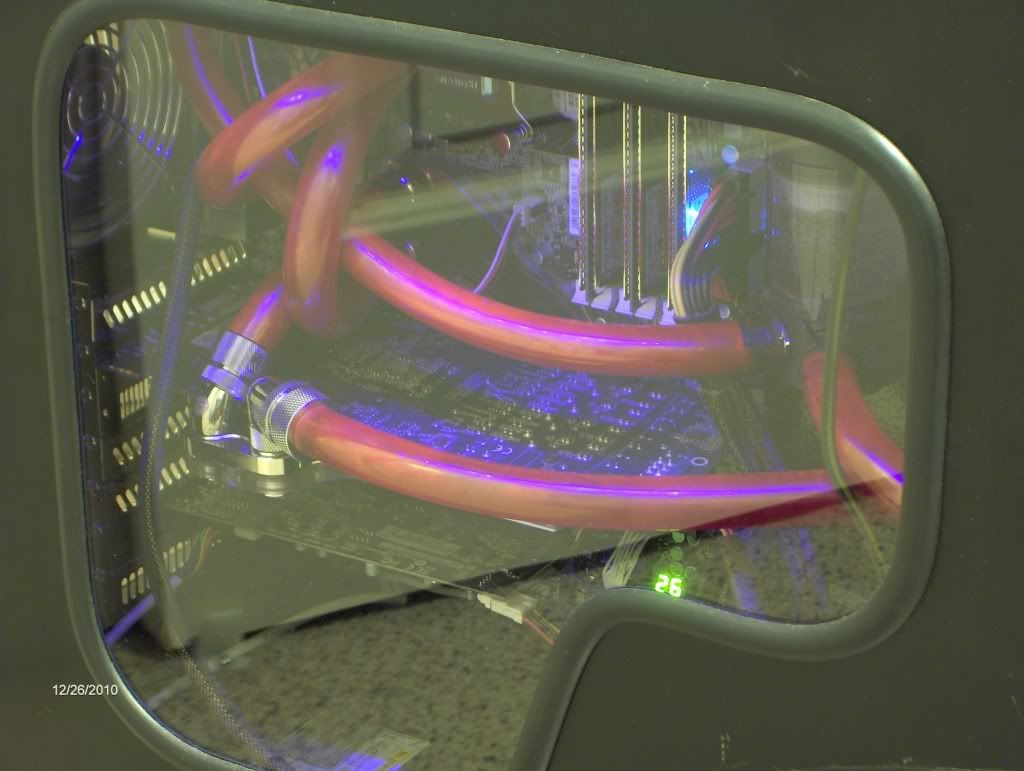
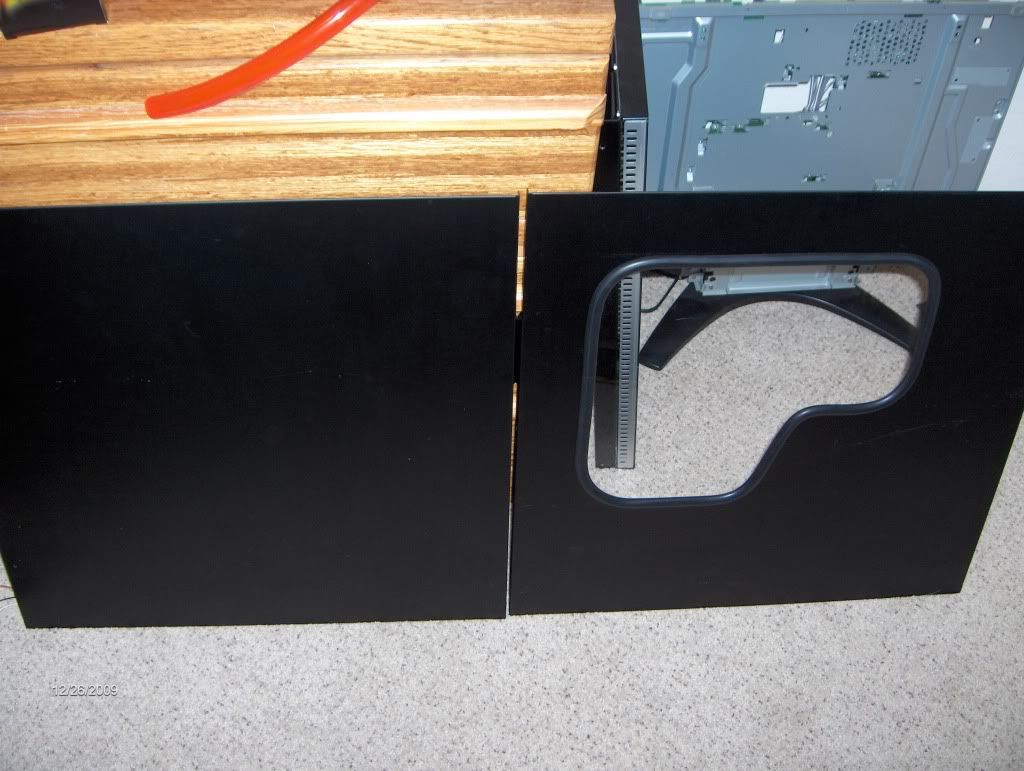
0. Mod side window into case panel
1. Remove and replace current air cooling with waterblocks
2. Mod radiator, pump, and reservoir into case
3. Add wire management options
4. Prime and paint
Parts:
Window Kit ala FrozenCPU
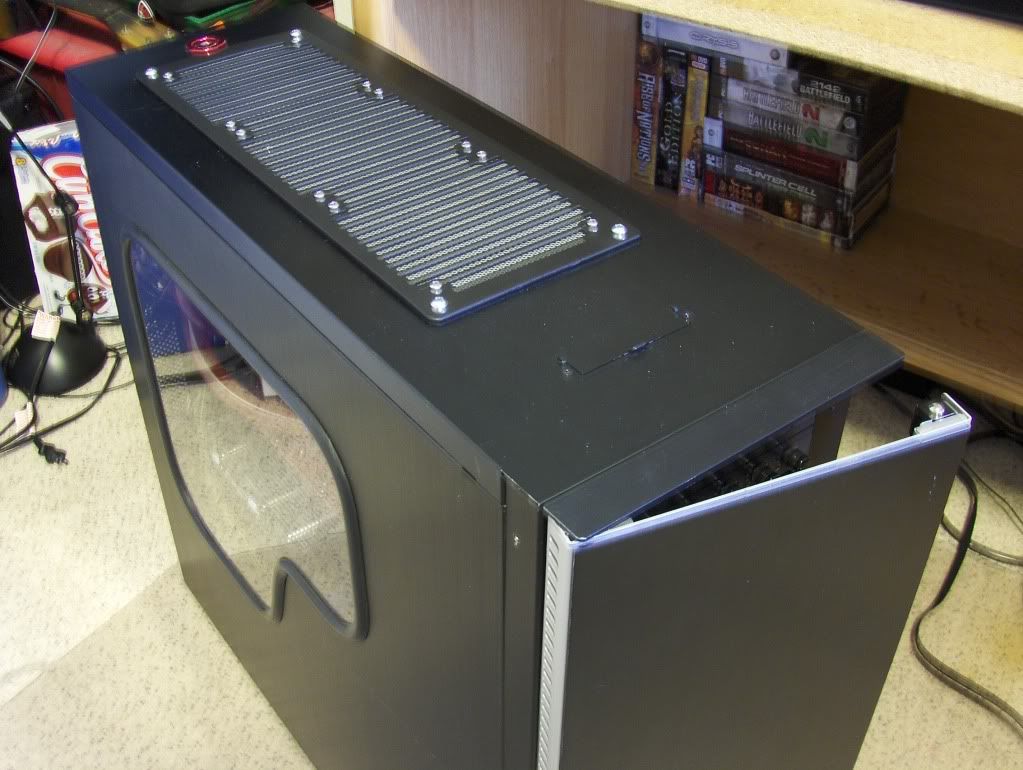
Swiftech MCR-320-QP Radiator
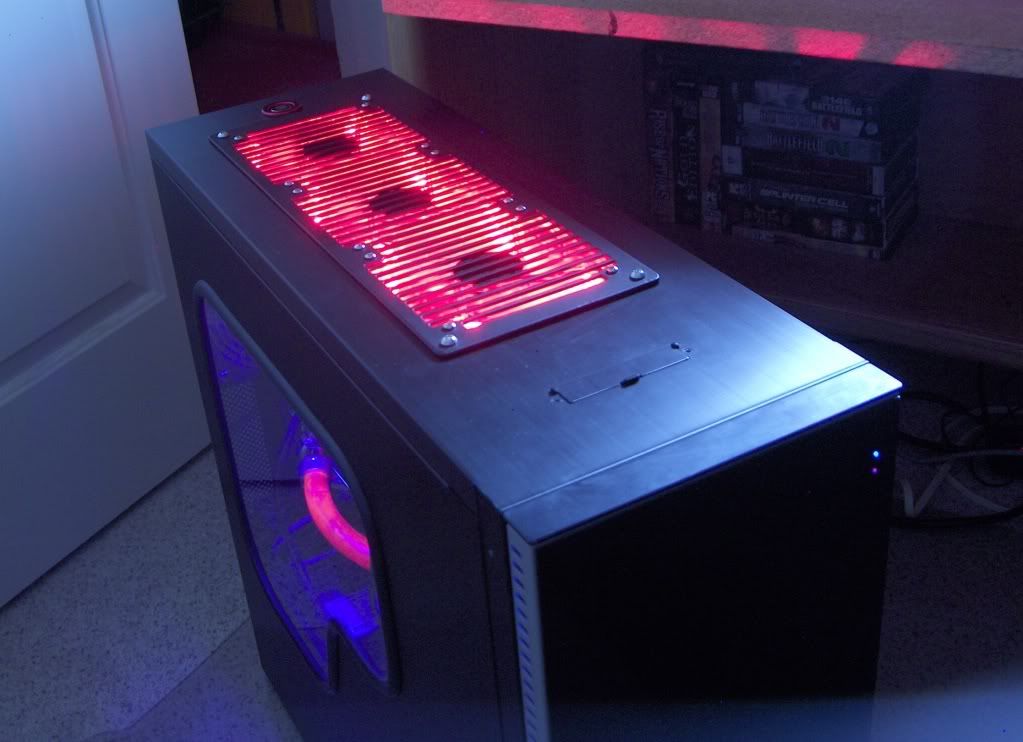
AC Ryan Radgrill
DD Fillport
EK Multioption Res 100 Reservoir
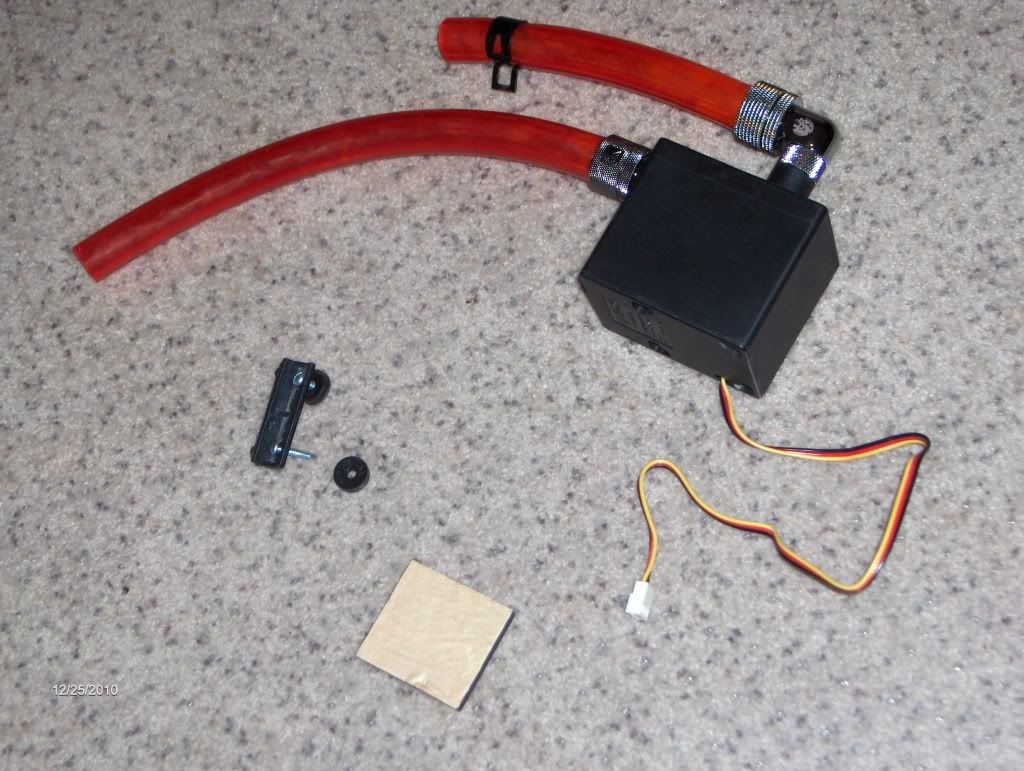
Jingway DP1200 CPX-Pro Pump
Enzotech Sapphire CPU Waterblock & 1366 bracket
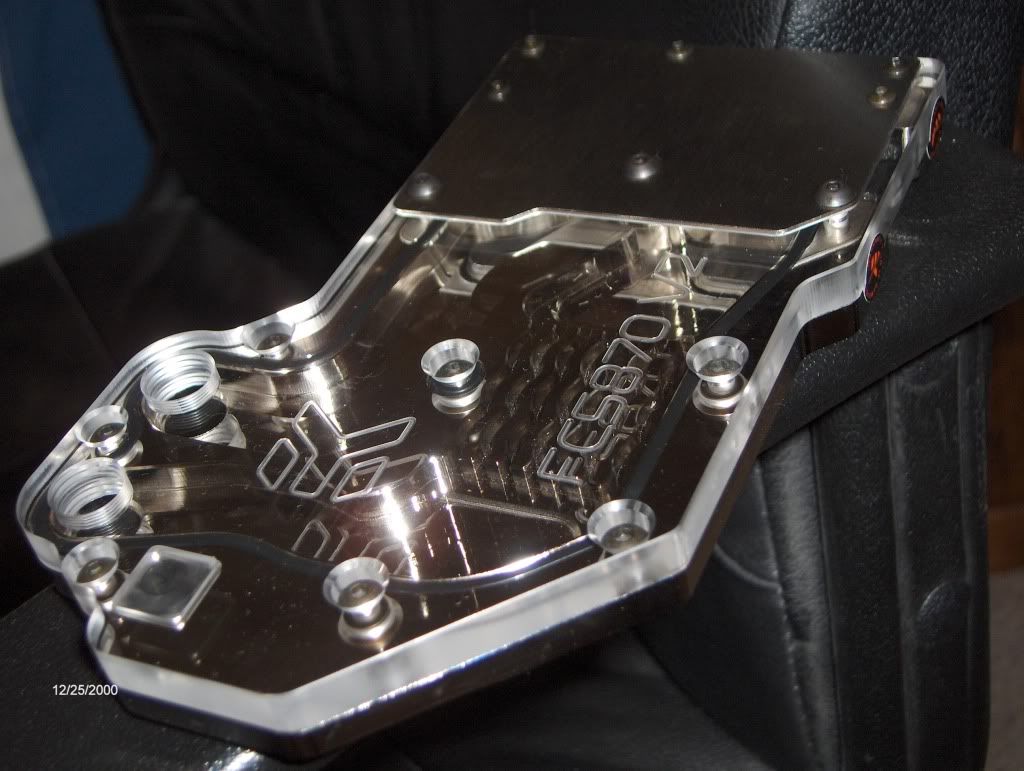
EK Acrylic top Chipset/Vreg waterblocks
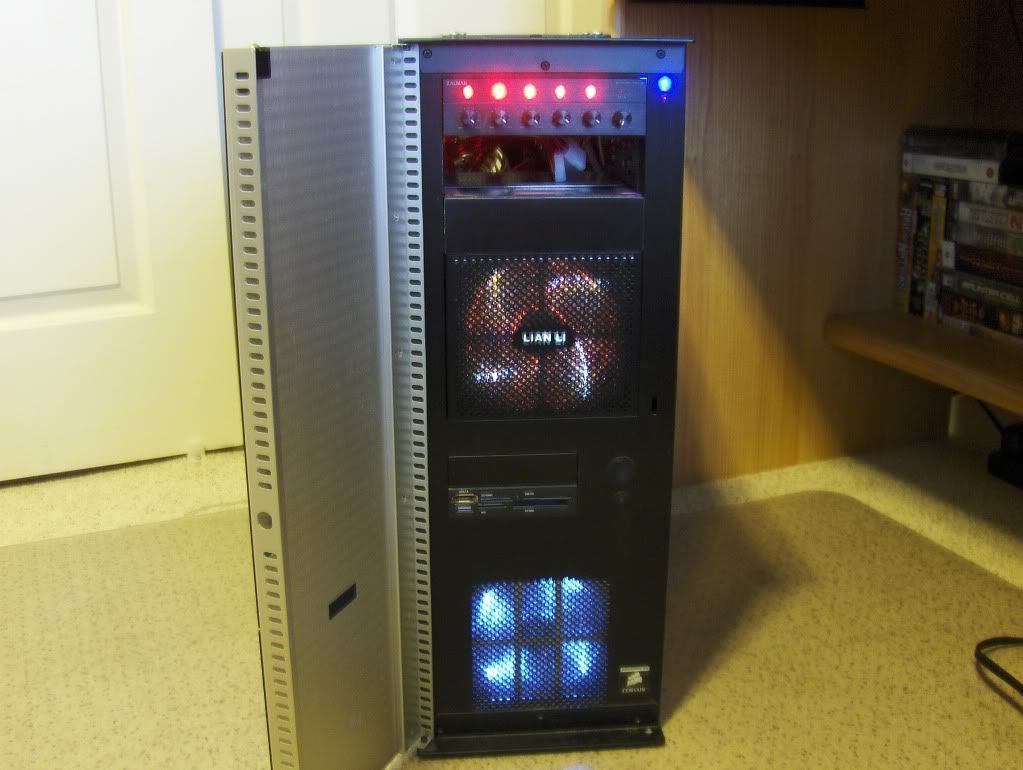
3x[Yate Loon 120mm fans]
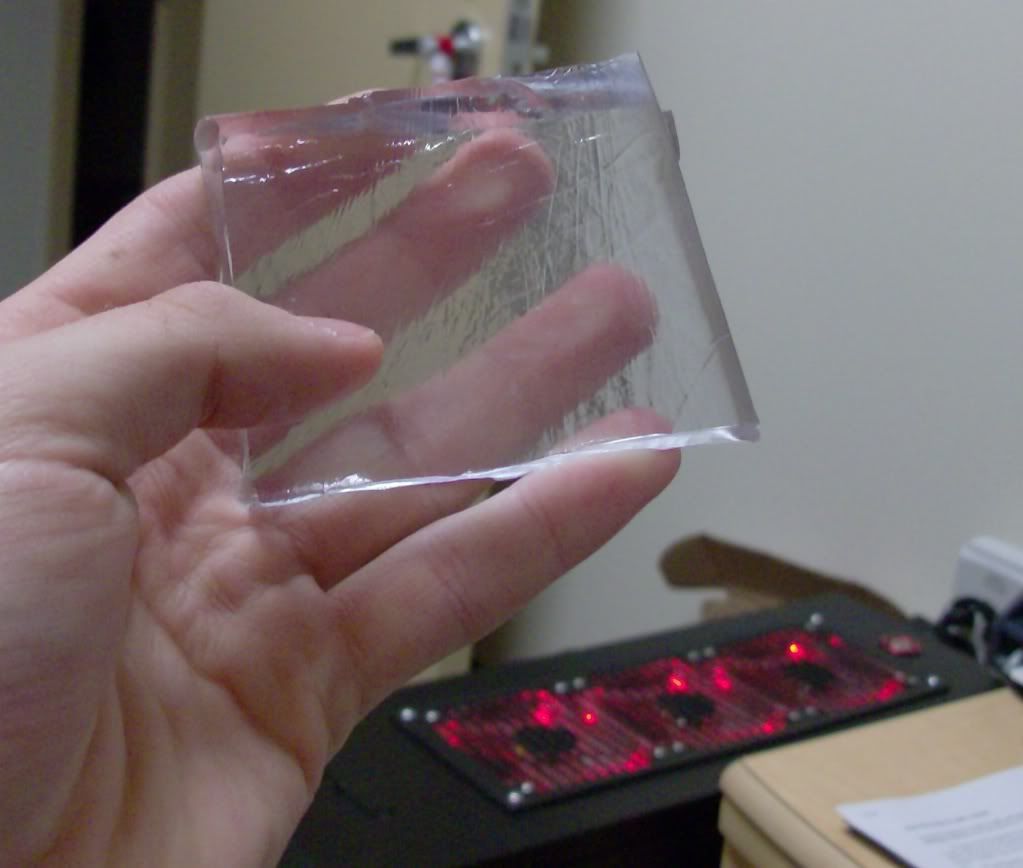
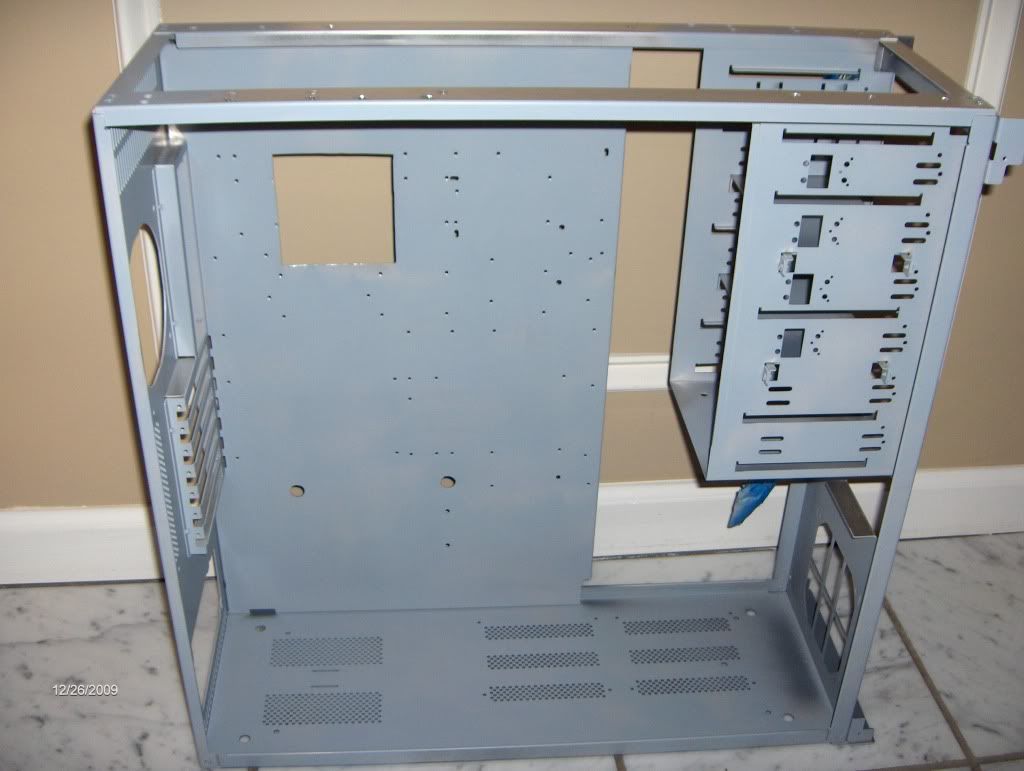
Took care of the side window and didn't take any pictures, cut with a jigsaw. I will comment that the molding was very difficult to work with even with another person helping. Took about 3 hours start to finish.
On to the real stuff.
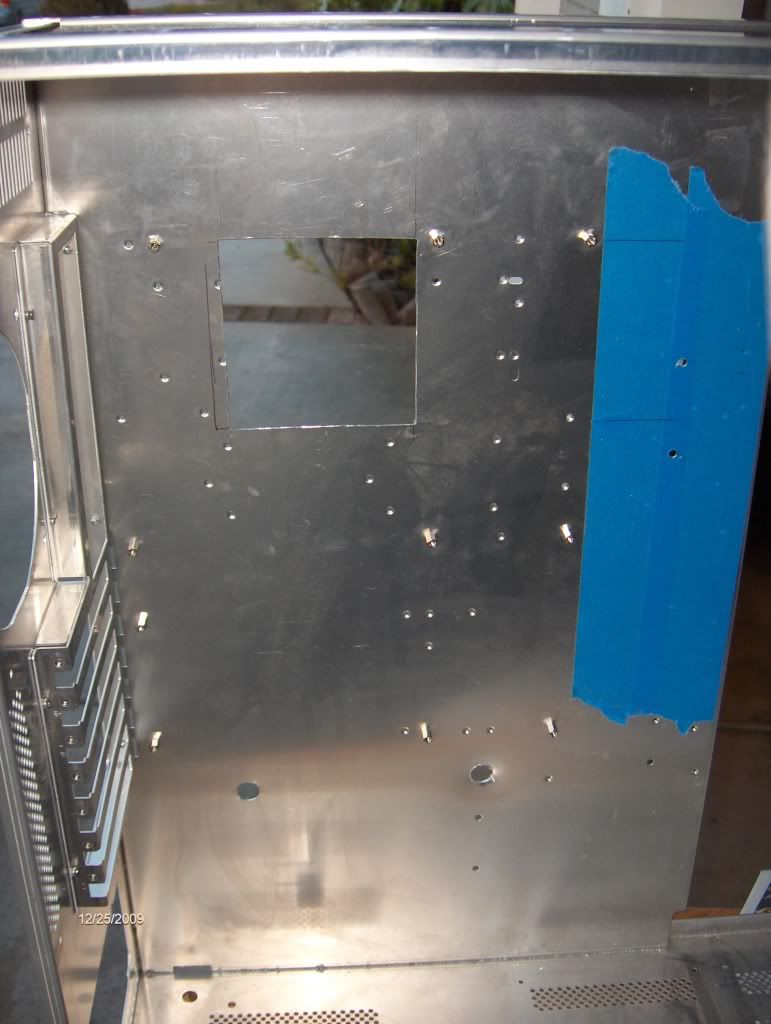
Several things done first:
1. Access hole cut so CPU heatsink can be removed while mobo is mounted
2. Wire management holes drilled near bottom of motherboard for those pesky on/off switch wires and USB cables
3. Mounting holes for reservoir drilled
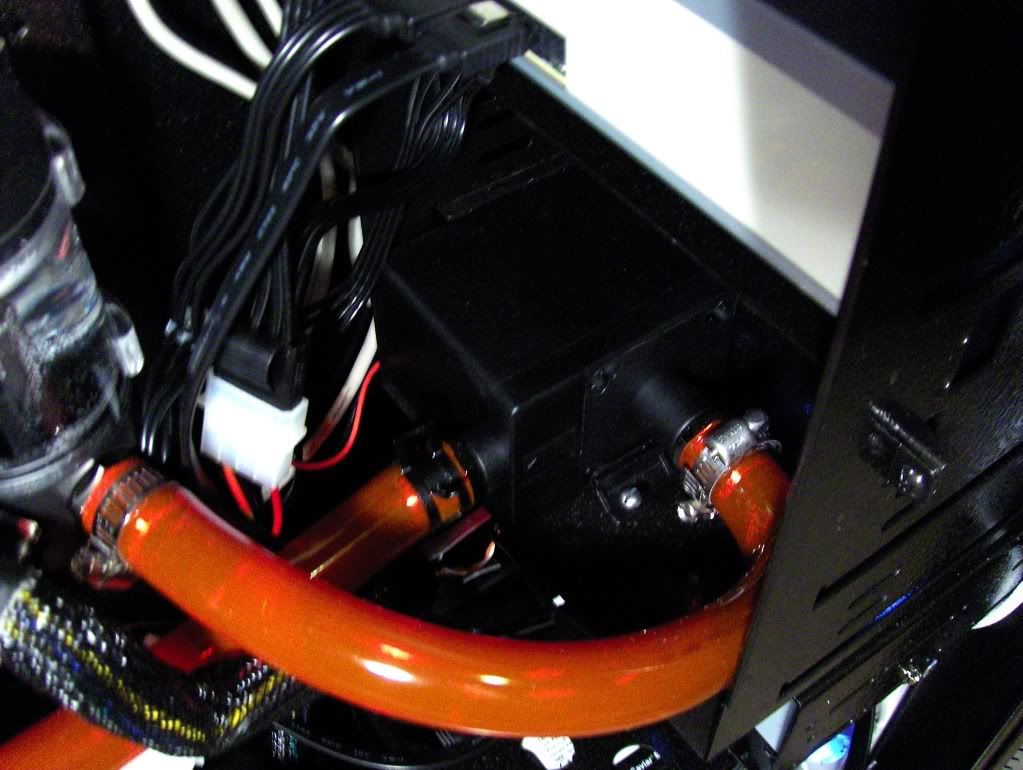
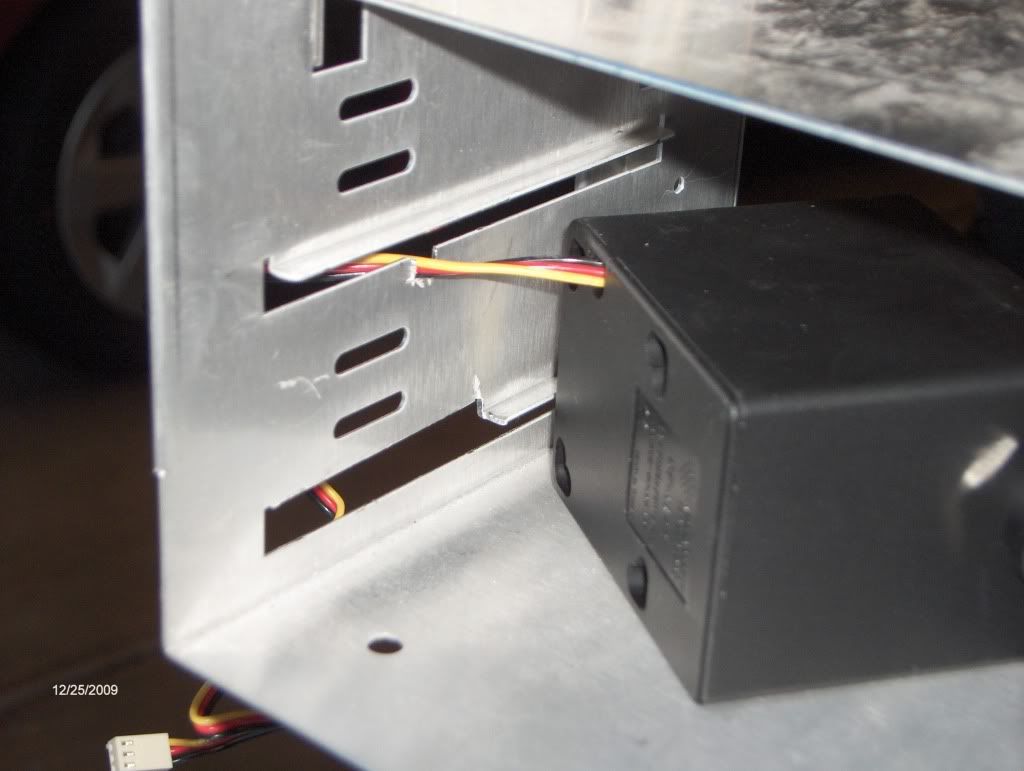
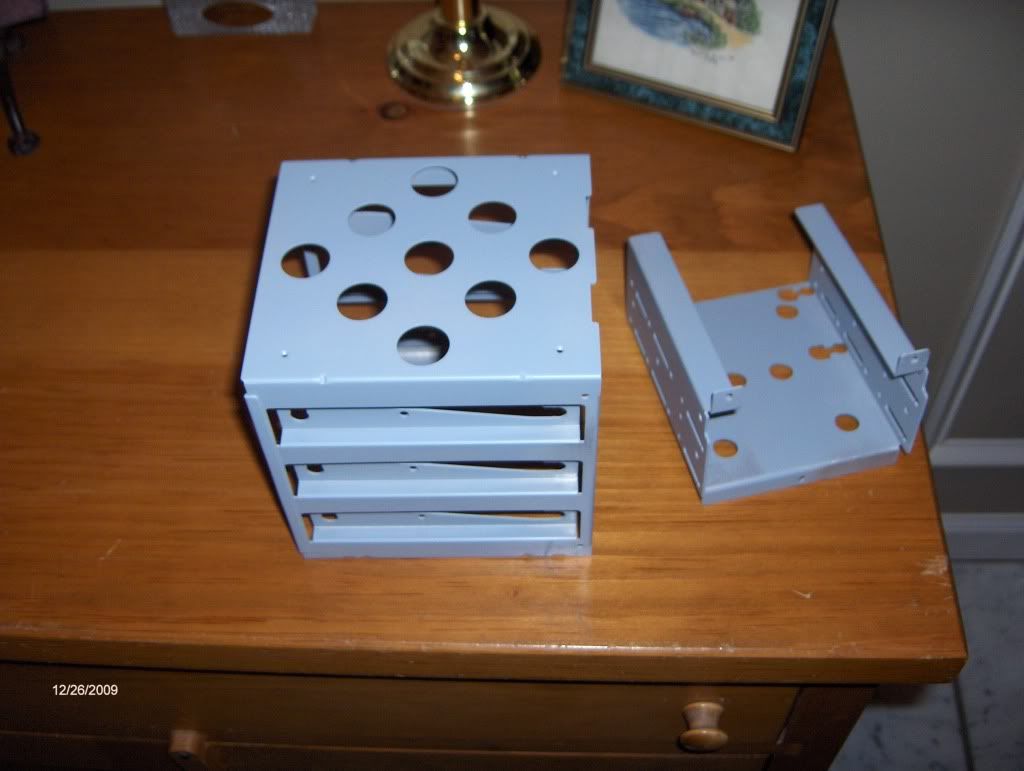
Cut a piece out of the bottom 5.25 bay for the pump to fit, also made a slot for the wiring.
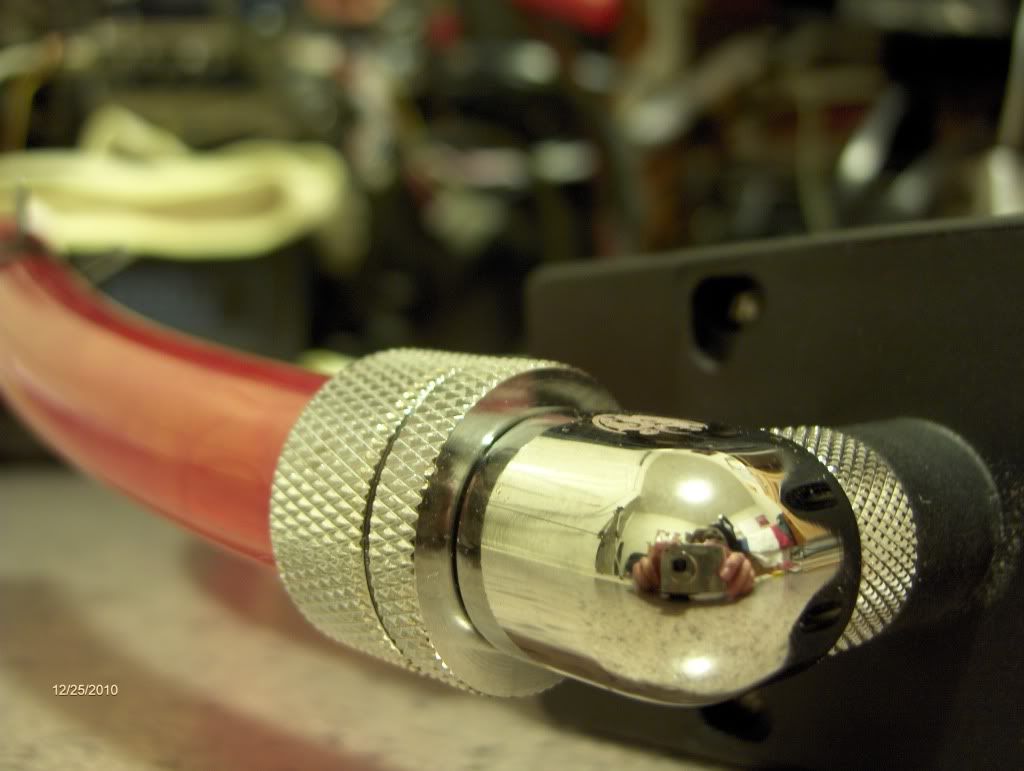
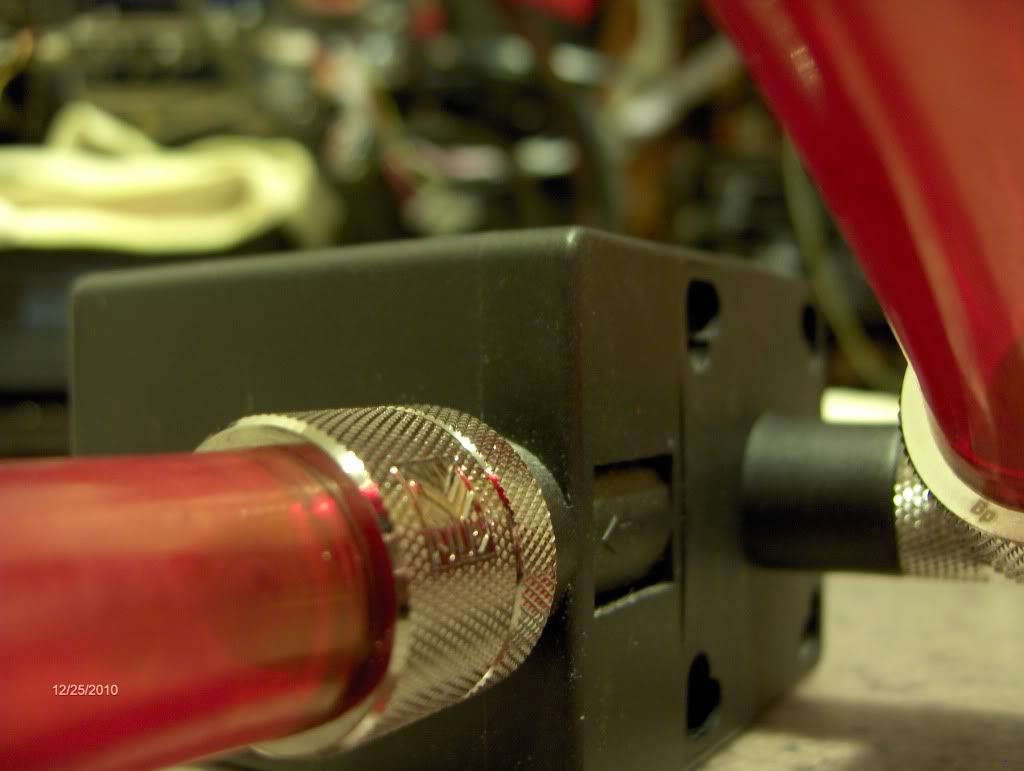
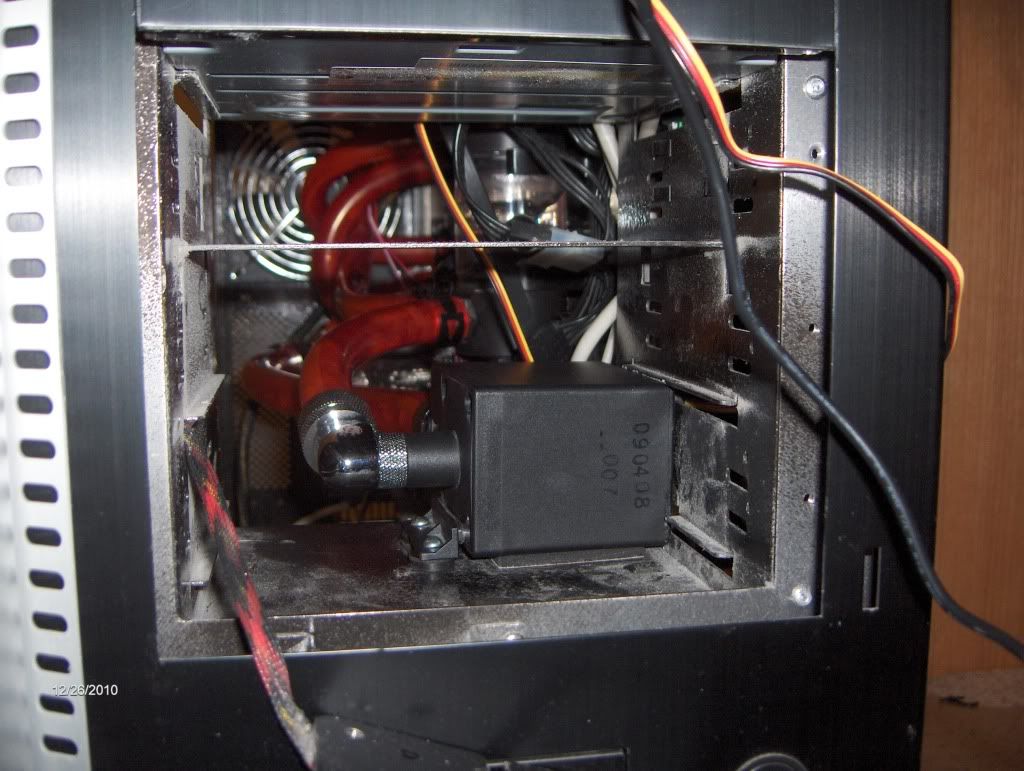
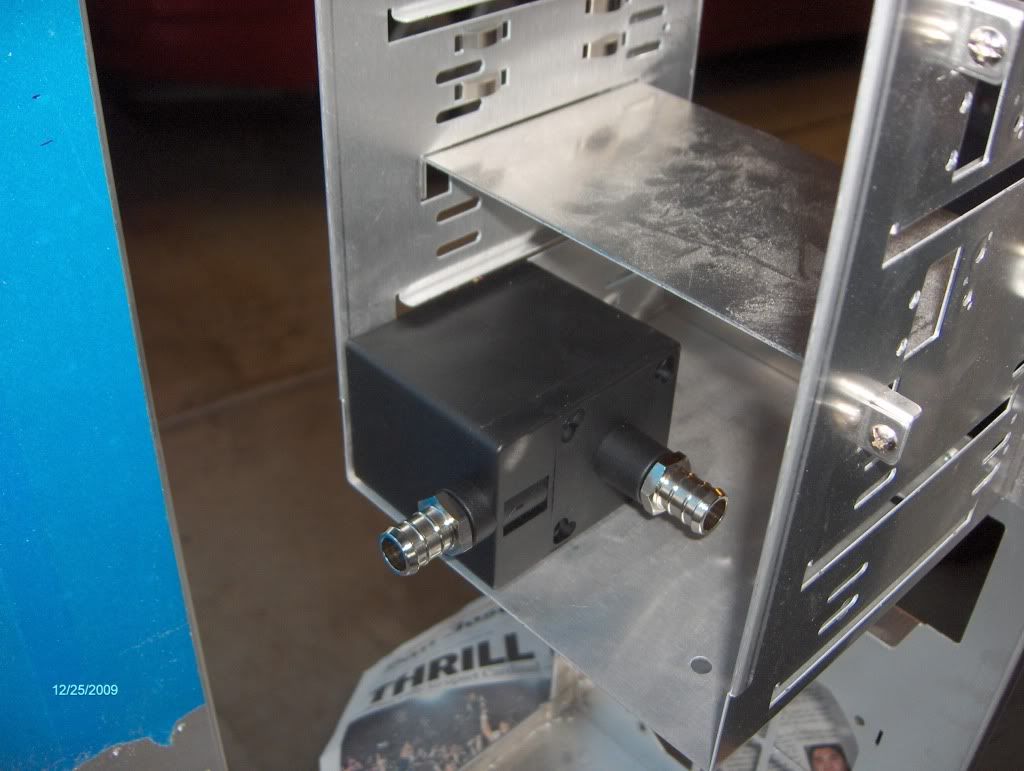
Pump in position. I have an acrylic T cube that has been converted into a temporary 90 degree fitting until I can find a real one (not pictured)
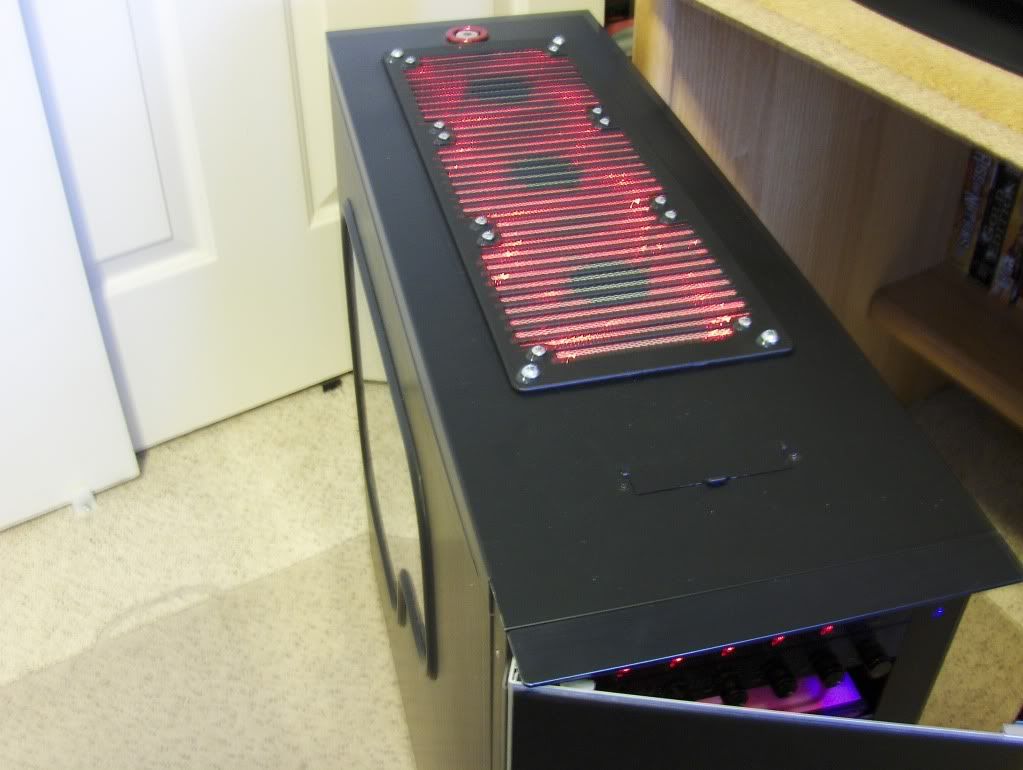
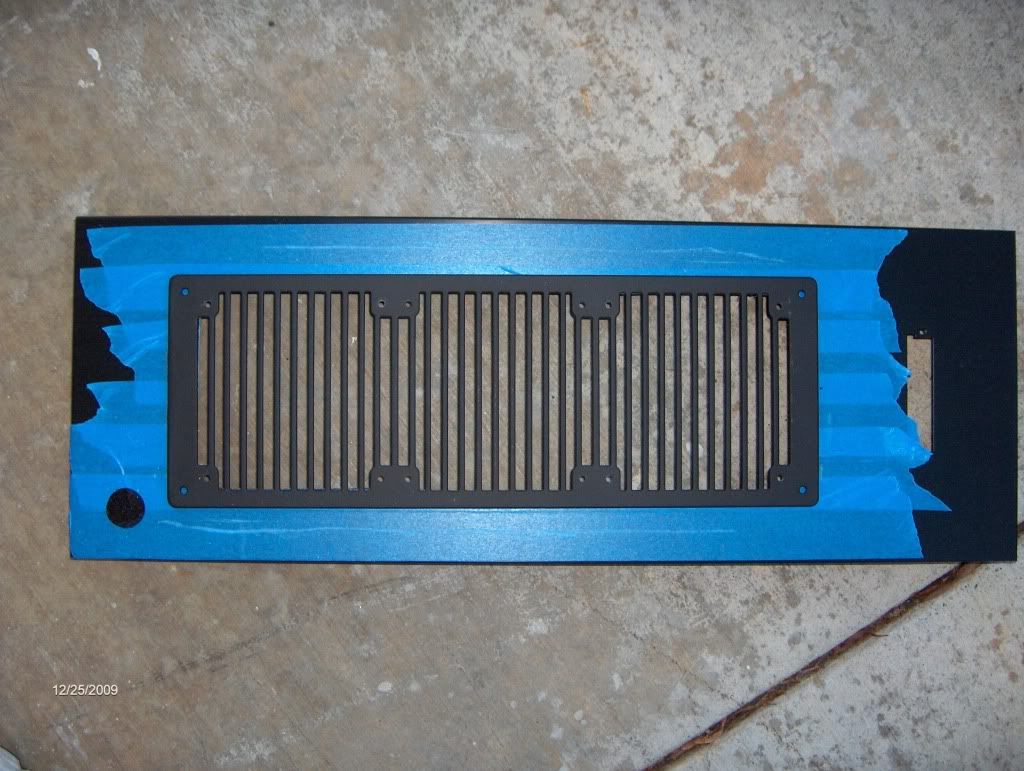
Measured and cut the rectangular hole for the radiator exhaust
With the grill sitting on top
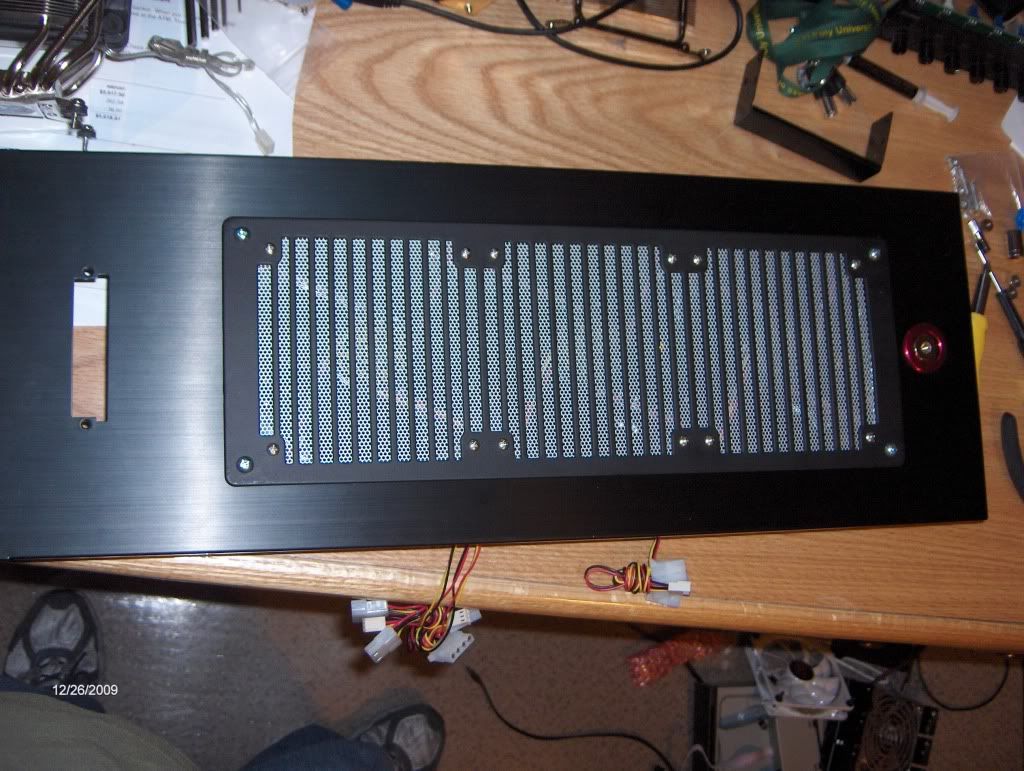
Drilled the required holes to mount the radiator and fillport and bolted everything together.
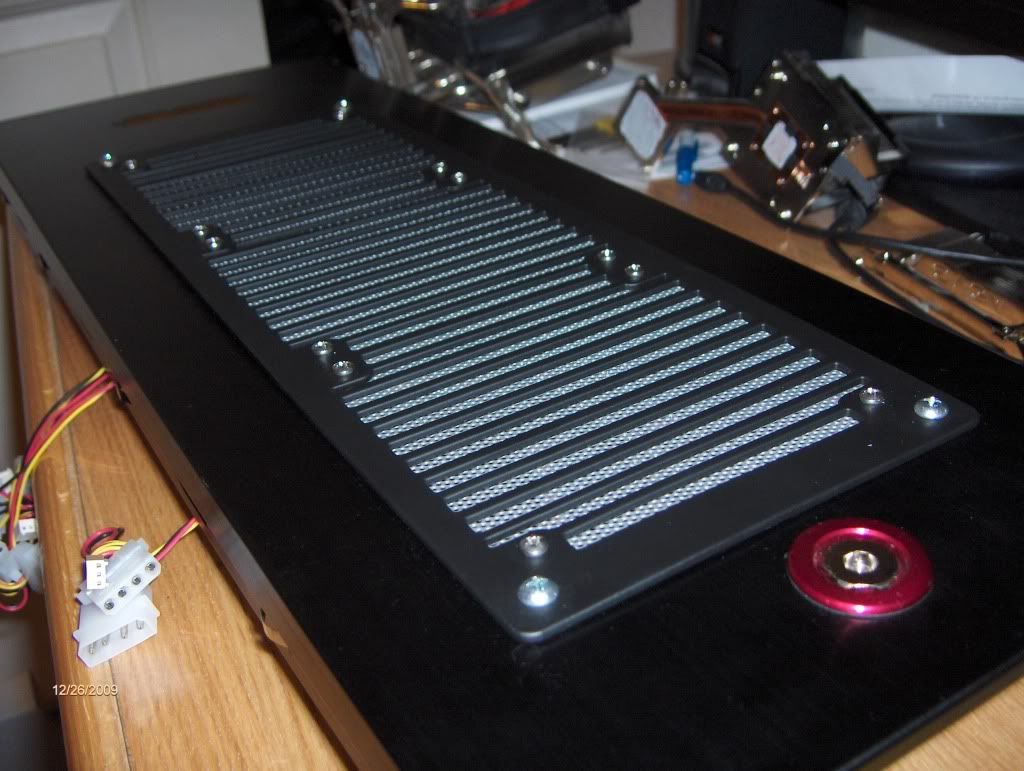
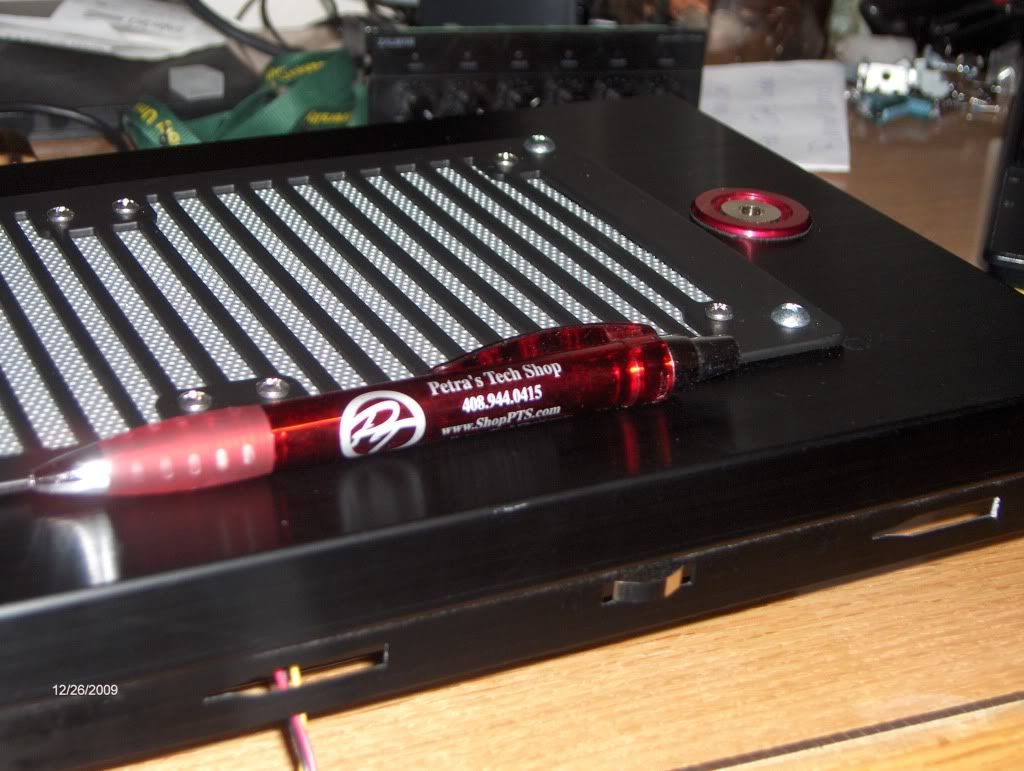
Just going to take a moment and give a shout out to Petras Tech Shop, they were nice enough to supply some PT Nuke, spot me a few screws, and give me a shiny red pen. Good folks over there.
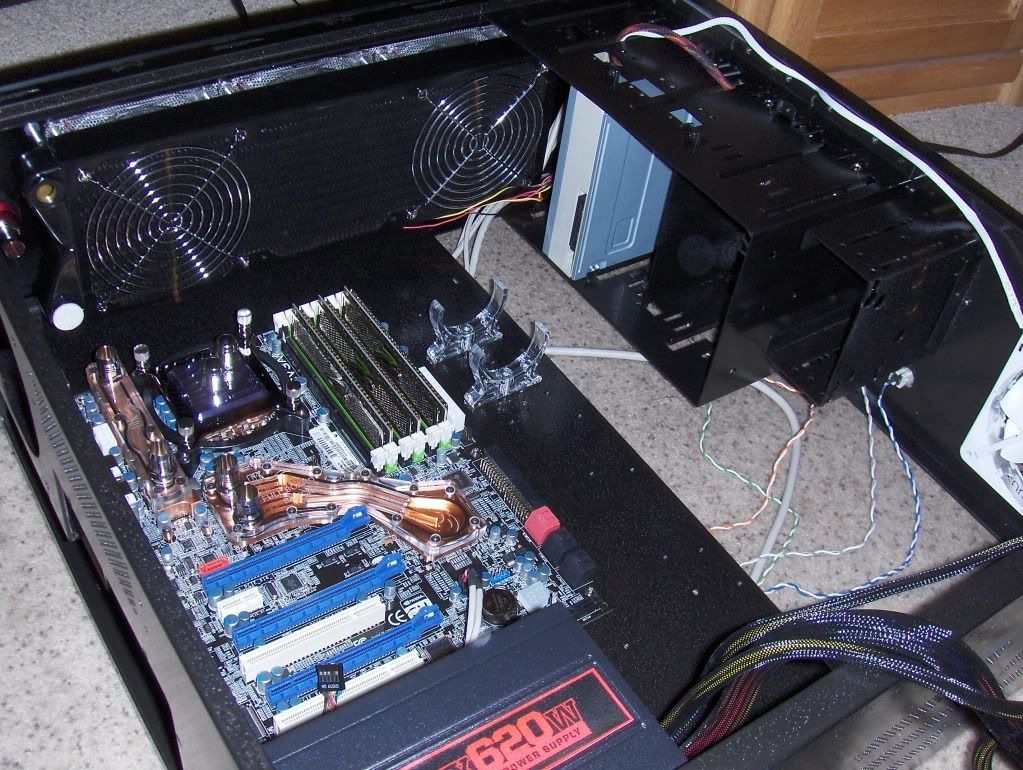
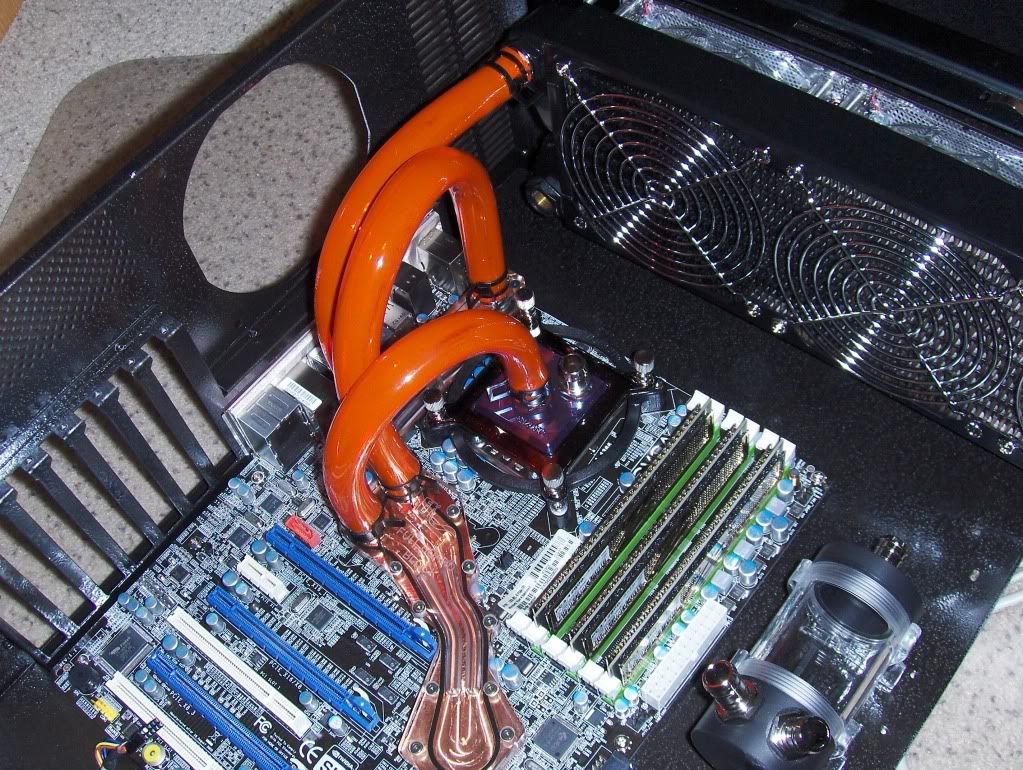
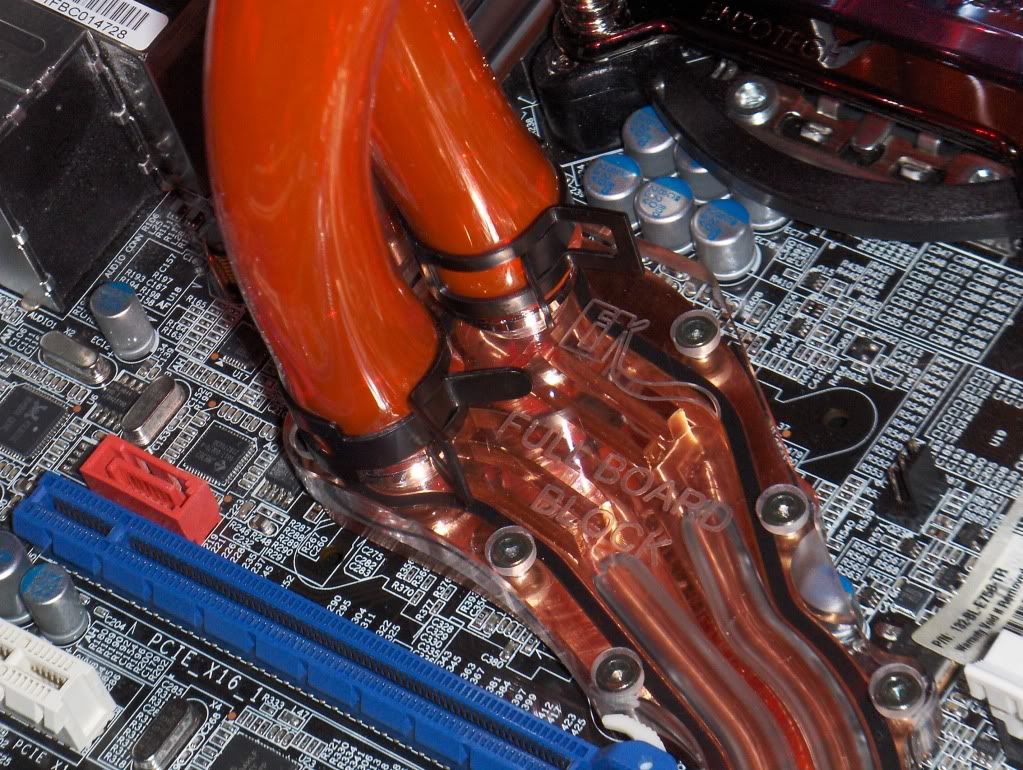
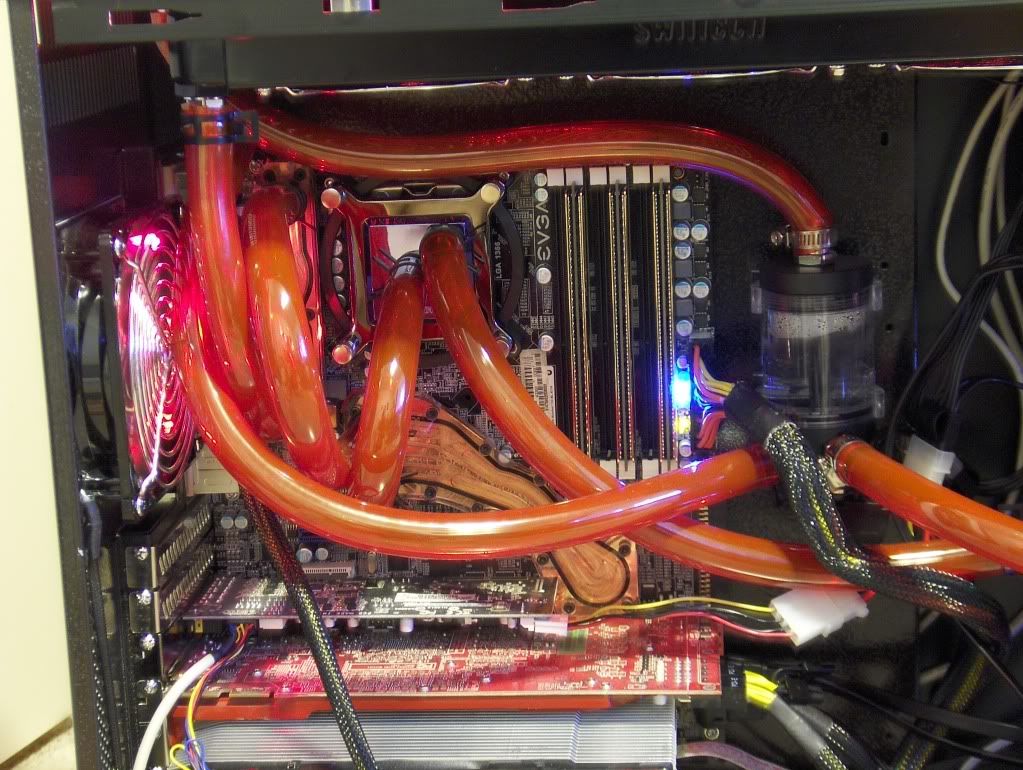
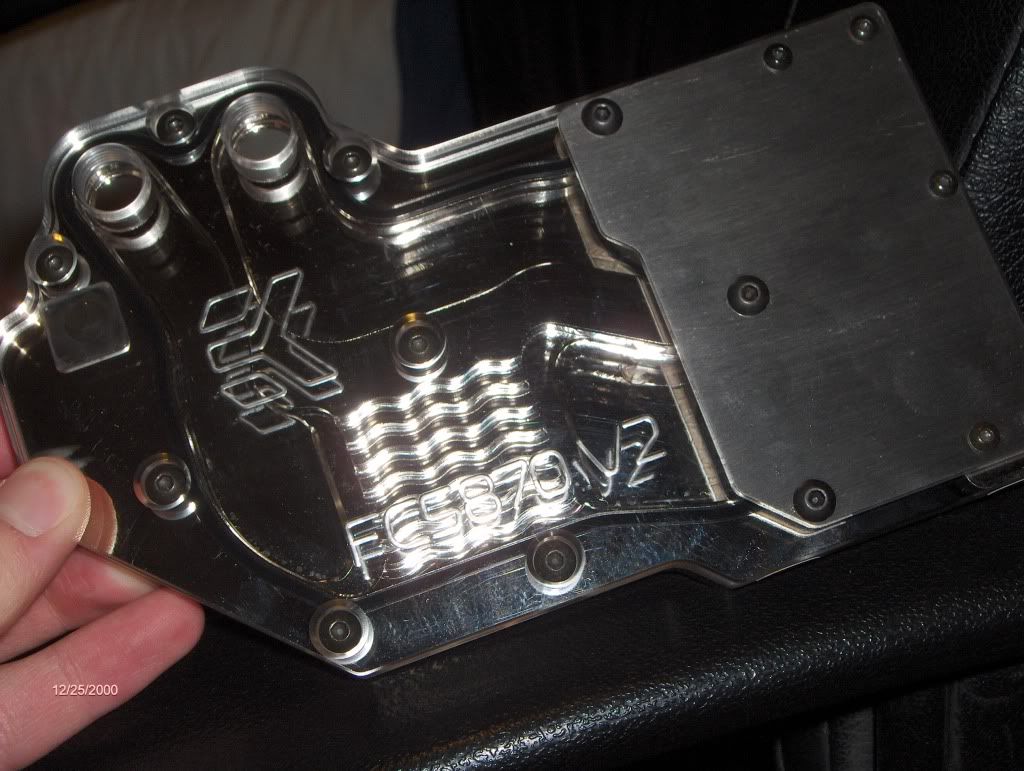
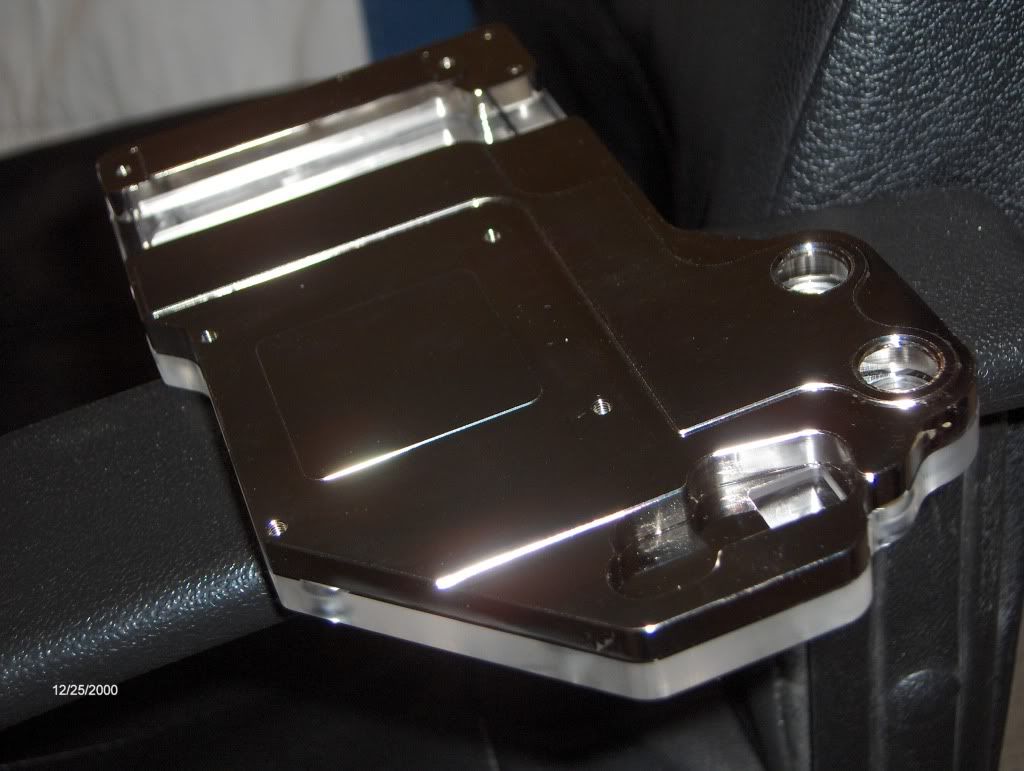
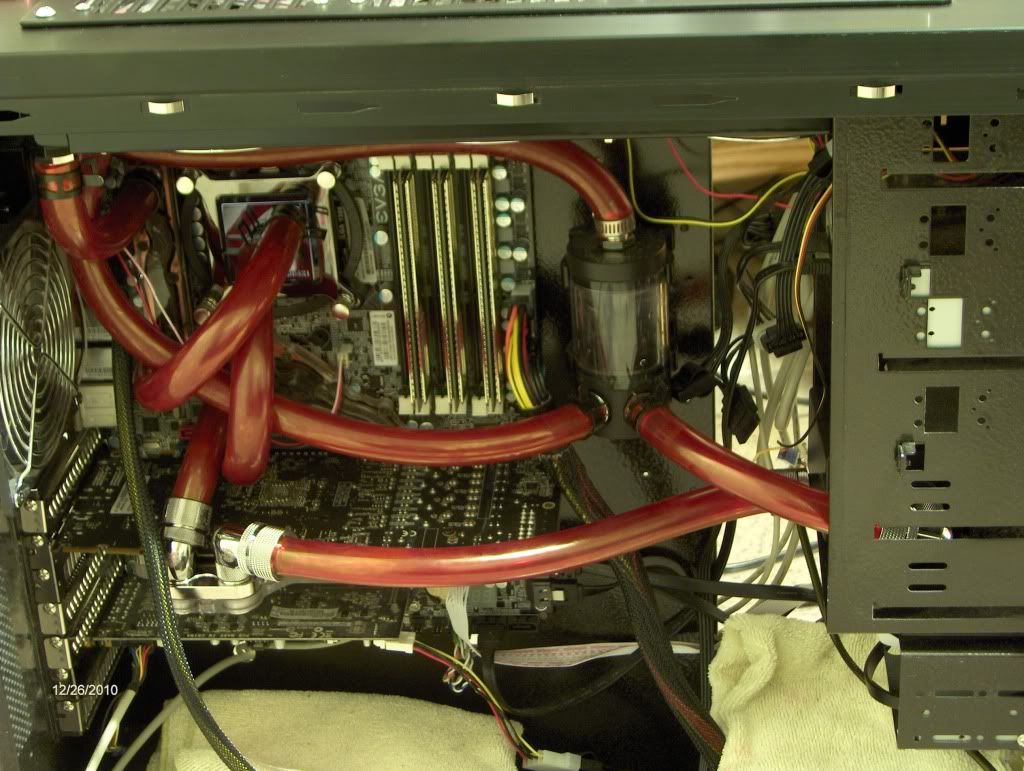
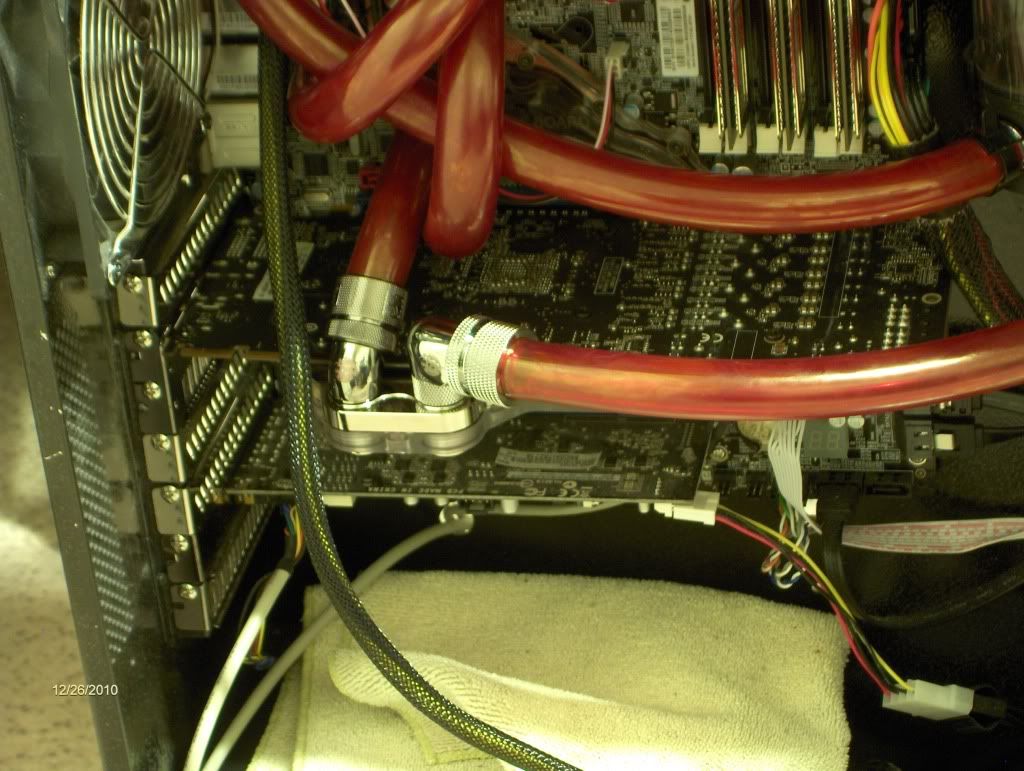
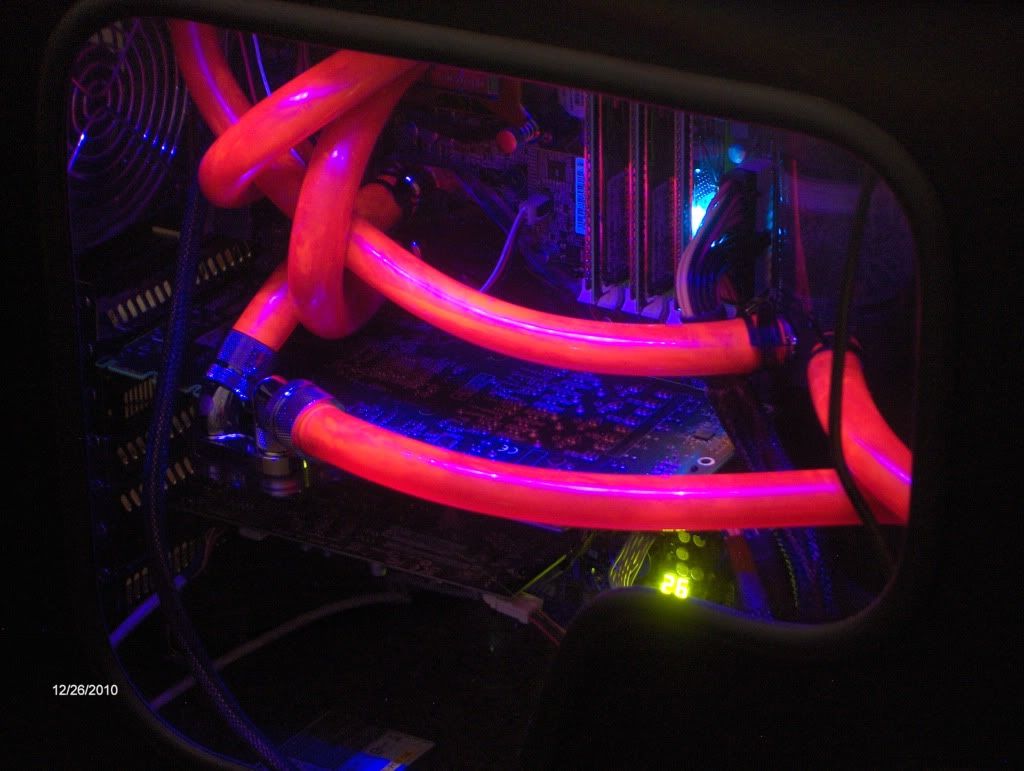
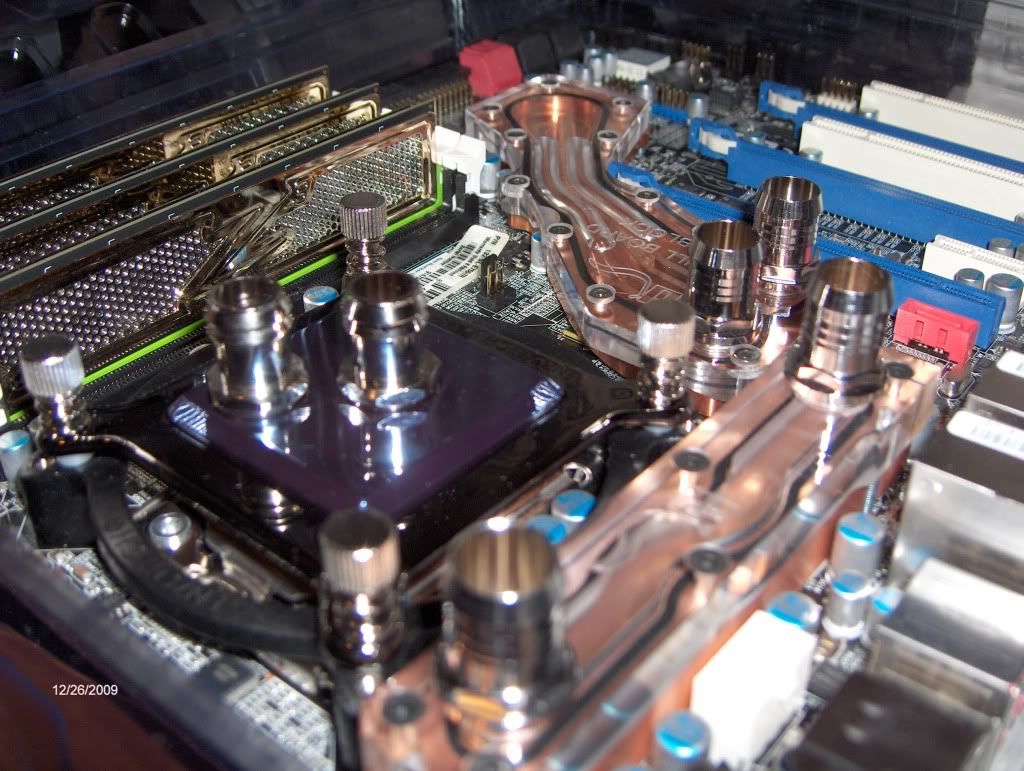
Waterblocks mounted
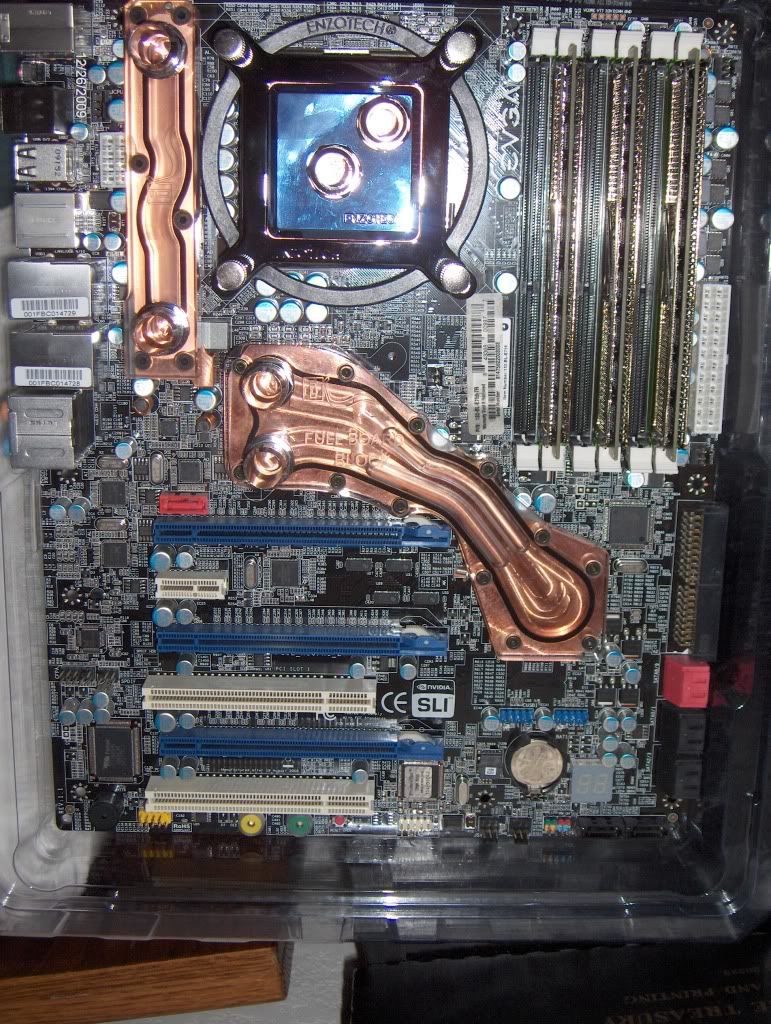
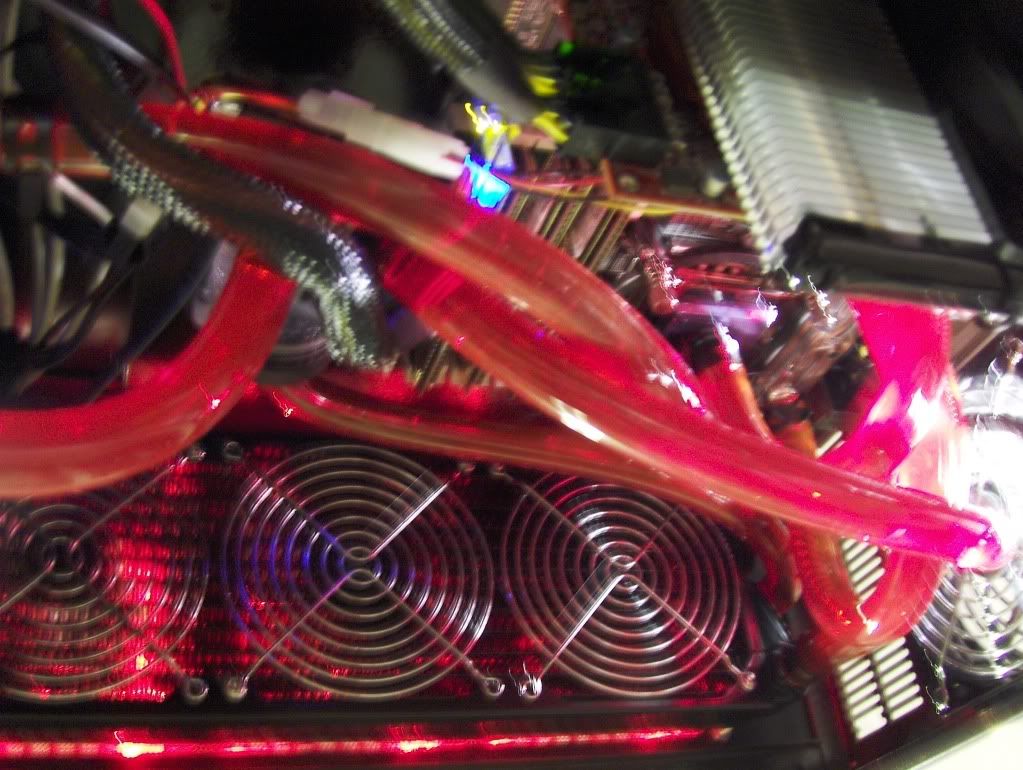
I was slightly humored by my camera focusing on the background.
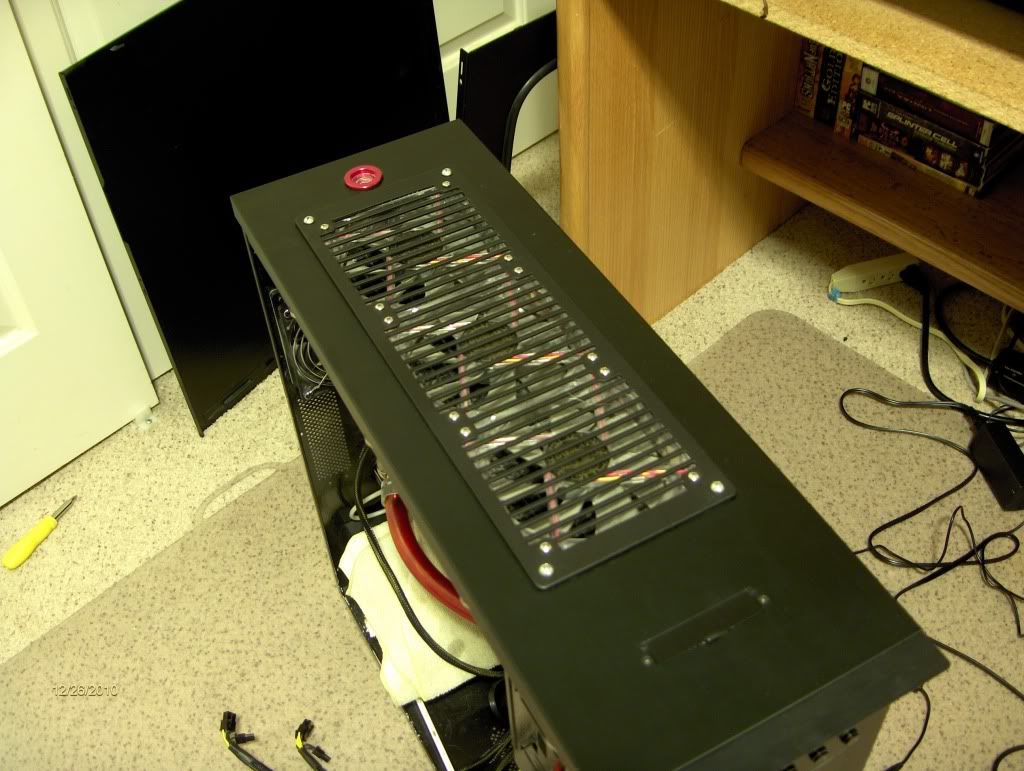
Everything has been cut and drilled (including screw holes for pump, not shown), went ahead and primed the case for the upcoming paintjob.
That sums up everything done so far, unfortunately the rain is preventing the paint job which is preventing getting everything hooked up. Should only be a few days' delay.
Comments welcome!
Edit: 12/25/2010
Recent upgrades have occurred and are worth resurrecting the thread for, including MUCH better pictures with a much better camera.
Specs
i7 920
Coolermaster v8
EVGA X58 SLI
3x2gb OCZ Gold 1600
Sapphire 4870
Rocketfish Full Tower (Rebranded Lian Li case for those who don't know)
Beginning with this:
Ending with this:
Goals:
0. Mod side window into case panel
1. Remove and replace current air cooling with waterblocks
2. Mod radiator, pump, and reservoir into case
3. Add wire management options
4. Prime and paint
Parts:
Window Kit ala FrozenCPU
Swiftech MCR-320-QP Radiator
AC Ryan Radgrill
DD Fillport
EK Multioption Res 100 Reservoir
Jingway DP1200 CPX-Pro Pump
Enzotech Sapphire CPU Waterblock & 1366 bracket
EK Acrylic top Chipset/Vreg waterblocks
3x[Yate Loon 120mm fans]
Took care of the side window and didn't take any pictures, cut with a jigsaw. I will comment that the molding was very difficult to work with even with another person helping. Took about 3 hours start to finish.
On to the real stuff.
Several things done first:
1. Access hole cut so CPU heatsink can be removed while mobo is mounted
2. Wire management holes drilled near bottom of motherboard for those pesky on/off switch wires and USB cables
3. Mounting holes for reservoir drilled
Cut a piece out of the bottom 5.25 bay for the pump to fit, also made a slot for the wiring.
Pump in position. I have an acrylic T cube that has been converted into a temporary 90 degree fitting until I can find a real one (not pictured)
Measured and cut the rectangular hole for the radiator exhaust
With the grill sitting on top
Drilled the required holes to mount the radiator and fillport and bolted everything together.
Just going to take a moment and give a shout out to Petras Tech Shop, they were nice enough to supply some PT Nuke, spot me a few screws, and give me a shiny red pen. Good folks over there.
Waterblocks mounted
I was slightly humored by my camera focusing on the background.
Everything has been cut and drilled (including screw holes for pump, not shown), went ahead and primed the case for the upcoming paintjob.
That sums up everything done so far, unfortunately the rain is preventing the paint job which is preventing getting everything hooked up.
Should only be a few days' delay.Comments welcome!
Last edited: