rfarmer
[H]ard|Gawd
- Joined
- May 9, 2014
- Messages
- 1,169
Hi All!!
Have gone through this thread as humanely possible. This is a treasure trove of info regarding NCase.
A bit about myself. I have been a Mac user for last decade and am happy with that. I am into gaming but with PS3 mostly and some amount of gaming in Mac is also there. With Game titles dwindling for PS3 it is time for upgrade.
With PS4 pro and fiasco around it and games prices going through the roof. I thought its time to get back to PC for Gaming. So started to search the net for a small yet powerful PC.
Ncase M1 fits the bill perfectly.
I have ordered it and Now I need your opinions on the below config:
CPU => i7 6700K
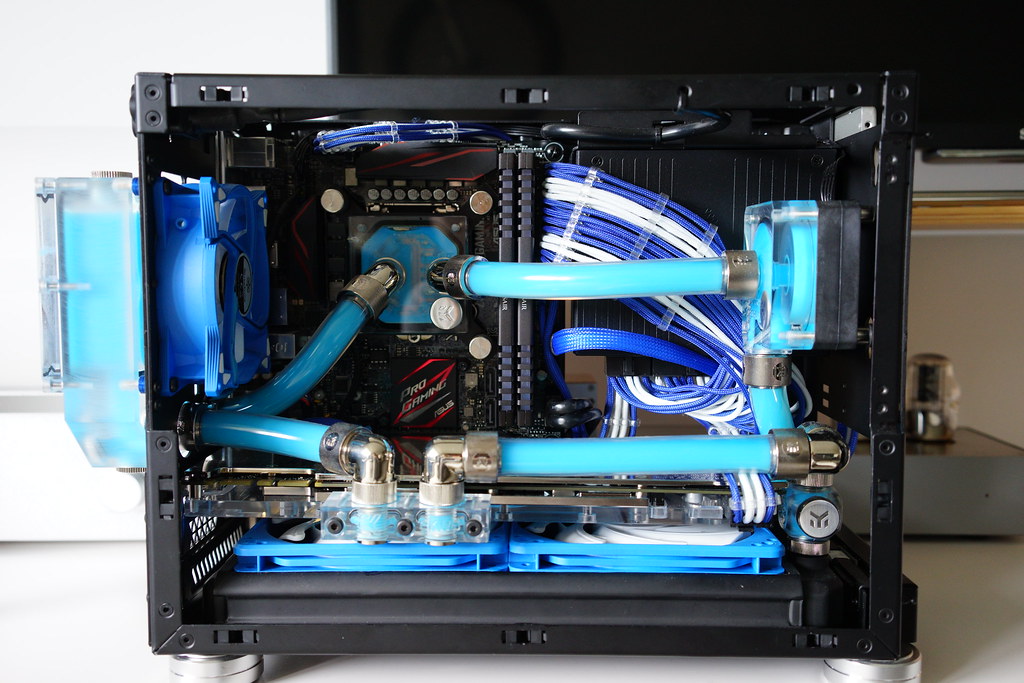
MBD => Gigabyte Z170N Gaming 5
RAM => Corsair Vengeance LPX 16GB 3000MHz
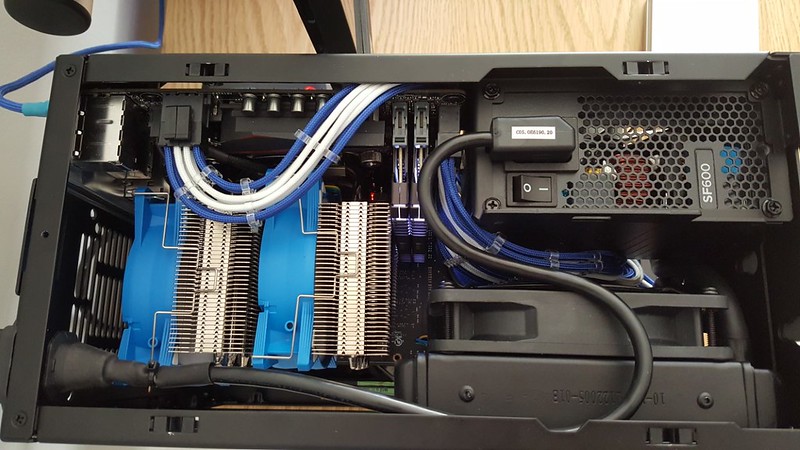
PSU => Corsair SF600
M.2 => Samsung 950 Pro 512GB
GPU => MSI 1070 Aero
Case Fans => Noctua F-12 iPPC PWM (for the bottom)
Now I am not able to finalize the AIO.
I wanted to go with H100i V2 but it is not compatible with NCase.
H100i can be used but it is a 3 year old tech. though it will help in the FAN header as the MB has only 2 FAN headers. Also It will need a SATA power which I want avoid as I have a M.2 and dont need that cable.
I also looked at the latest AIO launched the cooler master masterliquid pro 240. But it needs 2 FAN heads to work and I will not have FAN headers for my bottom fans.
All your opinion will help.
One more help is needed can a 92mm Fan can be place at the back with a 240mm AIO?
Regards
You are going with a reference style graphics card which will exhaust the heat out the back of the case, the gpu only sits like an inch above the bottom of the case and a fan really isn't necessary. I would look for an AIO that powers the pump off a fan header, they usually come with a splitter for 2 radiator fans. That way the 2 motherboard headers will be all you need.
I have the same motherboard and ram you are getting with a 6600k and a 1070 FE and I can tell you that you will be able to easily handle any game on the market.

 . If you're looking for an alternative the Dark Rock TF is an excellent one!