notarat
2[H]4U
- Joined
- Mar 28, 2010
- Messages
- 2,501
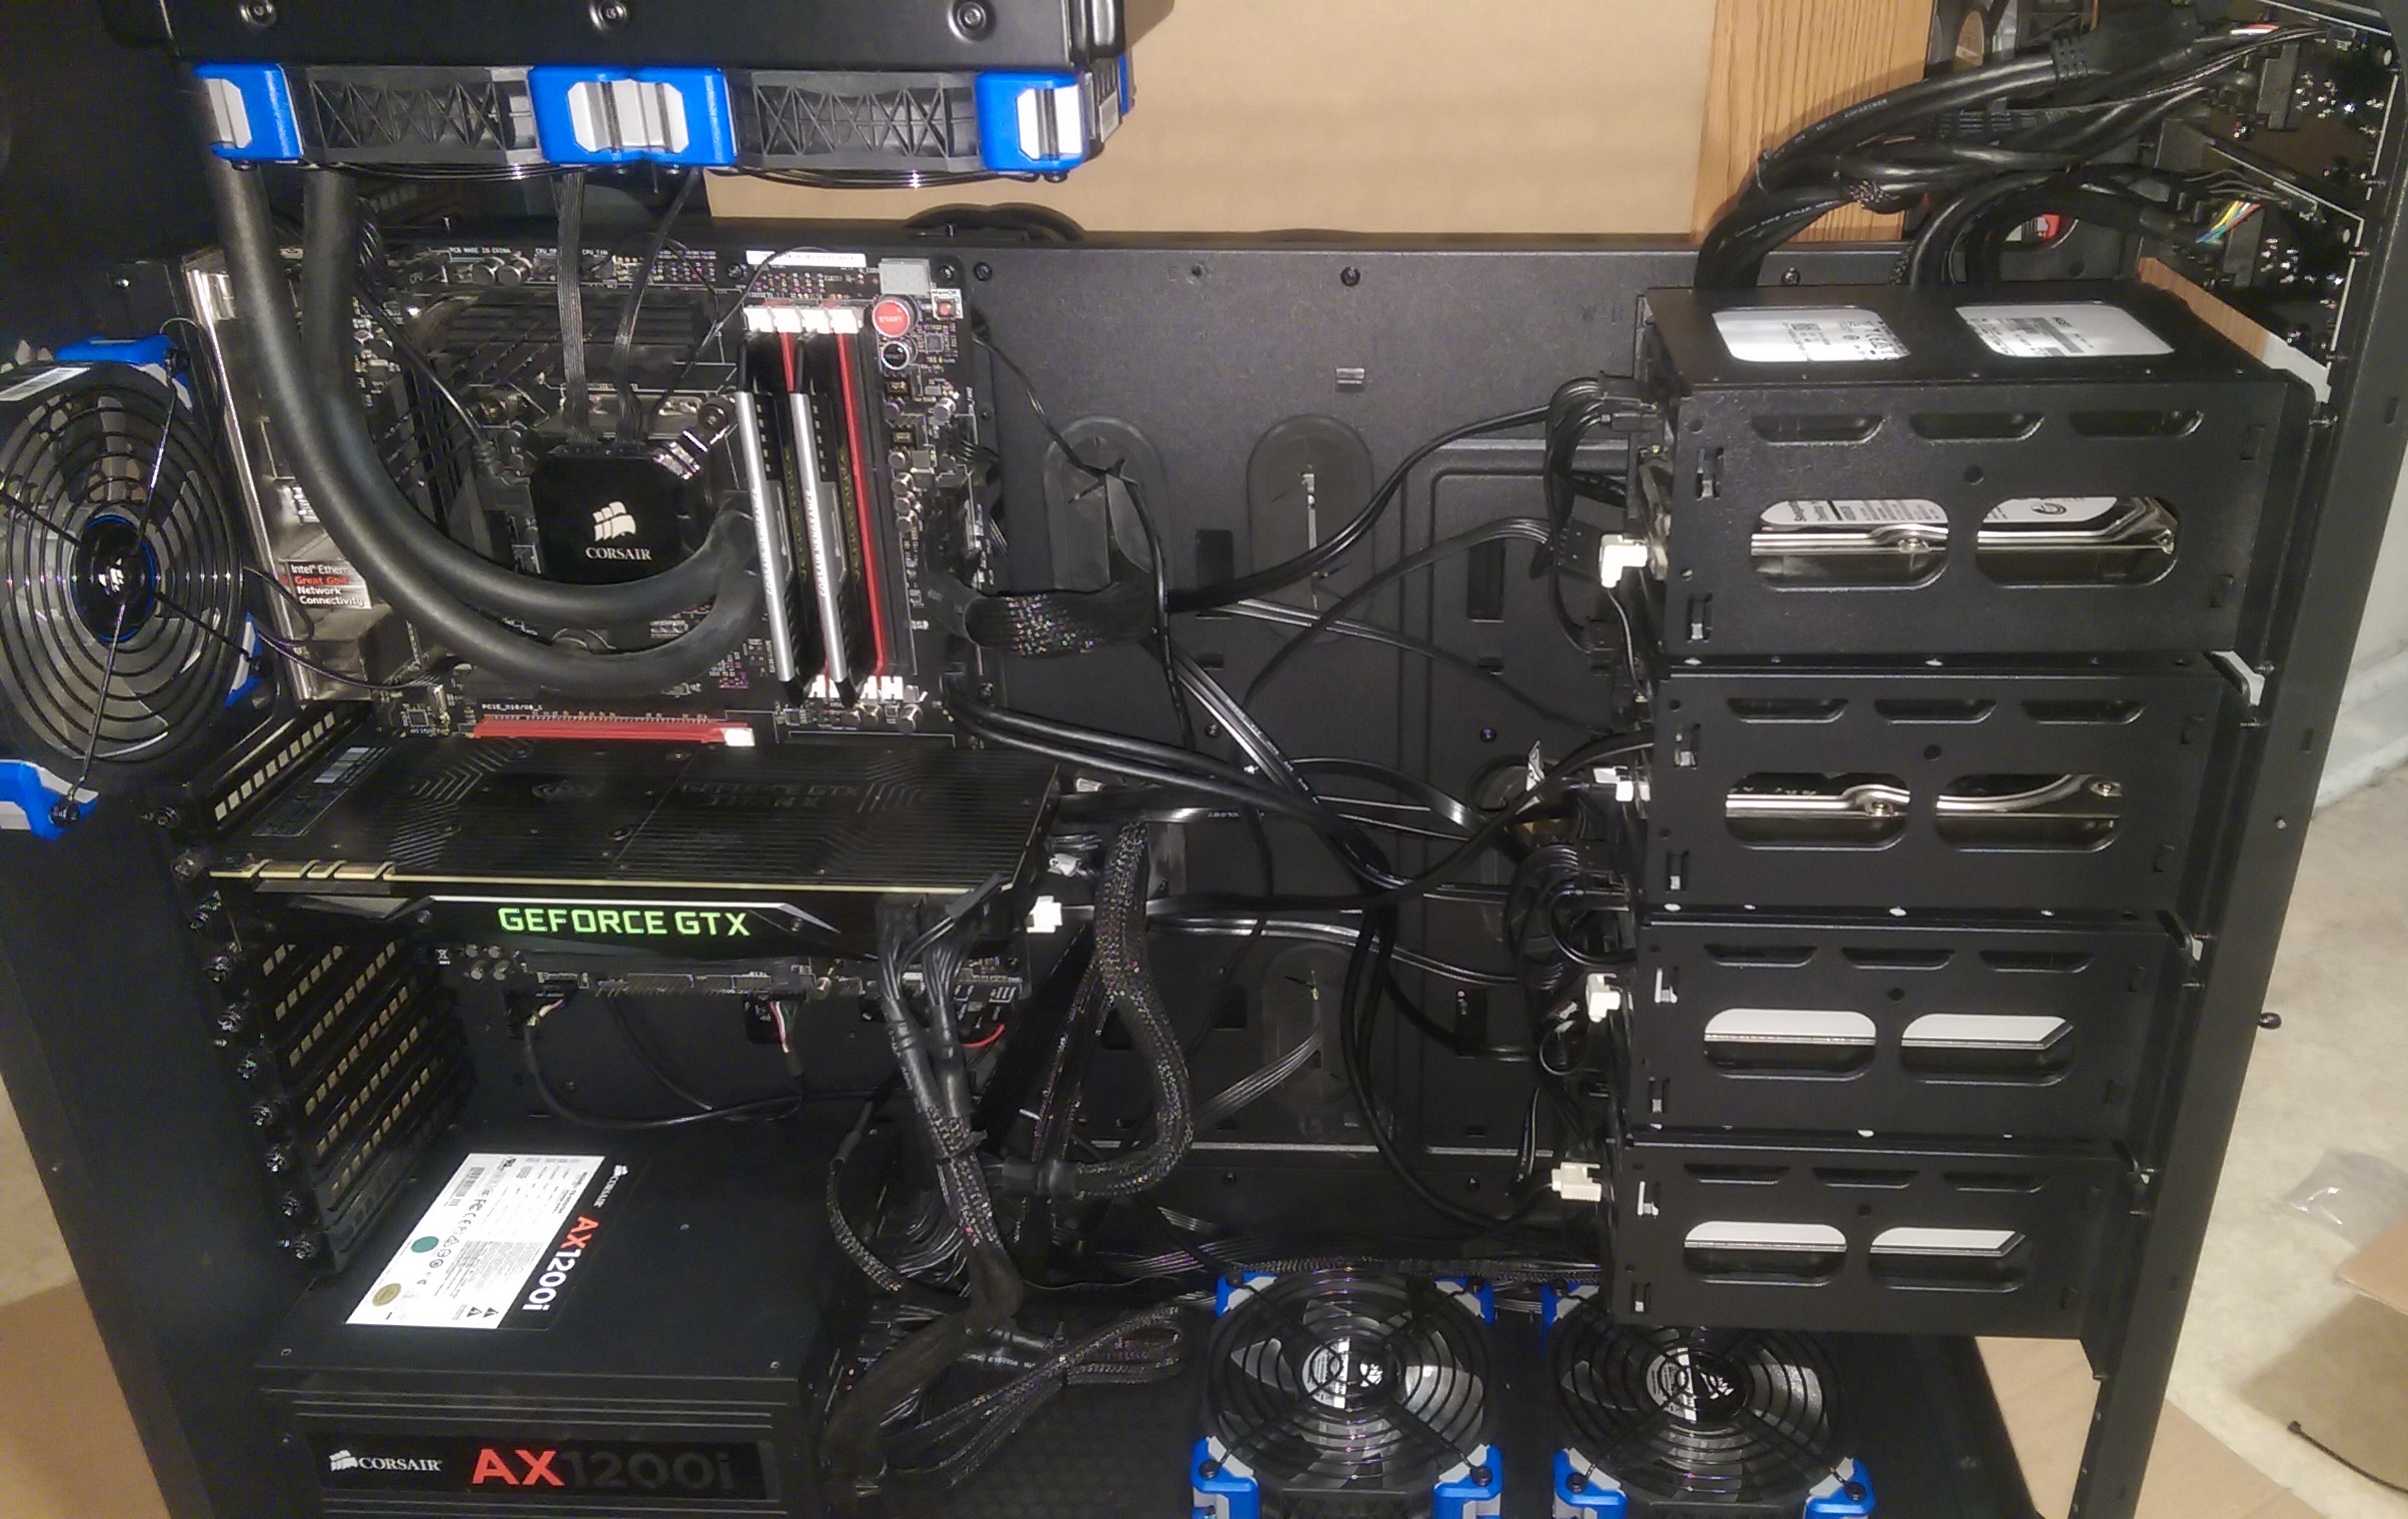
I have a TT Core W200 containing an Intel 4770K/TitanXP based system in the left side and an AMD Ryzen 1600X/1080Ti based system in the right side. Getting the case built was one thing but with both installed systems, cable management is arduous to say the least. My initial attempts looked like crap. Hiding cables for one system exposes them on the opposite side of the case where the "other" computer is located so it's more difficult to get things tidy.
That's when I decided to throw money at the problem until it went away. (I learned that valuable skill while working for the U.S. Government)
One of the problems I had was that I have ~52TB in spinners (6x HGST 8TB Drives & a Seagate 4TB) and three SSDs, and they have made life difficult due to all the cables associated with 6 drives divided between 2 systems
I bought some hot swap bays from TT to add to the case to consolidate some of the cable runs and it's worked out pretty well so far... The intel side looks much cleaner, but not clean like I want it.
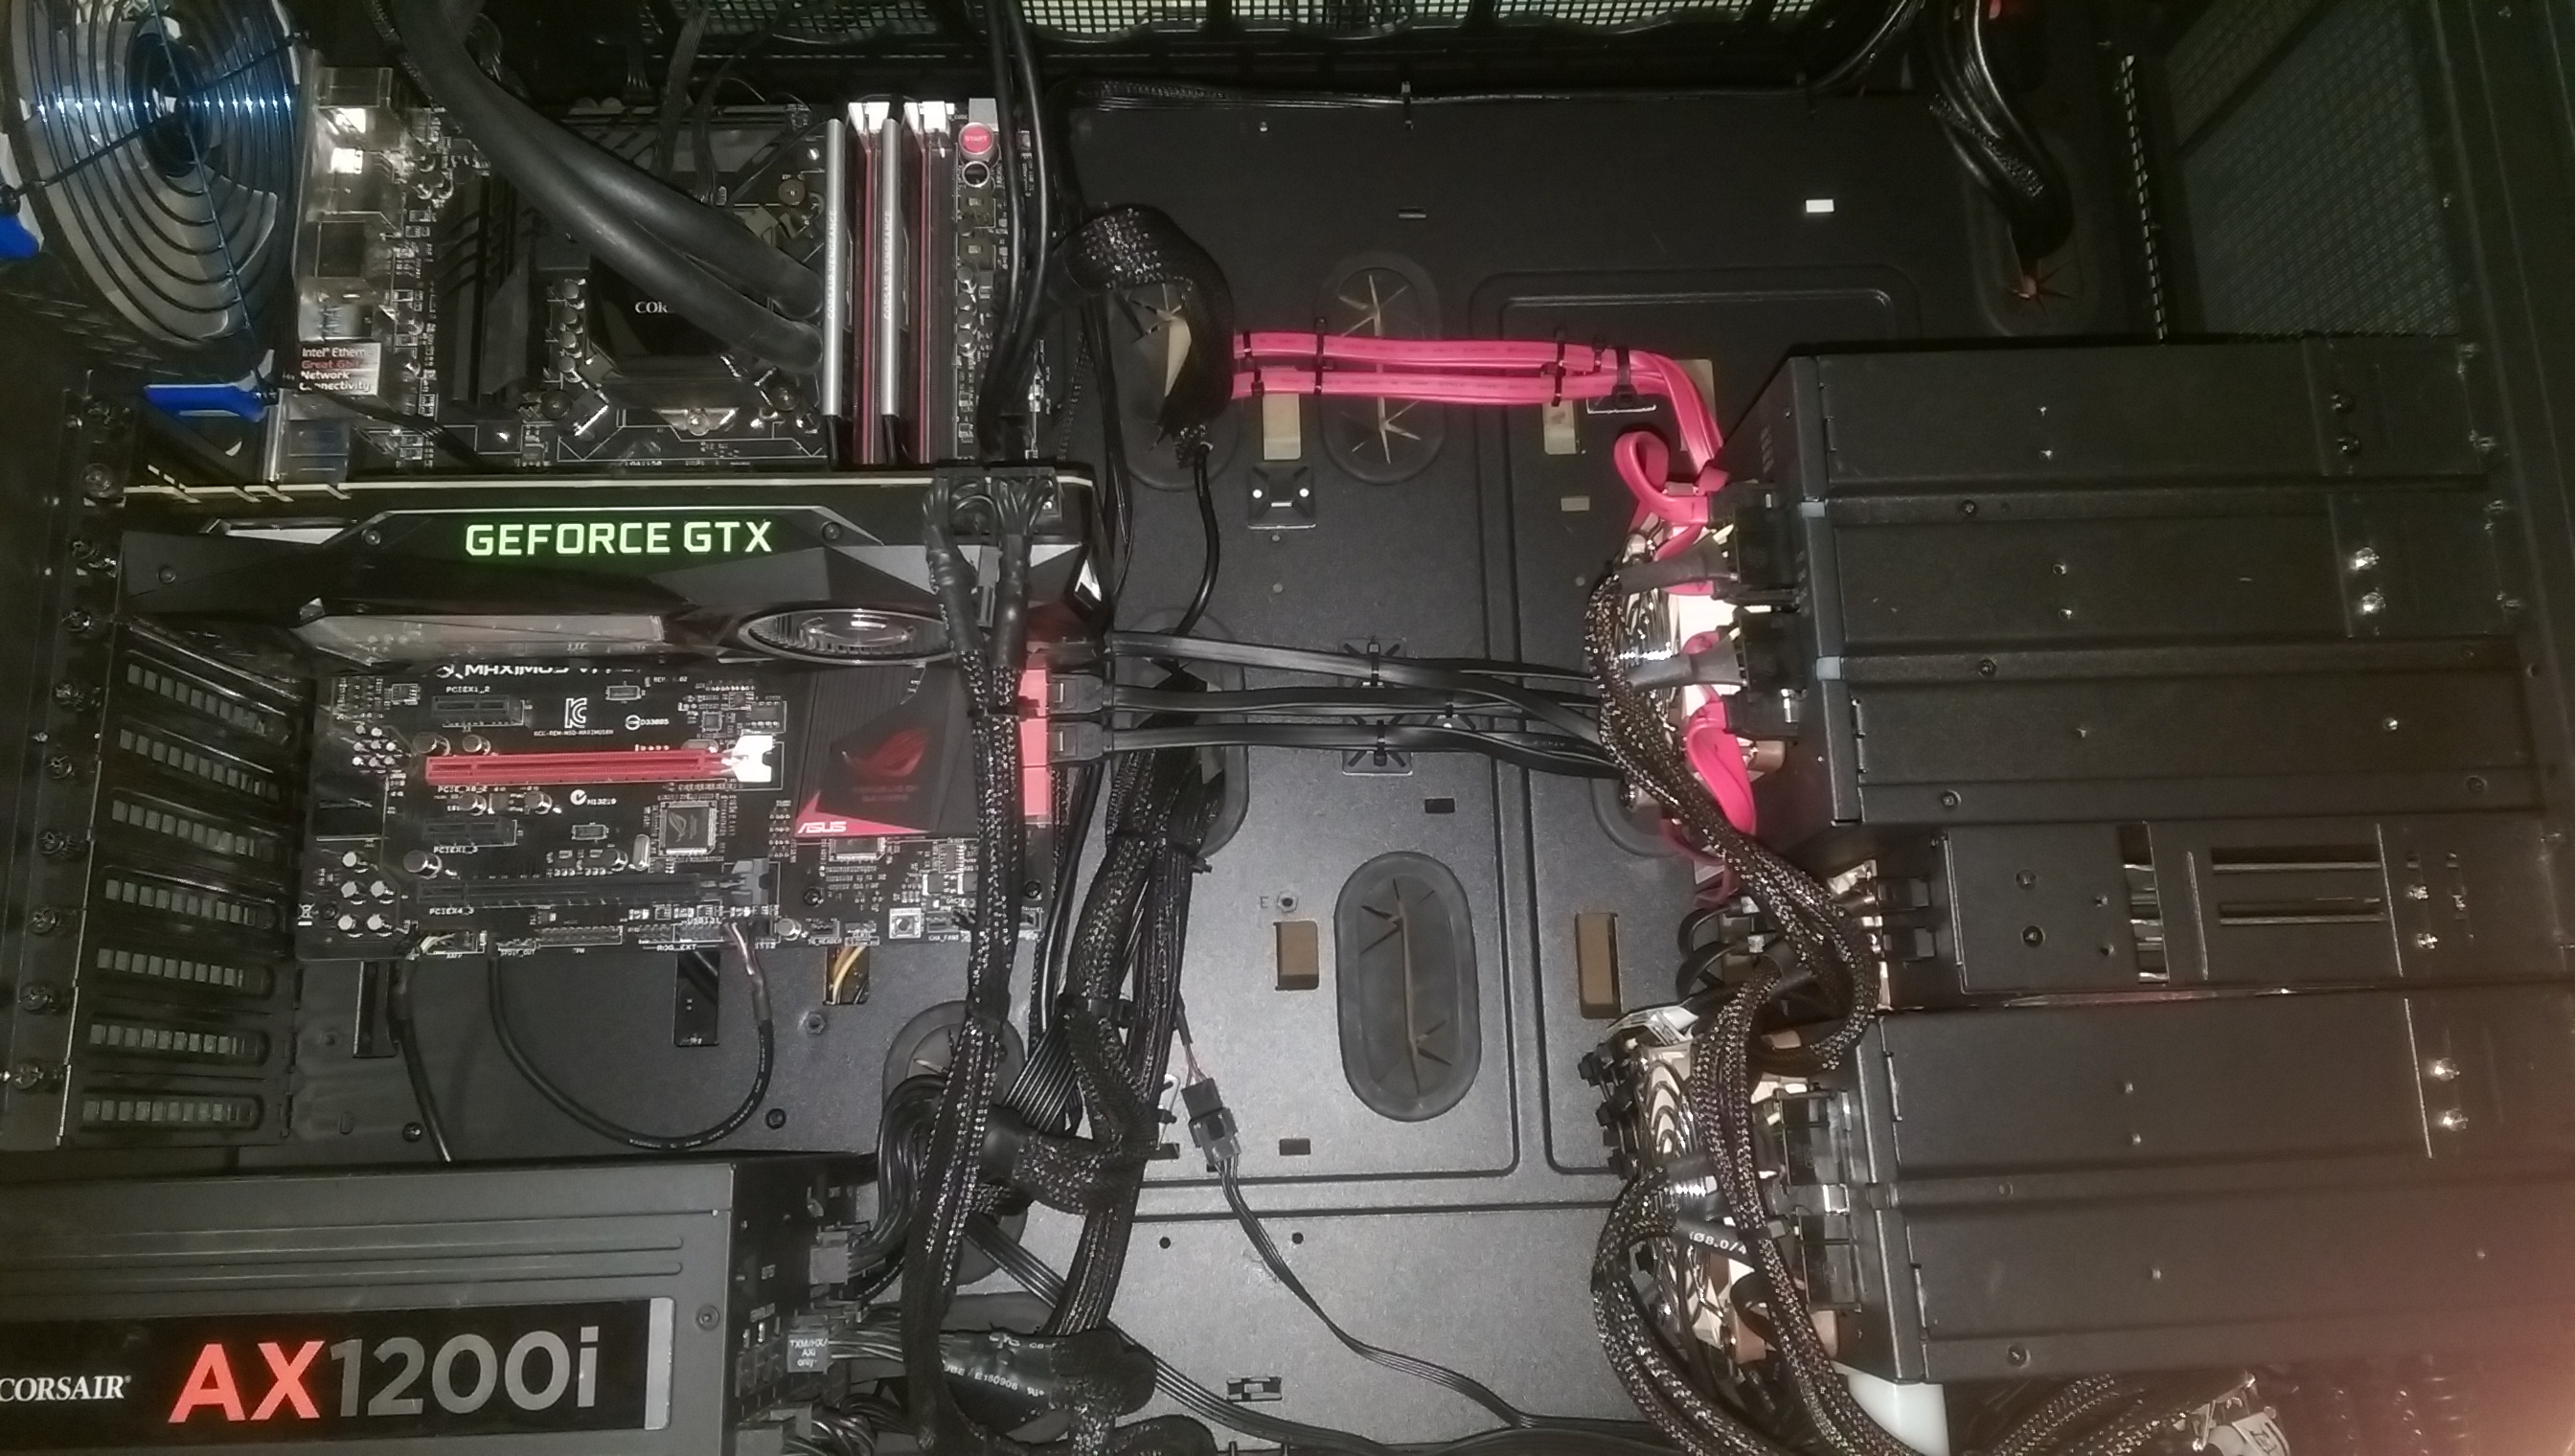
The AMD Ryzen 1600X system is in pieces (and has been since last Wednesday) because I bought 4 sheets of 24" x 24" x 1/8th" ABS sheets off Amazon and I've been working on cleaning up the interior of each side. (still far from done!)
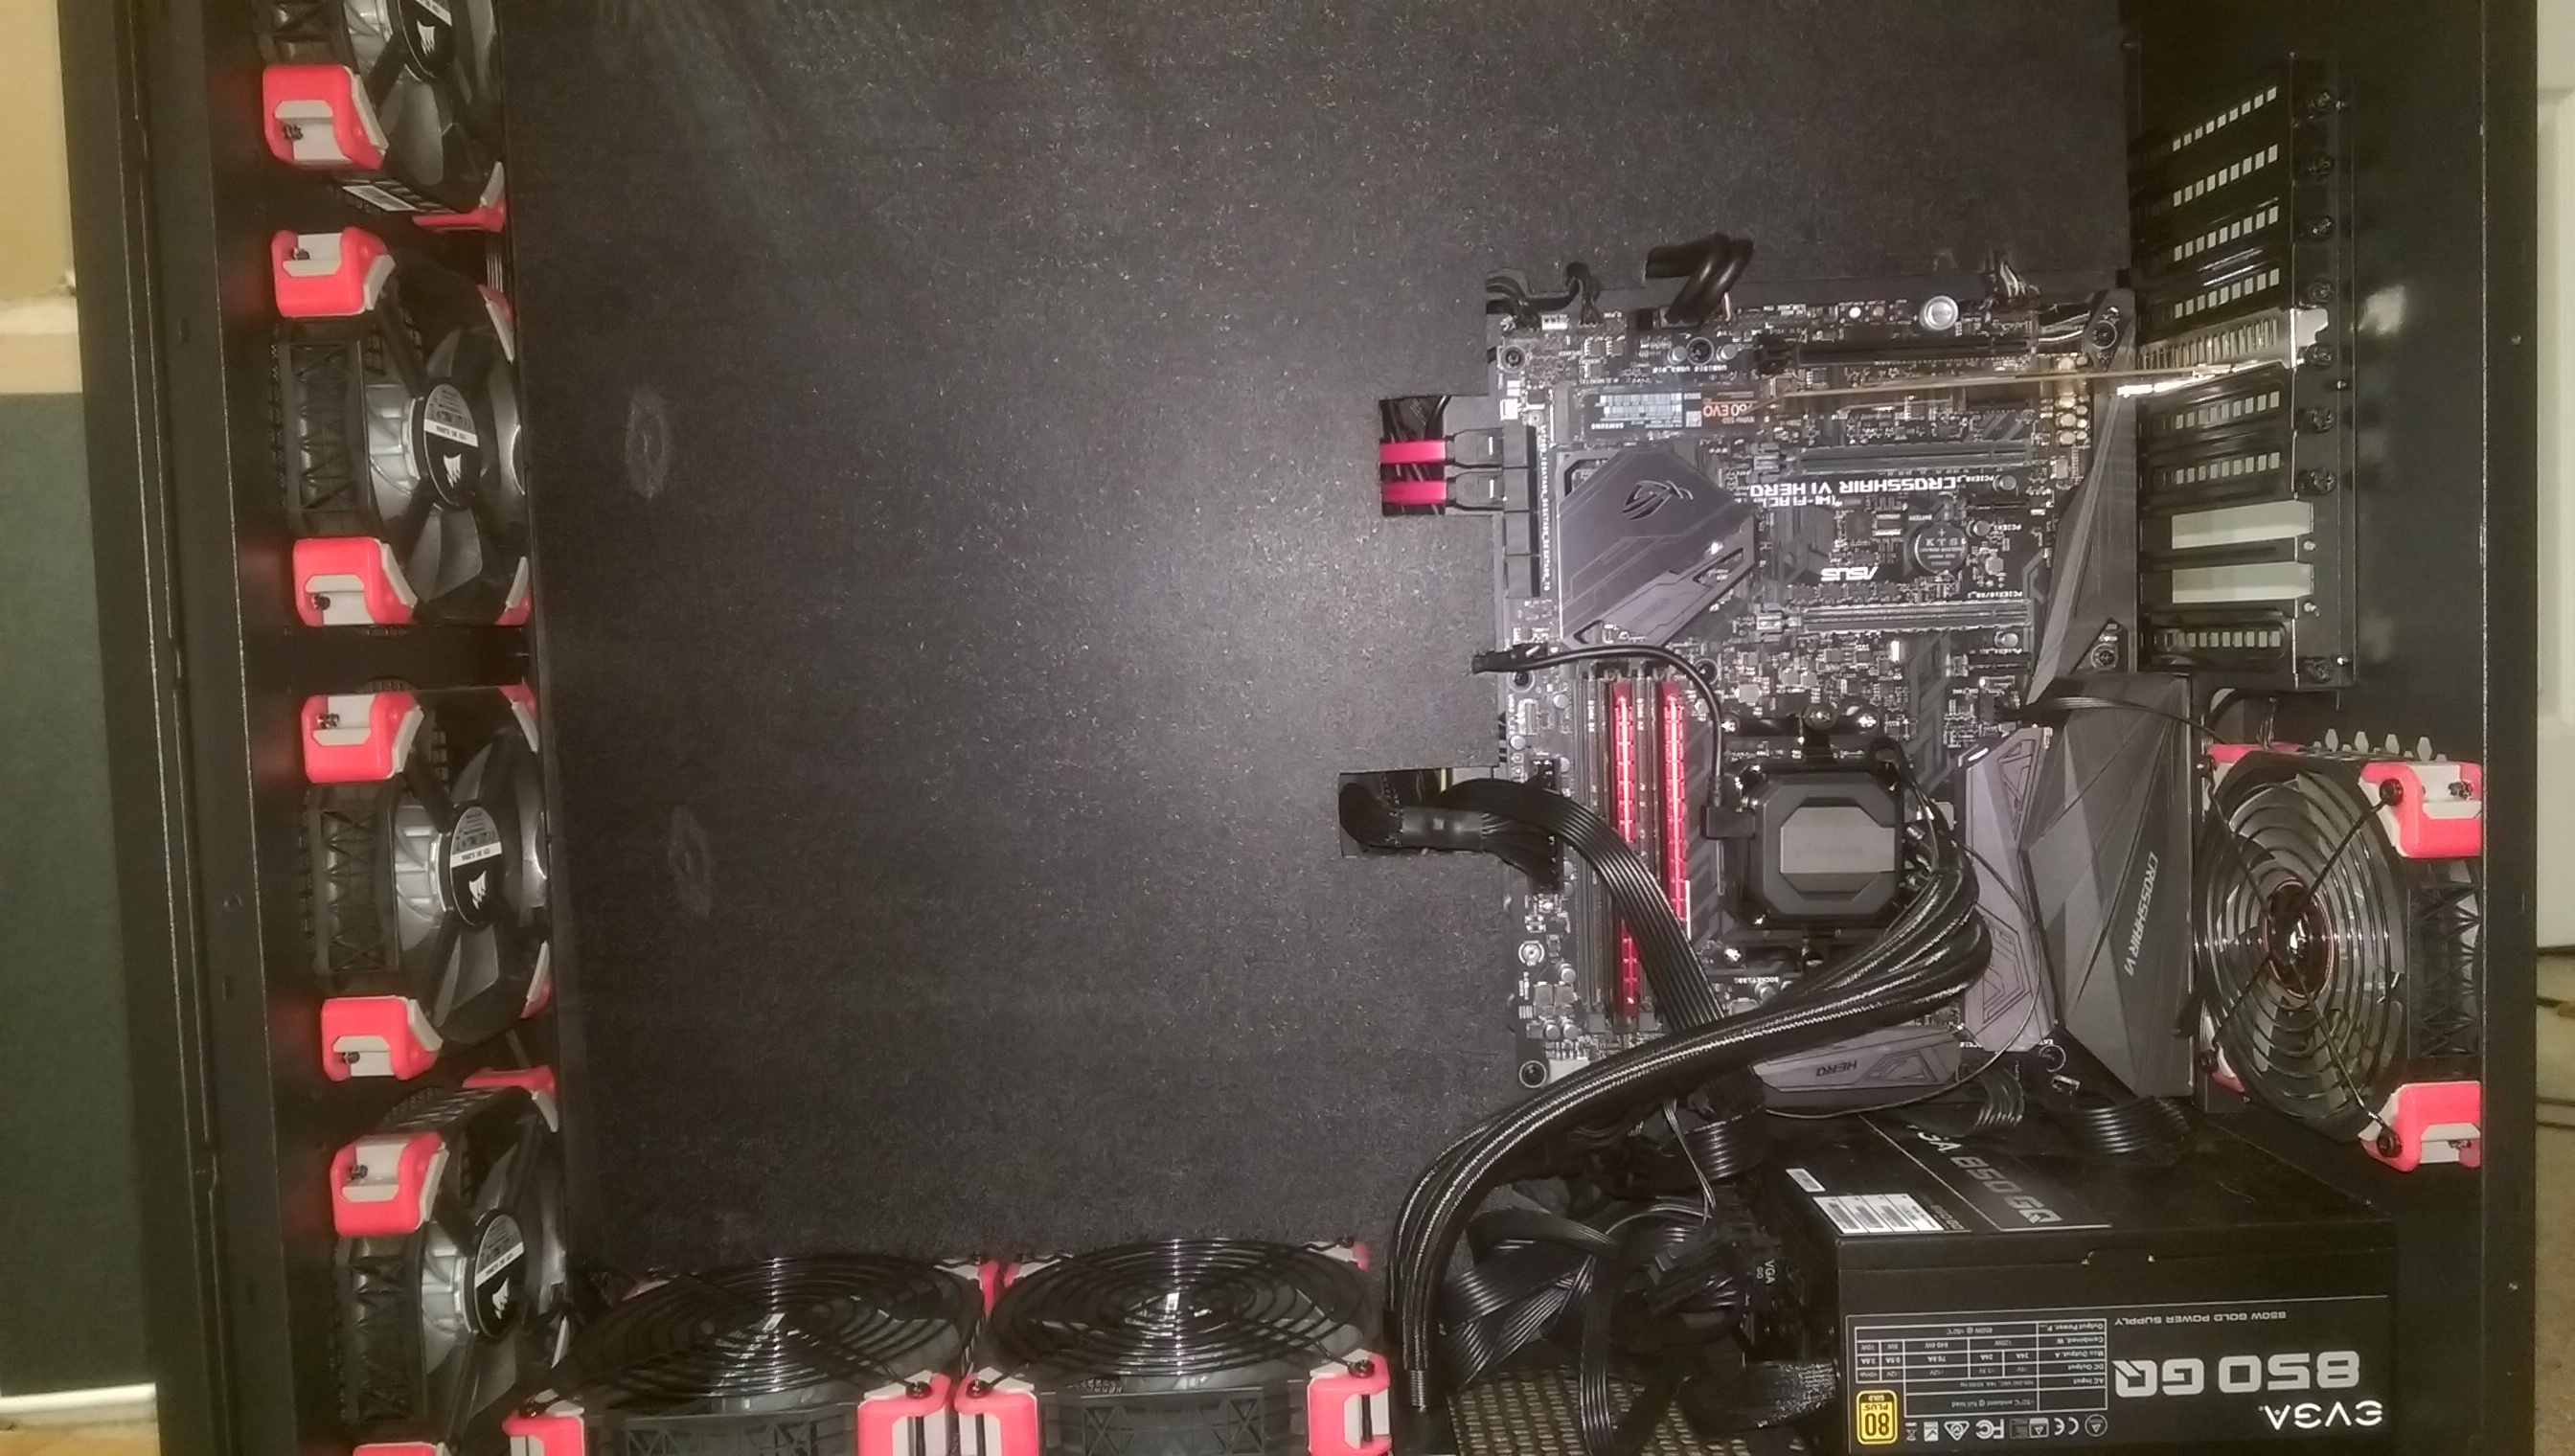
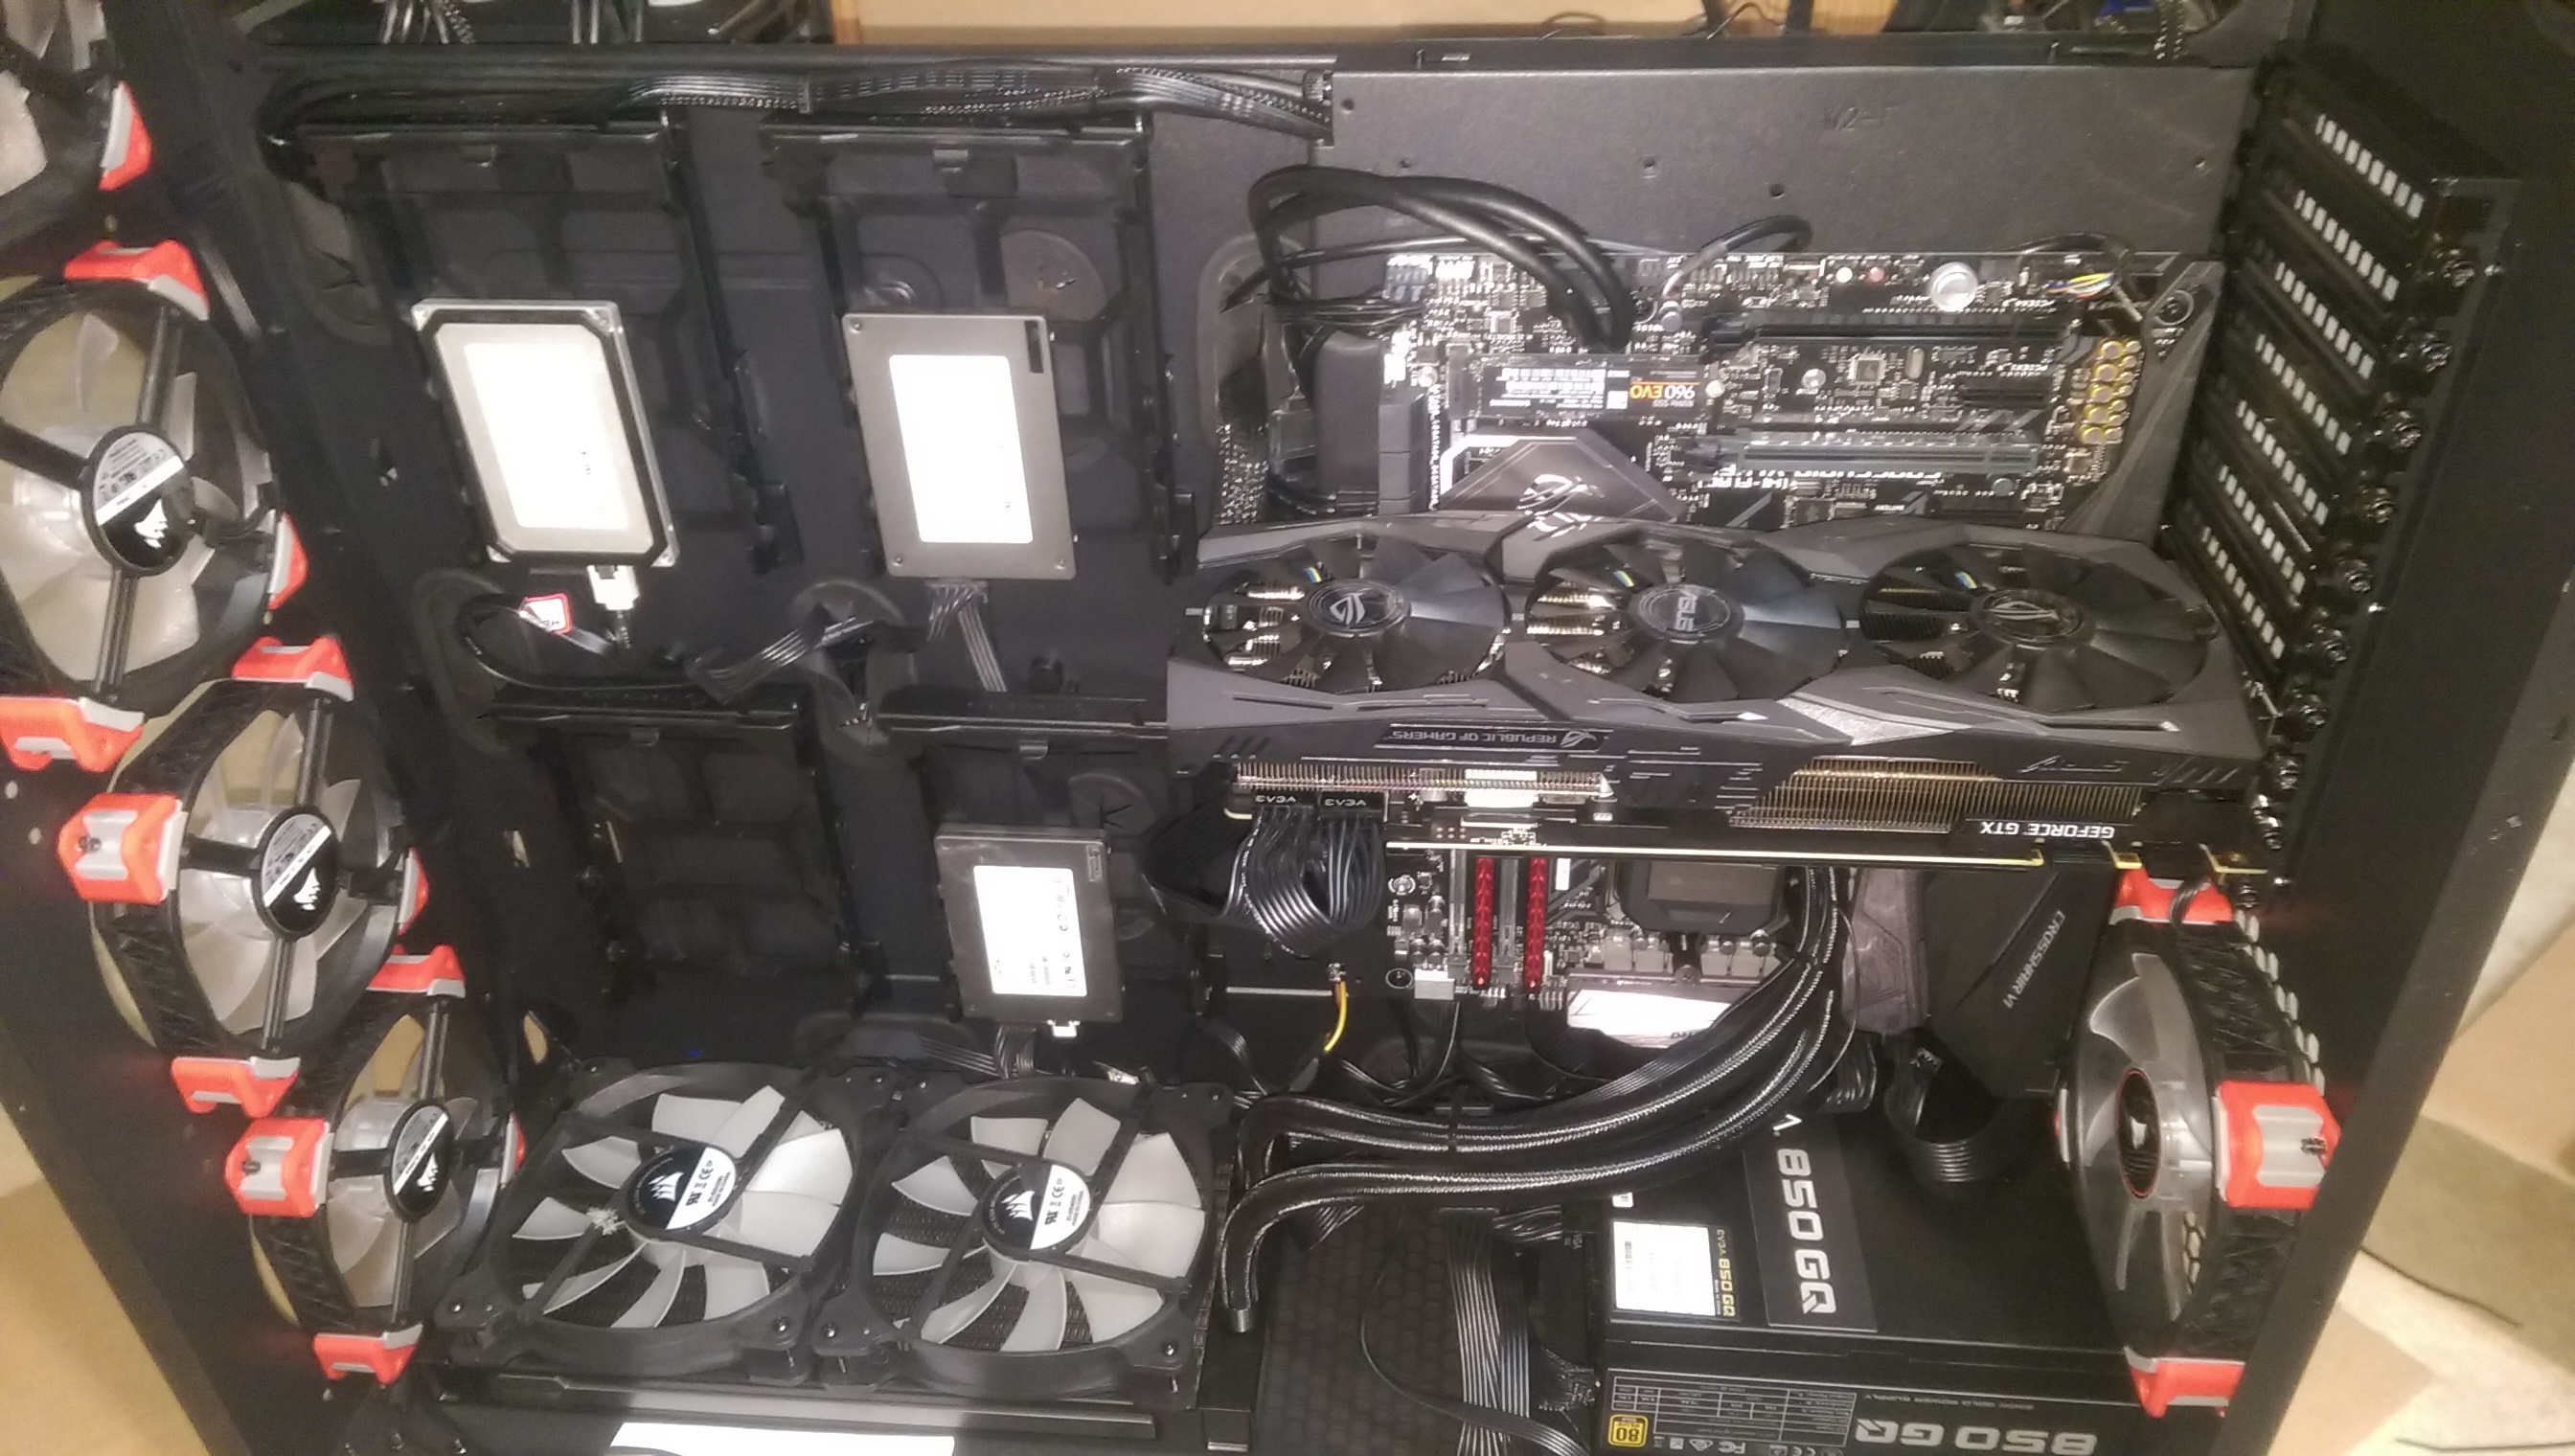
This pic really helps illustrate just how big the W200 case is. I'm pretty sure I could mount a 3rd complete computer on this side and, possibly, install my Intel NUC as well as one of my Raspberry Pi systems.
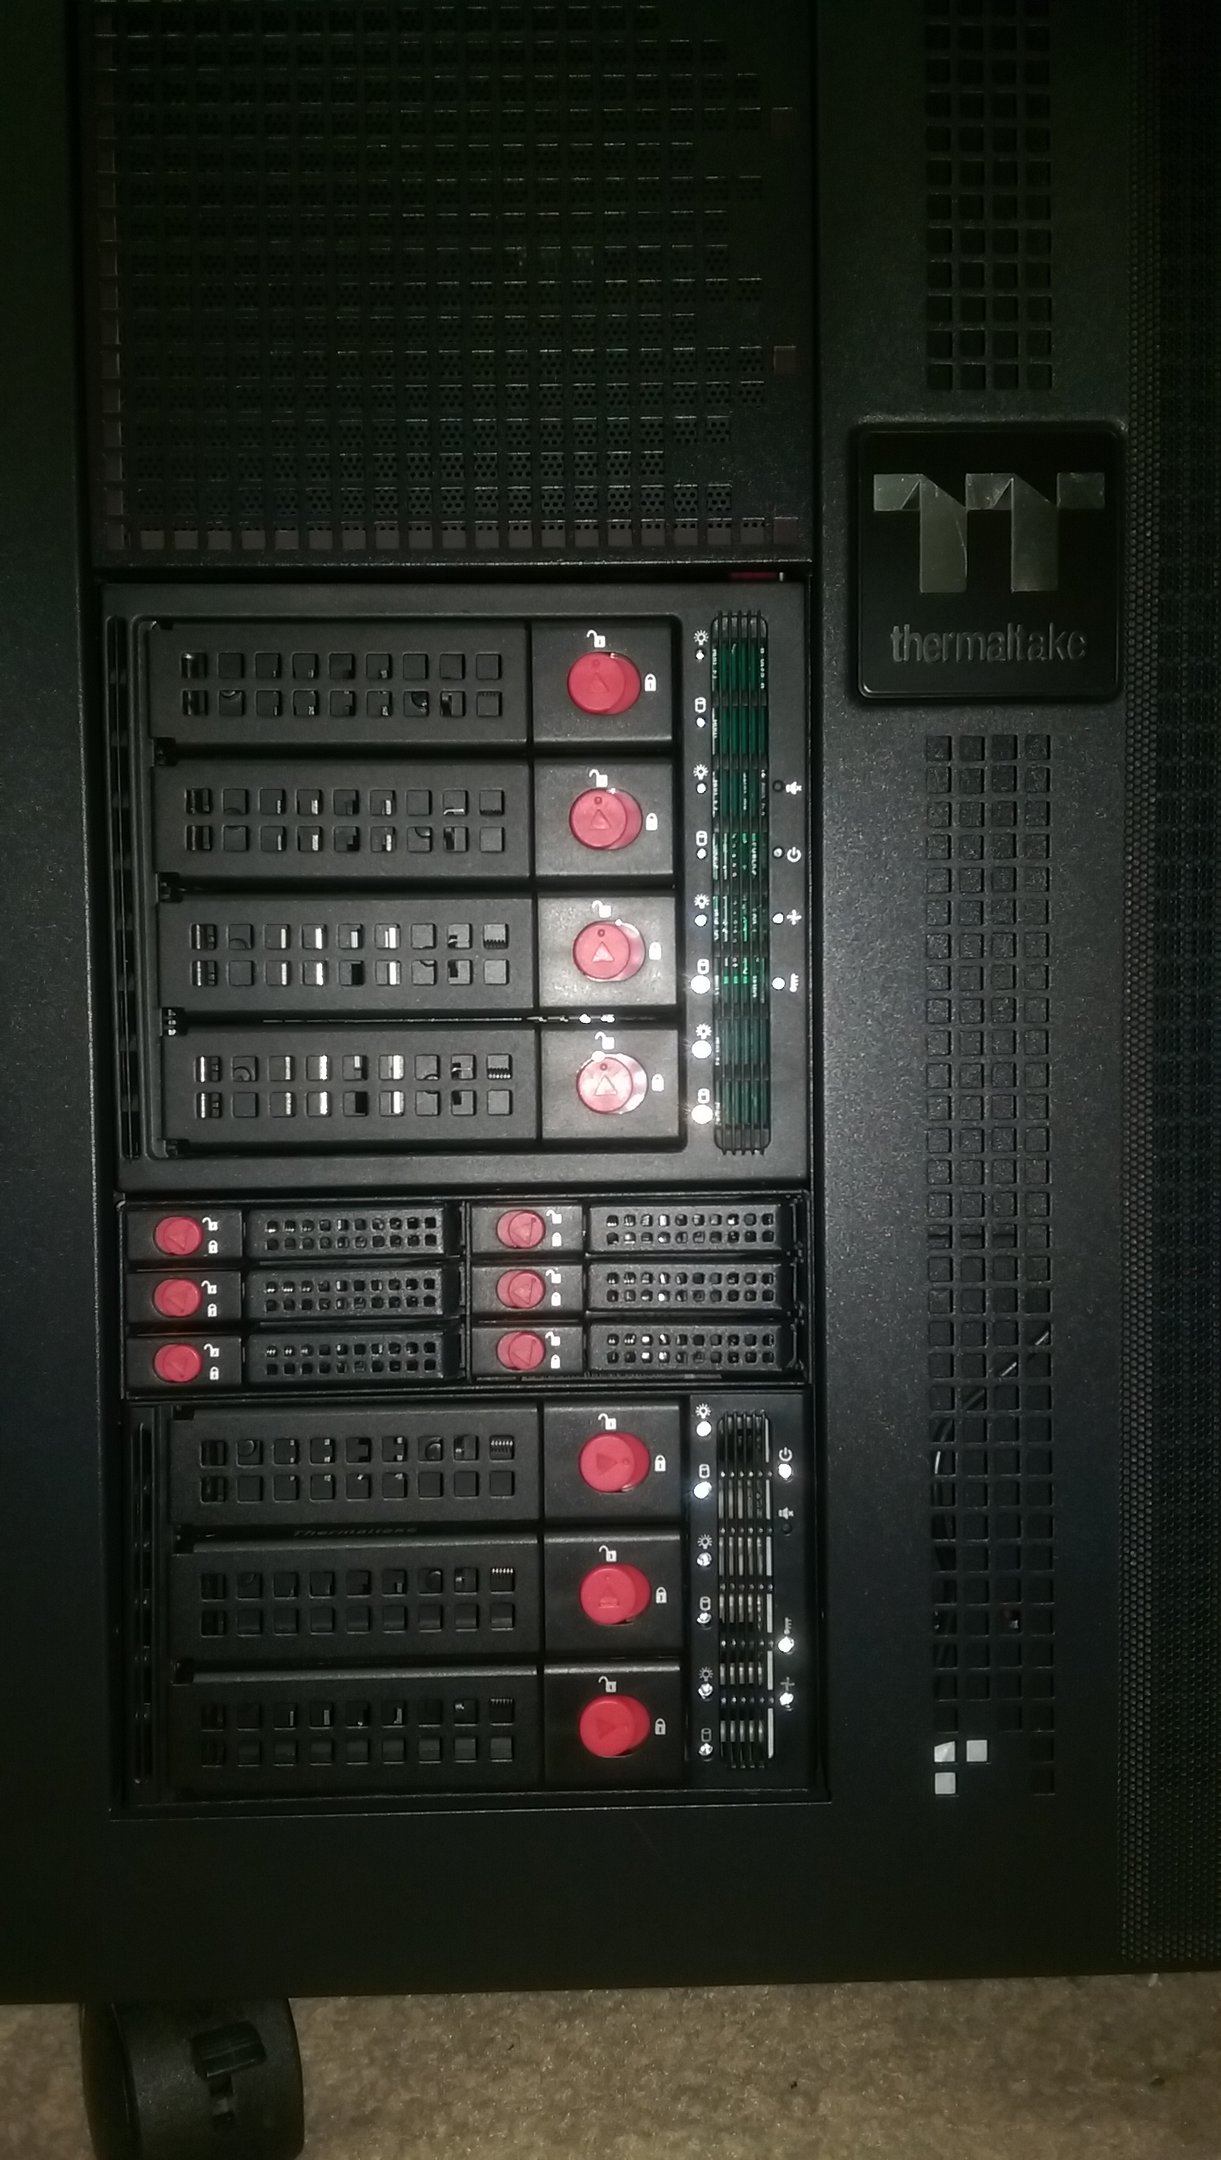
Picture of the hotswap bays (I still have 2 TT Commander FC6 fan/RGB controllers to install here as well)
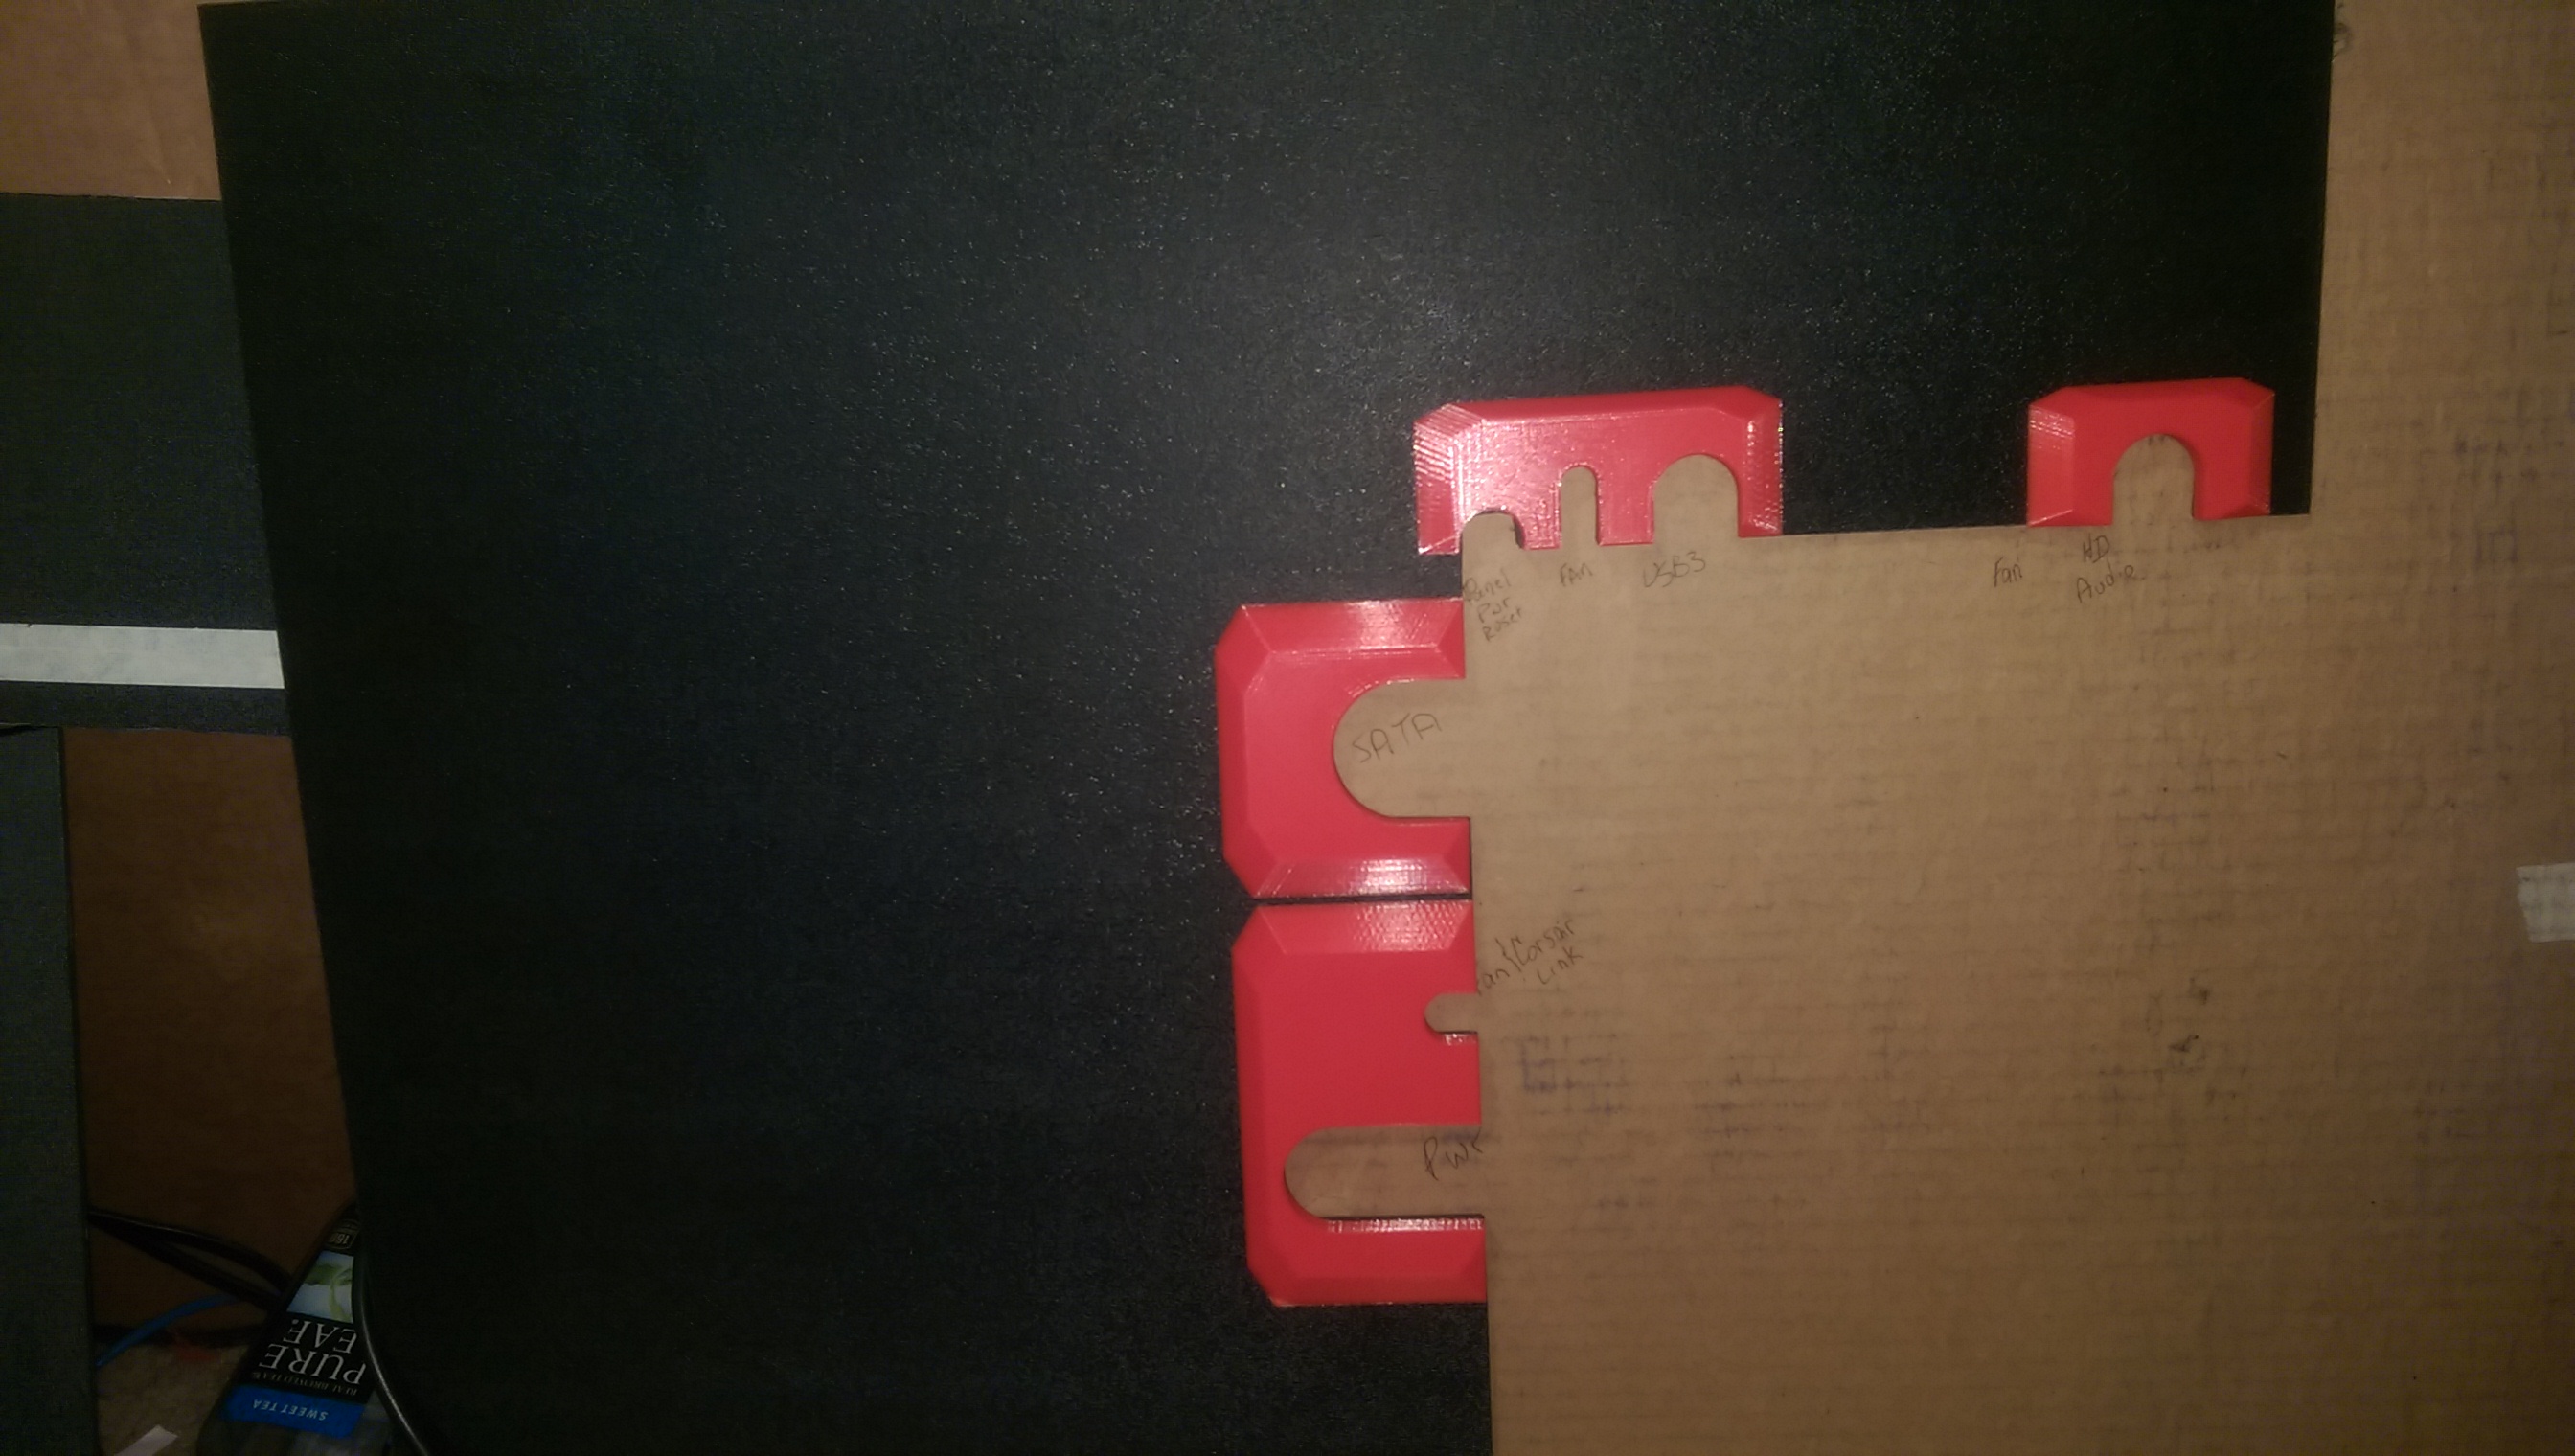
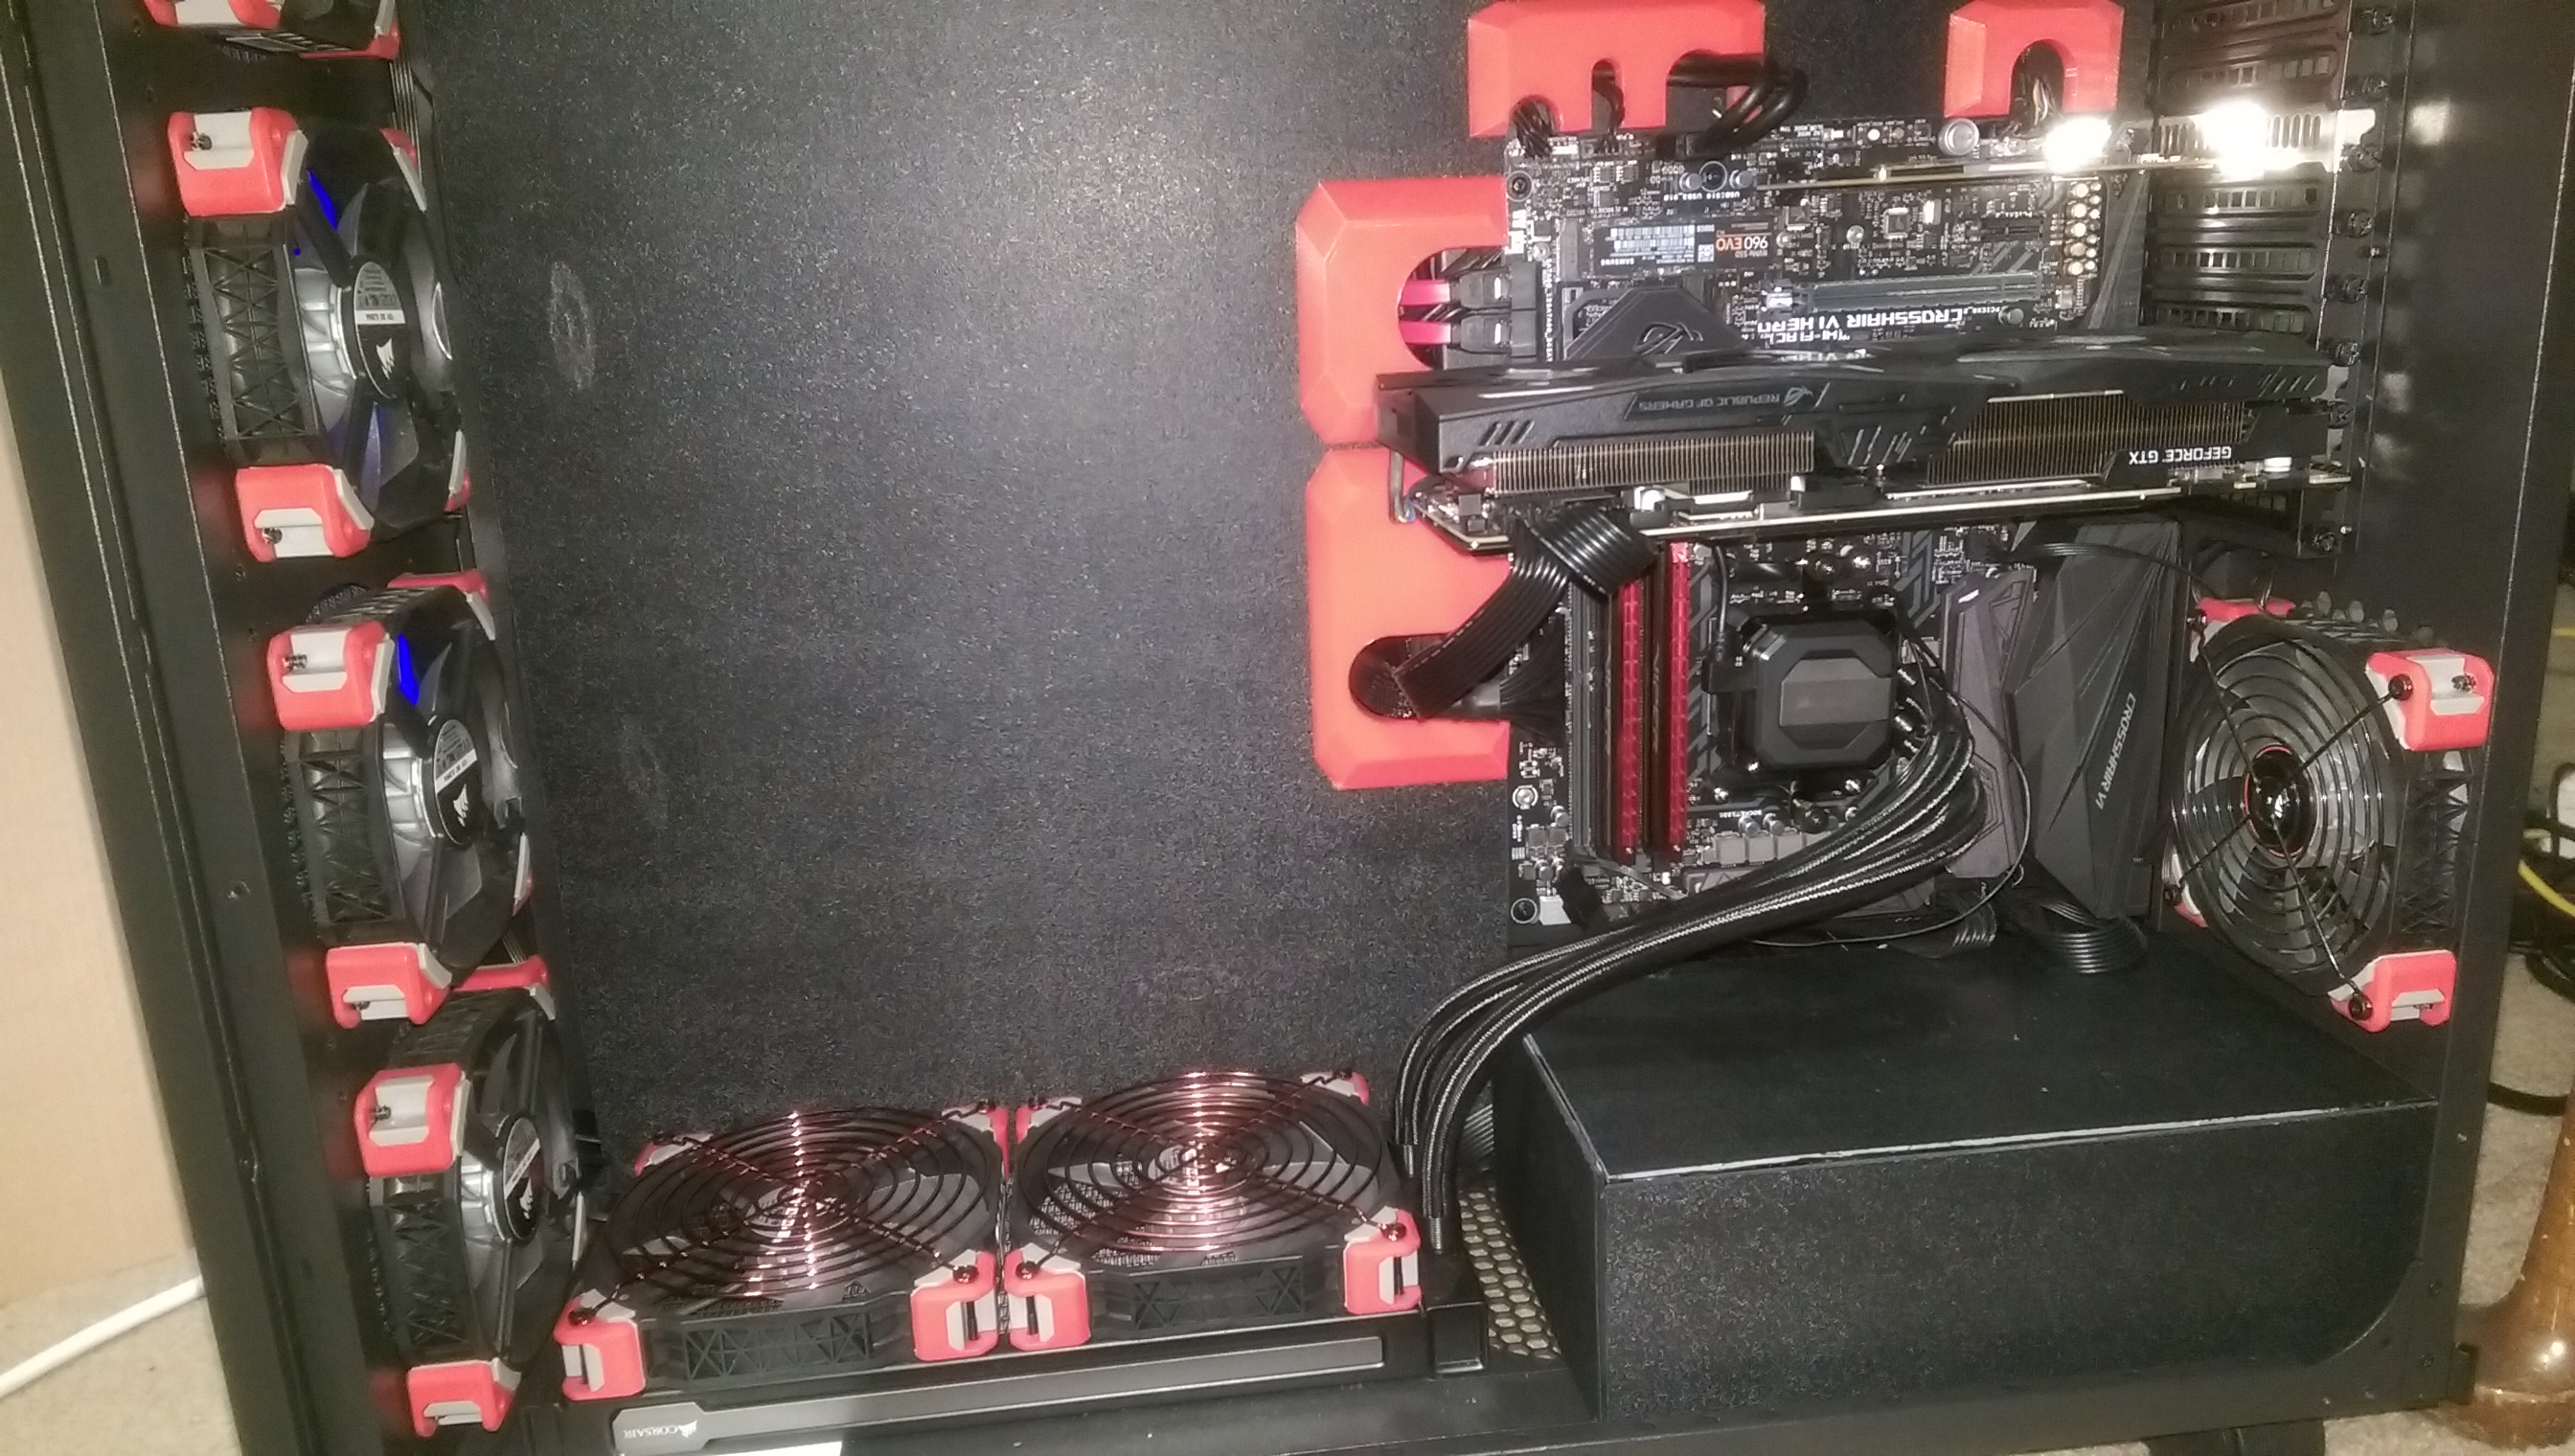
So what's all this got to do with 3D printing? pretty much everything since the ABS plate can't hold itself in position and the fan/rgb controllers cannot levitate (they don't come with mounting brackets and TT isn't interested in stocking any I can buy) so I had to come up with a way to mount the ABS Sheet and mount the fan/rgb controllers.
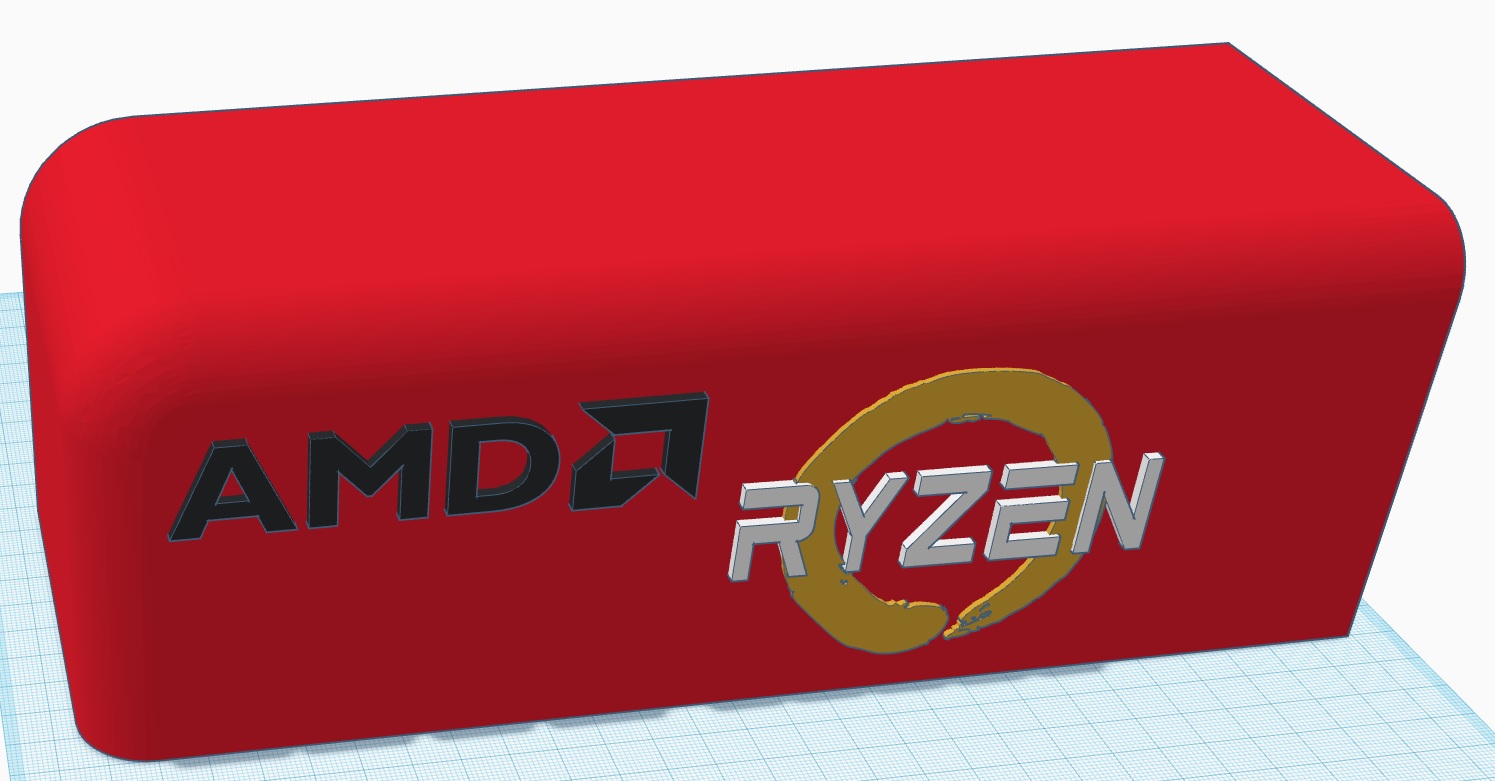
Here's the mount I came up with
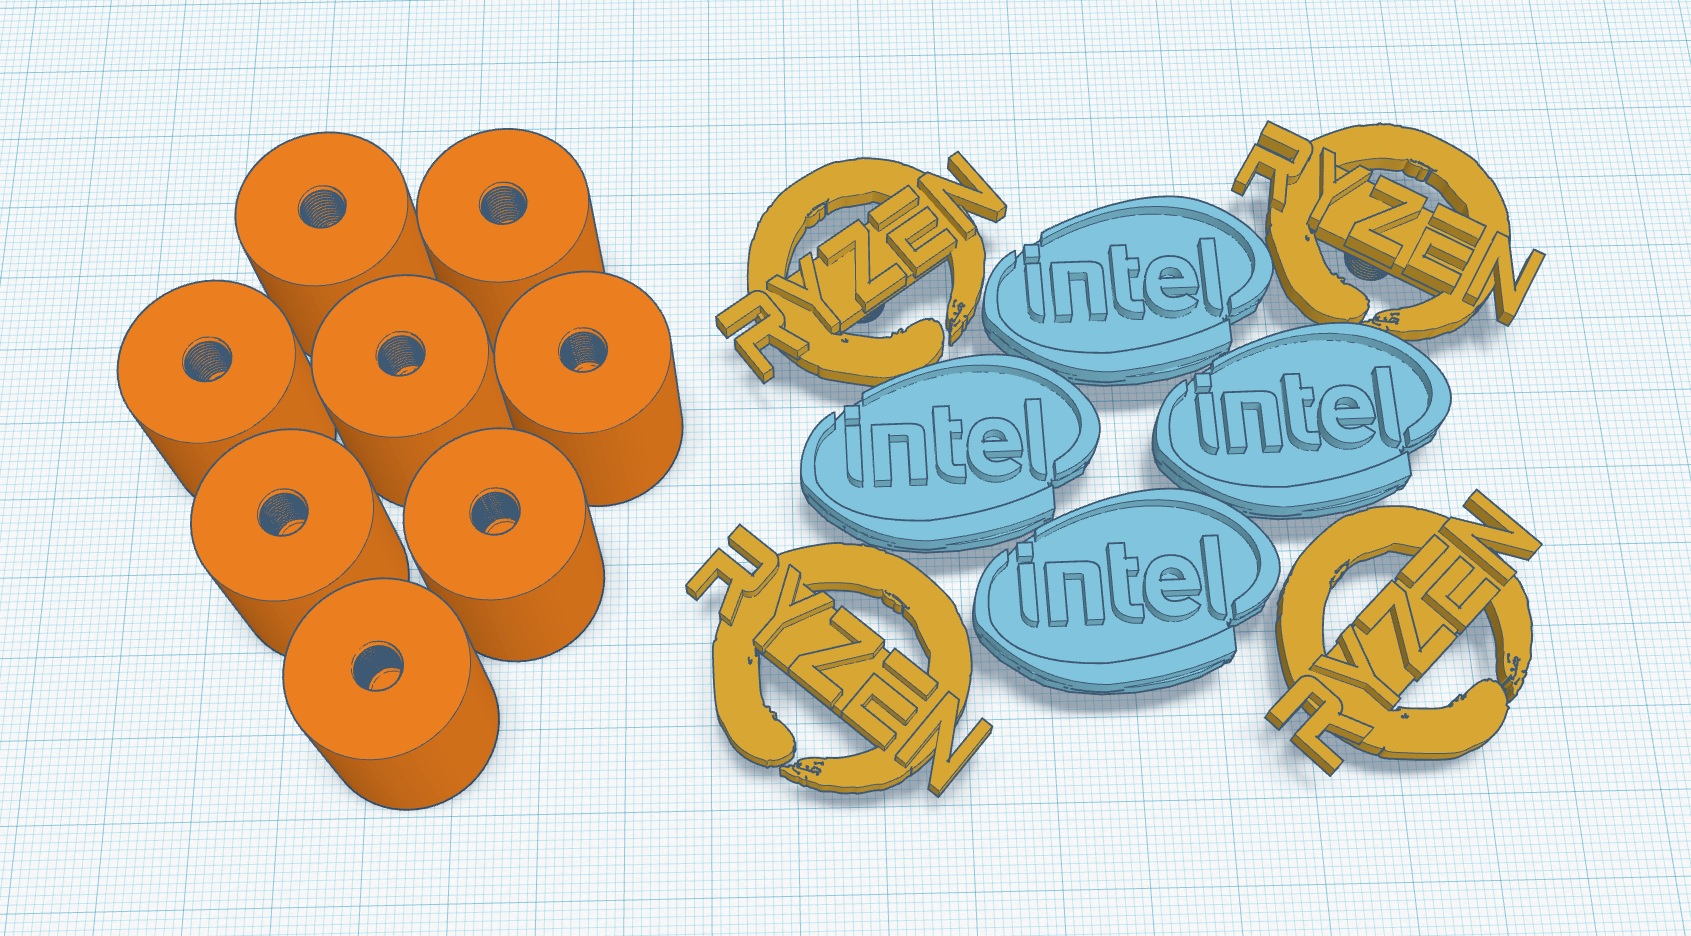
The spacers on the left are 24mm and are mounted to the steel motherboard tray with standard screws. The ABS sheet will be drilled to line up with the mounting holes you see on the top of the spacers and the 4 Ryzen logos (and the 4 Intel Logos) are actually screws which will secure the ABS plate in place. I'm currently designing the mounting brackets for the fan/rgb controllers and I'm also working on some pieces which are to be screwed to the ABS Plate to give the plates a cleaner look where the cable cutouts are located.
That print process is currently underway and should finish in about 9hrs
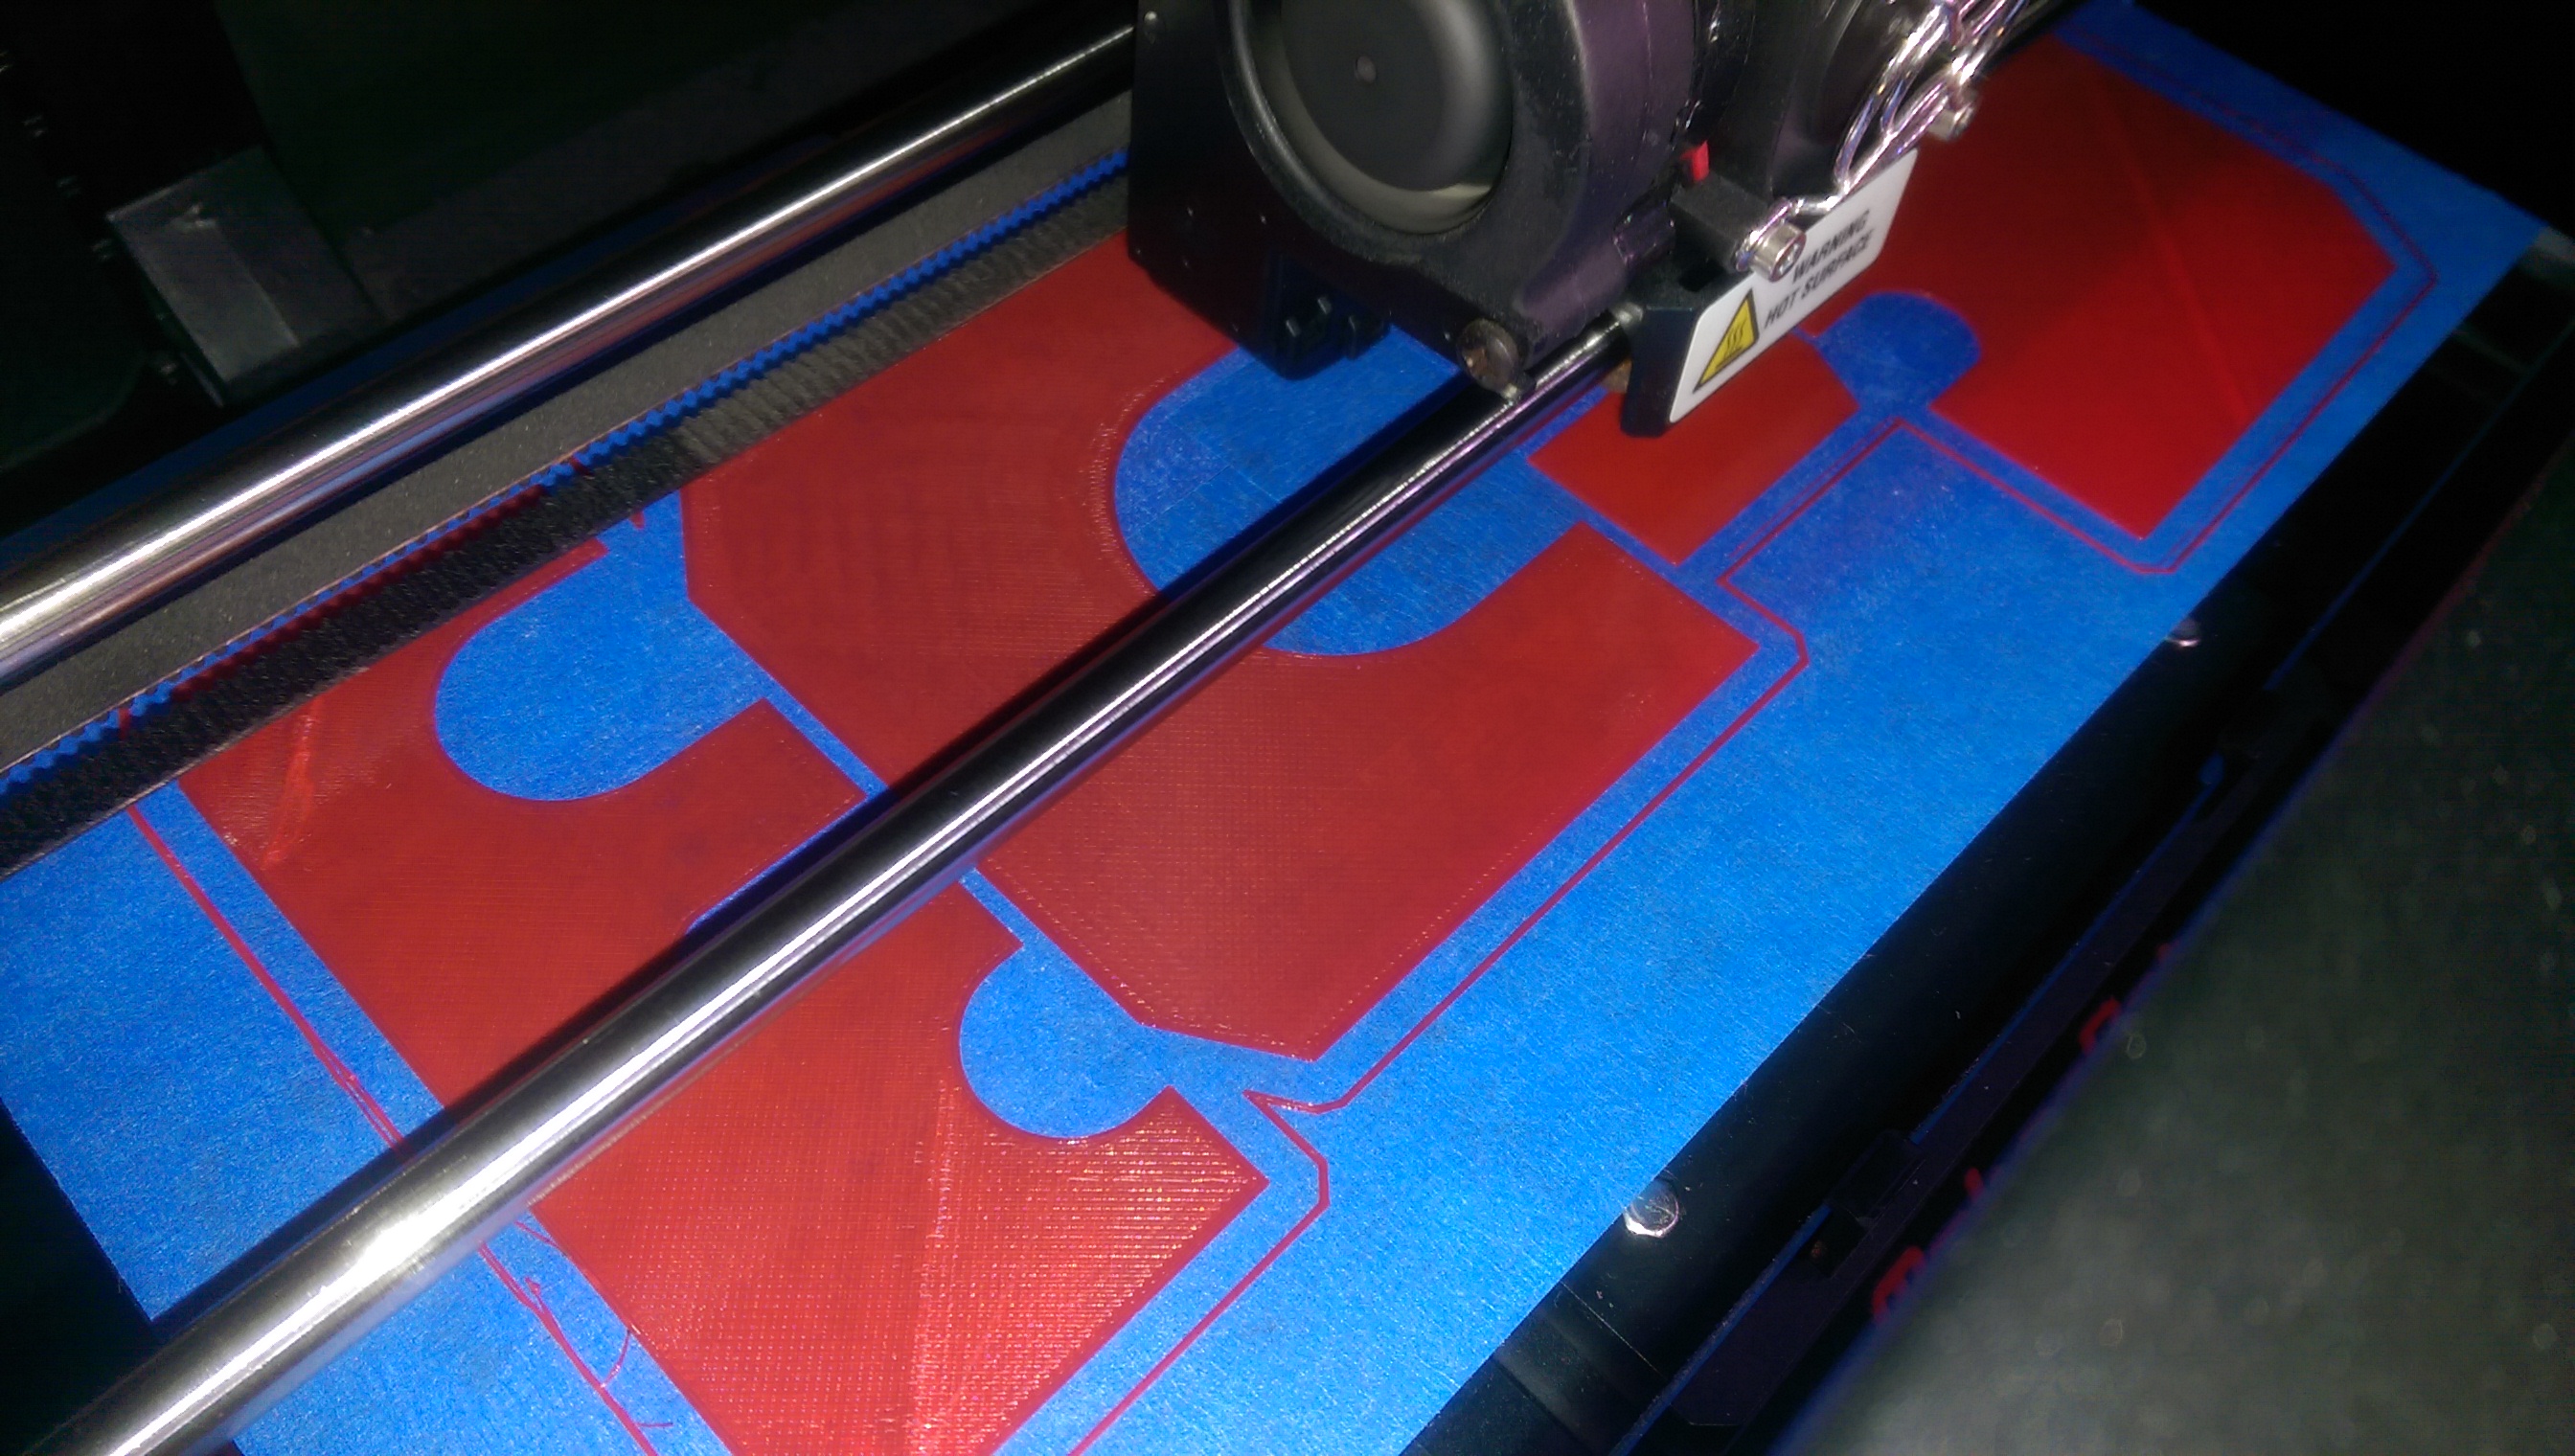
These prototype parts are printing out on my Replicator 2. (I also have a FF Creator X and an FF Creator Pro, and a Rostock Max V2, and a Monoprice Select Mini.)


That's when I decided to throw money at the problem until it went away. (I learned that valuable skill while working for the U.S. Government)
One of the problems I had was that I have ~52TB in spinners (6x HGST 8TB Drives & a Seagate 4TB) and three SSDs, and they have made life difficult due to all the cables associated with 6 drives divided between 2 systems
I bought some hot swap bays from TT to add to the case to consolidate some of the cable runs and it's worked out pretty well so far... The intel side looks much cleaner, but not clean like I want it.

The AMD Ryzen 1600X system is in pieces (and has been since last Wednesday) because I bought 4 sheets of 24" x 24" x 1/8th" ABS sheets off Amazon and I've been working on cleaning up the interior of each side. (still far from done!)

This pic really helps illustrate just how big the W200 case is. I'm pretty sure I could mount a 3rd complete computer on this side and, possibly, install my Intel NUC as well as one of my Raspberry Pi systems.
Picture of the hotswap bays (I still have 2 TT Commander FC6 fan/RGB controllers to install here as well)

So what's all this got to do with 3D printing? pretty much everything since the ABS plate can't hold itself in position and the fan/rgb controllers cannot levitate (they don't come with mounting brackets and TT isn't interested in stocking any I can buy) so I had to come up with a way to mount the ABS Sheet and mount the fan/rgb controllers.
Here's the mount I came up with

The spacers on the left are 24mm and are mounted to the steel motherboard tray with standard screws. The ABS sheet will be drilled to line up with the mounting holes you see on the top of the spacers and the 4 Ryzen logos (and the 4 Intel Logos) are actually screws which will secure the ABS plate in place. I'm currently designing the mounting brackets for the fan/rgb controllers and I'm also working on some pieces which are to be screwed to the ABS Plate to give the plates a cleaner look where the cable cutouts are located.
That print process is currently underway and should finish in about 9hrs

These prototype parts are printing out on my Replicator 2. (I also have a FF Creator X and an FF Creator Pro, and a Rostock Max V2, and a Monoprice Select Mini.)
![[H]ard|Forum](/styles/hardforum/xenforo/logo_dark.png)
