notarat
2[H]4U
- Joined
- Mar 28, 2010
- Messages
- 2,501
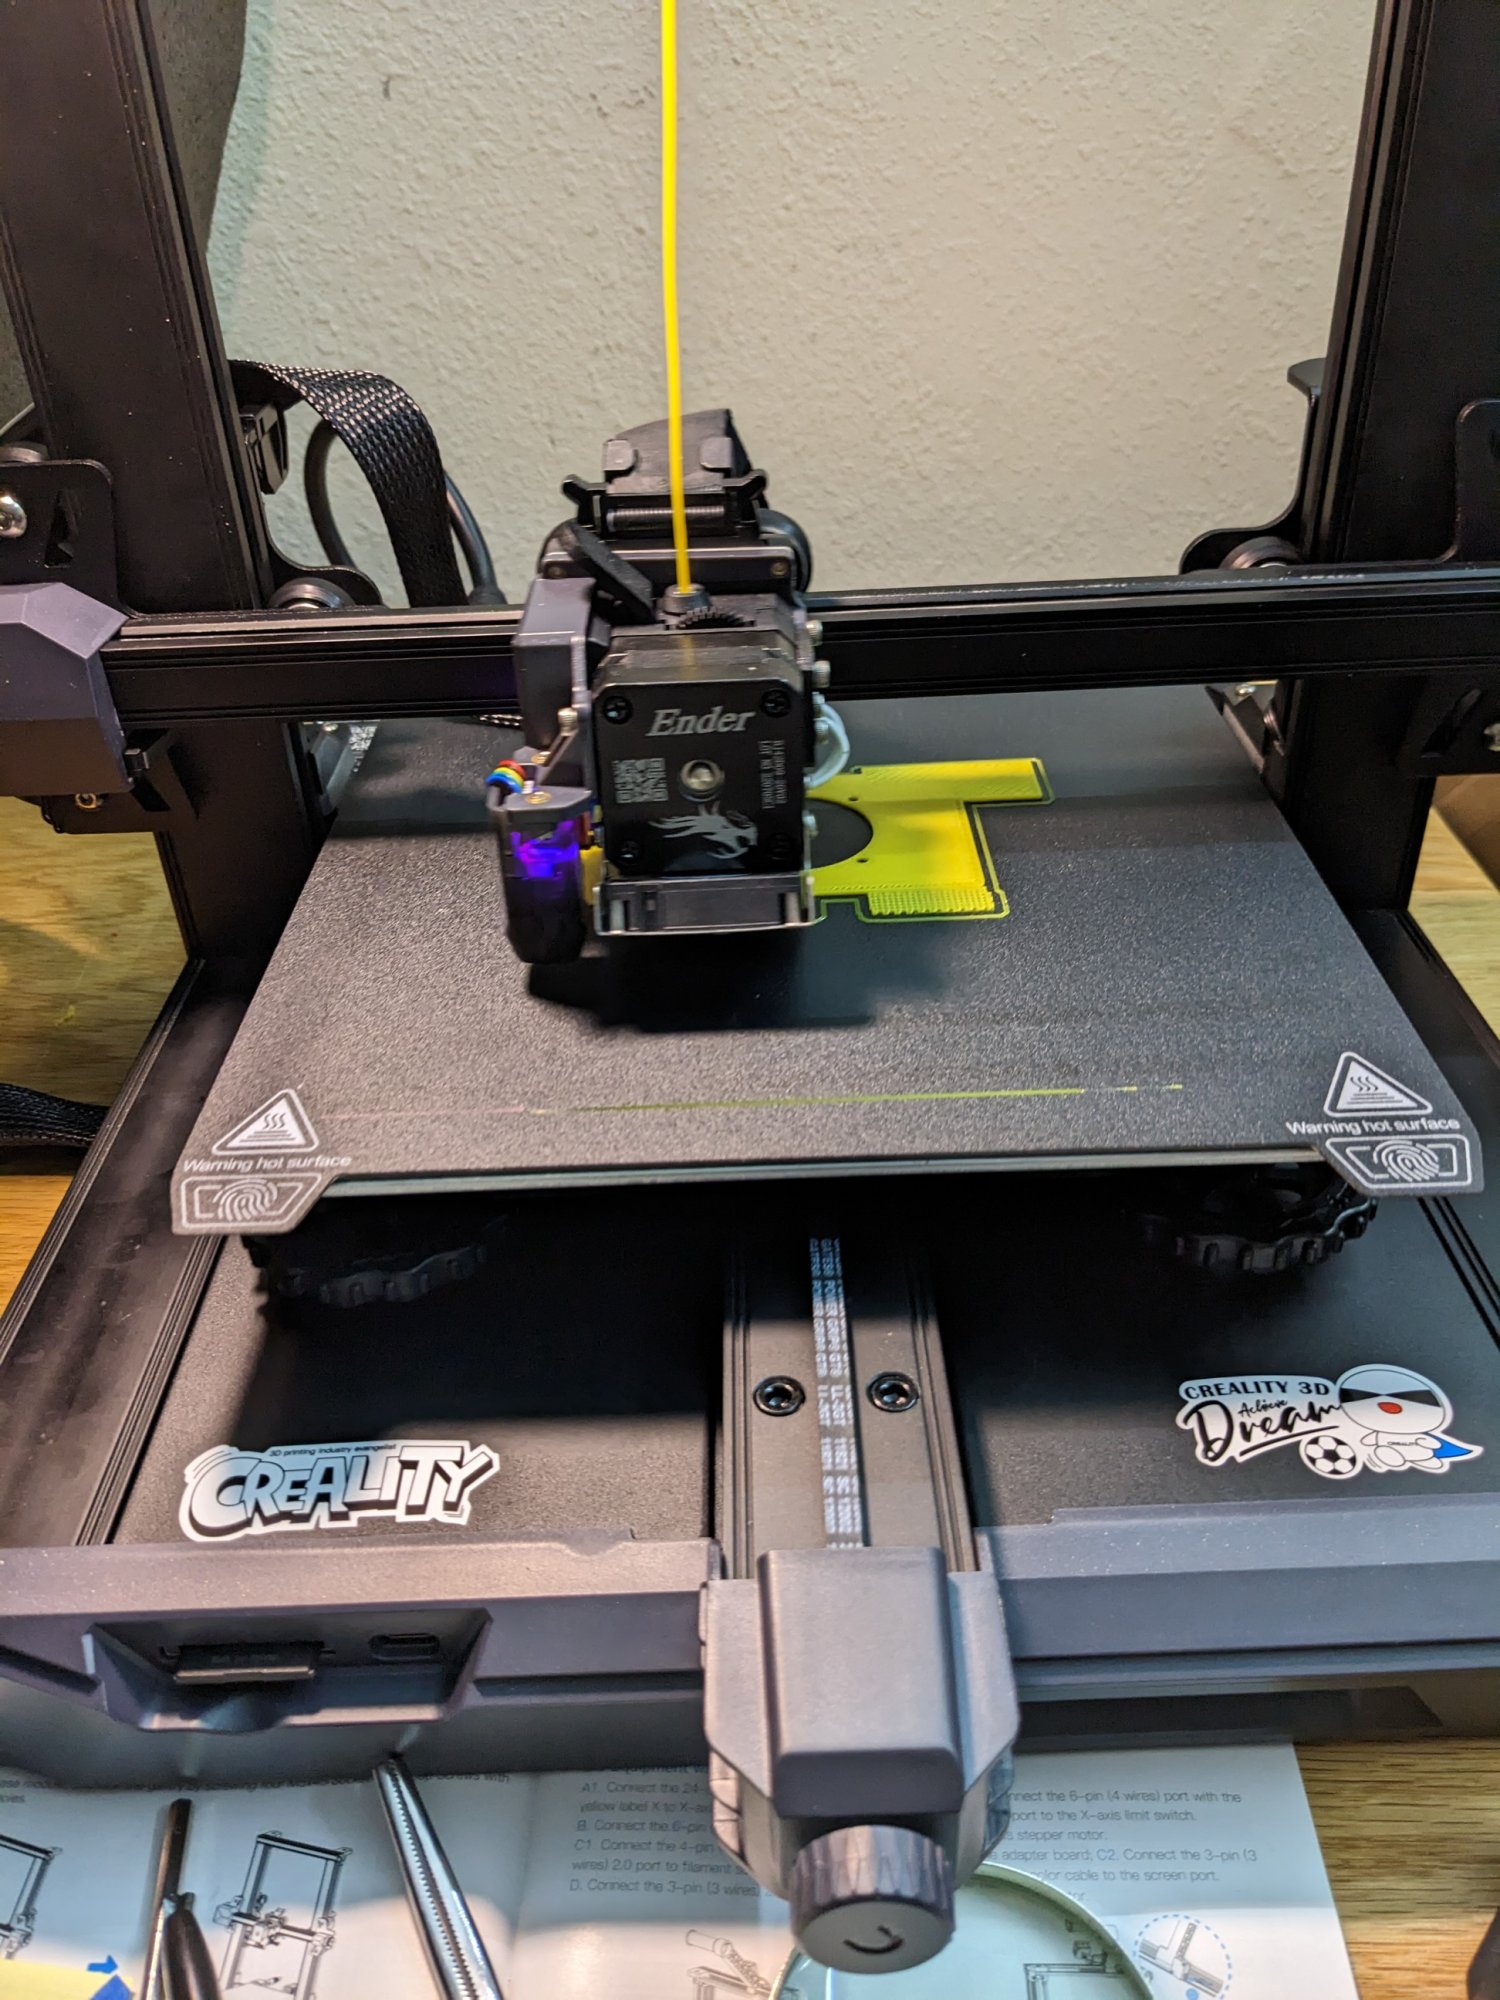
Mine arrived this morning so I assembled it, leveled the plate, ran an auto level, and then set my Z Offset and started printing parts. Haven't calibrated e-steps or PID Tuned or printed configuration cubes or anything like that.
X Axis wheels have some detentes in them from the thing sitting for a while with them tightened up but they'll go away with some use and, if not, I have 2 packs of 16 wheels each so I can replace them if I think it needs it.
Leveling this is actually pretty easy compared to my CR6 Max. Mainly because there's always the option to use the bed screws this has but I only touched them to do the initial level.
I wish S3D came with a canned profile for this one, though it does have profiles for the Ender 3 and Ender 3 Pro so I used the first as a baseline and made my mods to it from there.
It's quiet and prints pretty fast for what it is, and that's what I wanted when I replaced my Makerbot Replicator 2. I think it'll do that nicely, but long term reliability remains to be seen. The Replicator 2 did last over 8 years of moderate-to-hard use so we'll see how this thing holds up.

![[H]ard|Forum](/styles/hardforum/xenforo/logo_dark.png)


