CHEOPS

"The Pyramid of Cheops is the oldest and largest of the three pyramids of Giza and is therefore also known as the "Great Pyramid".
The tallest pyramid in the world was erected as a tomb for the Egyptian King Cheops, who ruled during the 4th Dynasty in the Old Kingdom (about 2620-2580 BC) .... "
A theme can not be more beautiful, as the title image already reveals you can guess what I'm referring to it
Welcome to my next project"Cheops"
...is to become a true-to-scale replica of the Cheops pyramid.
In this concept, I will work with gilding and lime sandstone techniques.
Upwards, the whole thing will then slowly pass into transparent glass, to gain a direct insight into the burial chamber,
Which of course is disguised with hardware.
Likewise I would like to see later a sarcophagus in the burial chamber which presumably enthrones the Hardware.
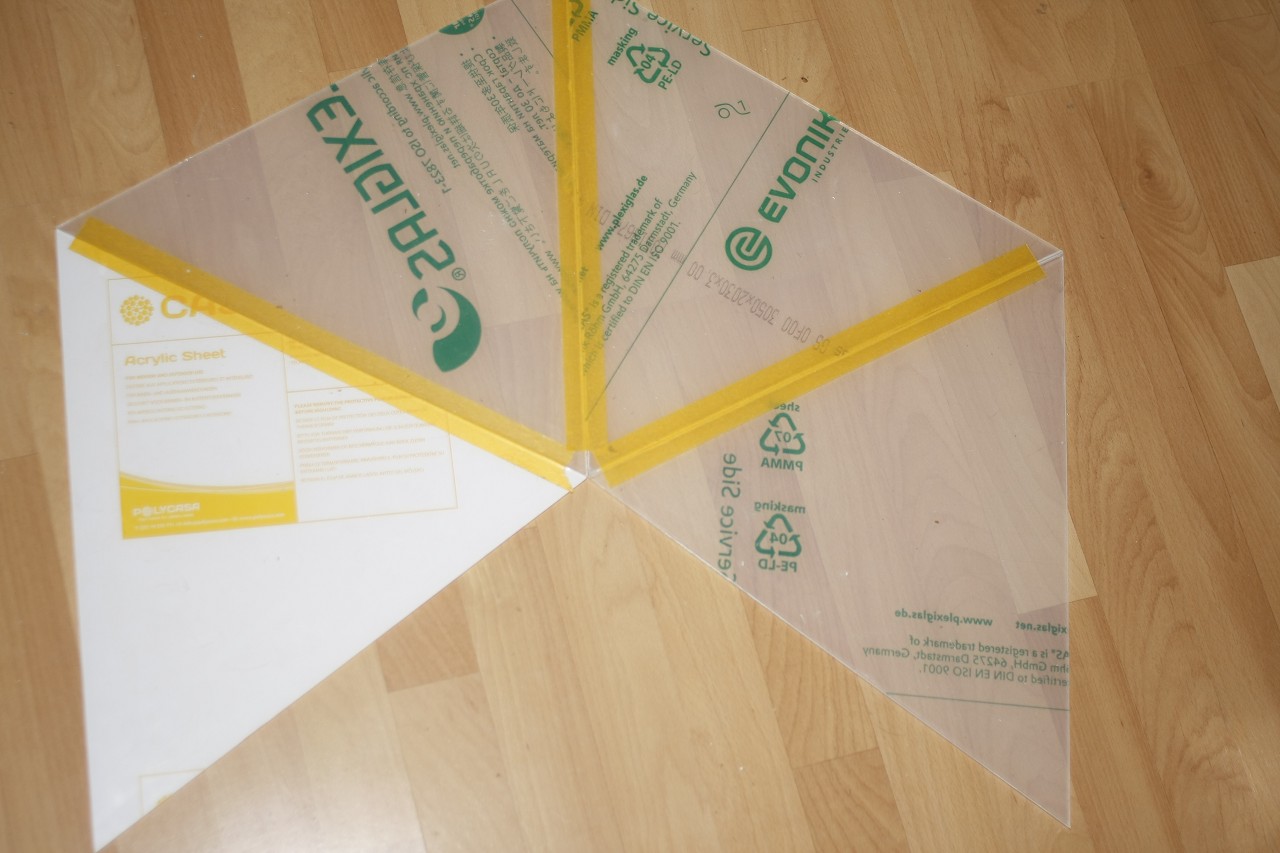
Mostly Styrodur and Plexiglas are used here.
I will gild with 24K gold leaf.
For the lime sandstone technique I will work with quartz-containing paint and glazes.
Since I have been carrying this idea with me since 2015, a lot has changed in the overall concept, but I do not want to go into the details.
I definitely want to show you my progress as soon as possible,
since in 2015 I already started working with some of them and now I got really into the project just before Christmas.
My goal would be to finish in under 25 years
and I think I had to wait in this project until the release of the golden GSkill Trident Z Royal
Currently I'm still looking at what hardware is eligible but I keep you up to date.
"The Pyramid of Cheops is the oldest and largest of the three pyramids of Giza and is therefore also known as the "Great Pyramid".
The tallest pyramid in the world was erected as a tomb for the Egyptian King Cheops, who ruled during the 4th Dynasty in the Old Kingdom (about 2620-2580 BC) .... "
A theme can not be more beautiful, as the title image already reveals you can guess what I'm referring to it
Welcome to my next project"Cheops"
...is to become a true-to-scale replica of the Cheops pyramid.
In this concept, I will work with gilding and lime sandstone techniques.
Upwards, the whole thing will then slowly pass into transparent glass, to gain a direct insight into the burial chamber,
Which of course is disguised with hardware.
Likewise I would like to see later a sarcophagus in the burial chamber which presumably enthrones the Hardware.
Mostly Styrodur and Plexiglas are used here.
I will gild with 24K gold leaf.
For the lime sandstone technique I will work with quartz-containing paint and glazes.
Since I have been carrying this idea with me since 2015, a lot has changed in the overall concept, but I do not want to go into the details.
I definitely want to show you my progress as soon as possible,
since in 2015 I already started working with some of them and now I got really into the project just before Christmas.
My goal would be to finish in under 25 years
and I think I had to wait in this project until the release of the golden GSkill Trident Z Royal
Currently I'm still looking at what hardware is eligible but I keep you up to date.